
Not all SSDs are the same
(Or why I should stick with software, rather than hardware!)
I'd ordered some larger SSDs from MATS Systems this week to upgrade a couple of laptops that were running out of room. I'd scanned through the list and saw Samsung EVO 500GB. Yep, "add to cart" x 2.
Job done (or so I thought).
They arrived promptly yesterday, and near the end of the day I disassembled the first laptop to extract the existing smaller-capacity SSD so I could put it in the disk duplicator. I then ripped open the box of the newly purchased Samsung SSD and to my horror, it didn't look anything like the old one!
In fact it looked a lot like this:
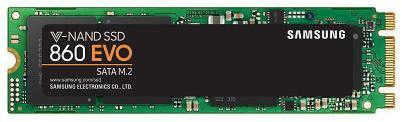
"But David", you say, "that's an M.2 SSD!"
Well yes, yes it is, and that's exactly what it turns out I ordered - not realising that "M.2" doesn't just mean "fast" or "better" but it's an indication of the actual form factor.
I now understood that what I should have ordered was the 2.5" model - not the M.2 one.
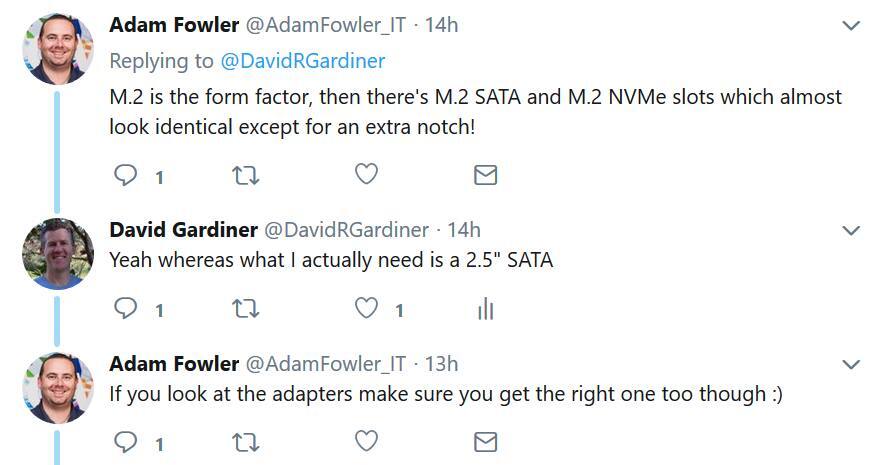
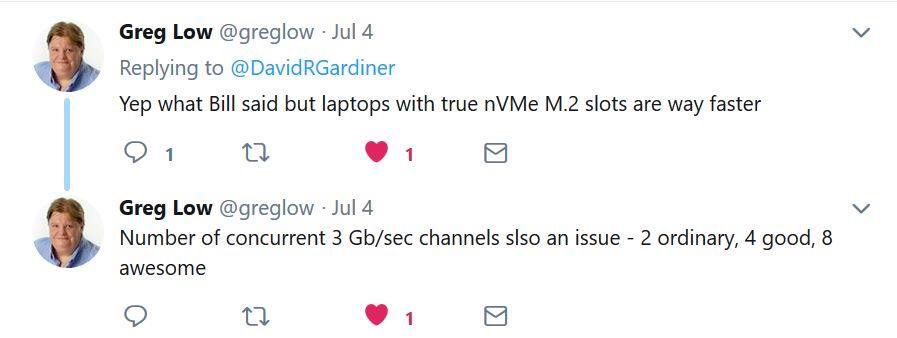
So what was I going to do? First step, post to Twitter and see if I get any responses - and I did get some helpful advice from friends:

Unfortunately I'd ripped open the box so it wasn't in a great state to return. Instead I sourced one of these Simplecom converter enclosures to see if I could use it in the 2.5" laptop slot after all.
As Adam had mentioned on Twitter, one important thing was to identify what kind of key the SSD I had was using. You can tell that by looking at the edge connector. Here's the one I had:

This is apparently a "B+M" key connector (as it has the two slots). The specs for the Simplecom enclosure say it's suitable for either "B" or "B+M" so I was good there.
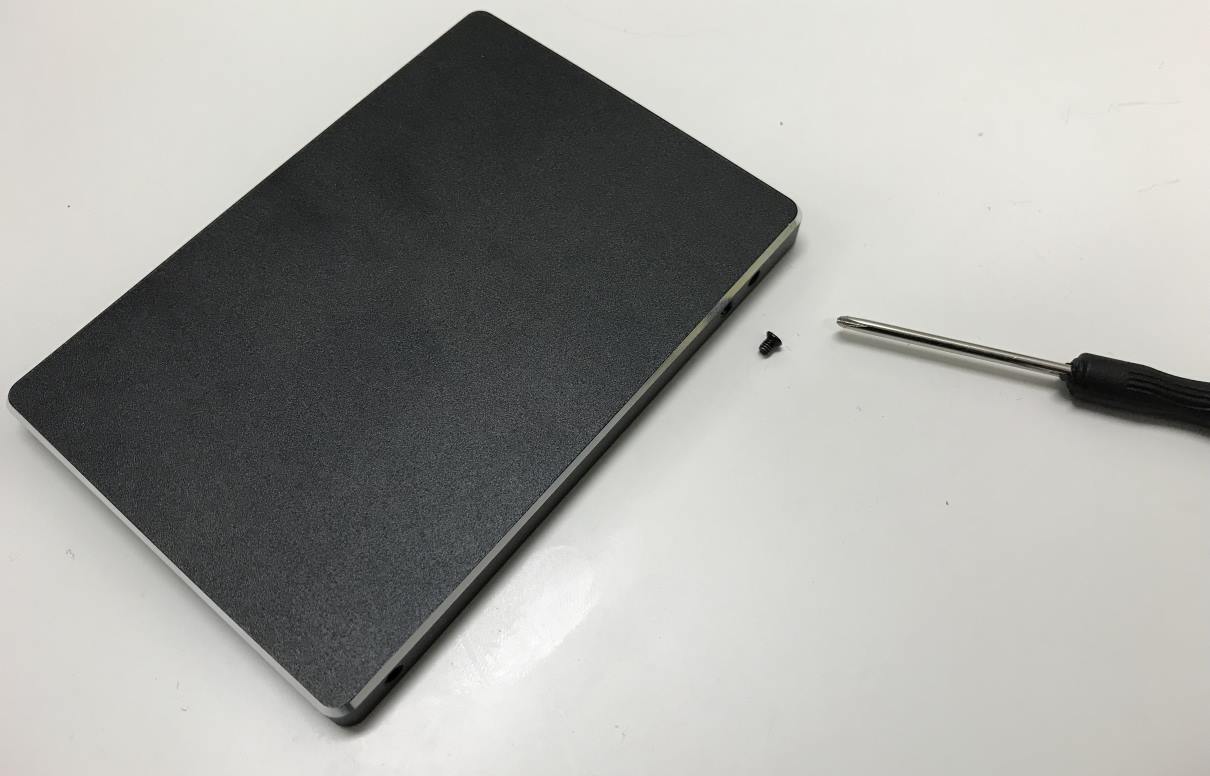
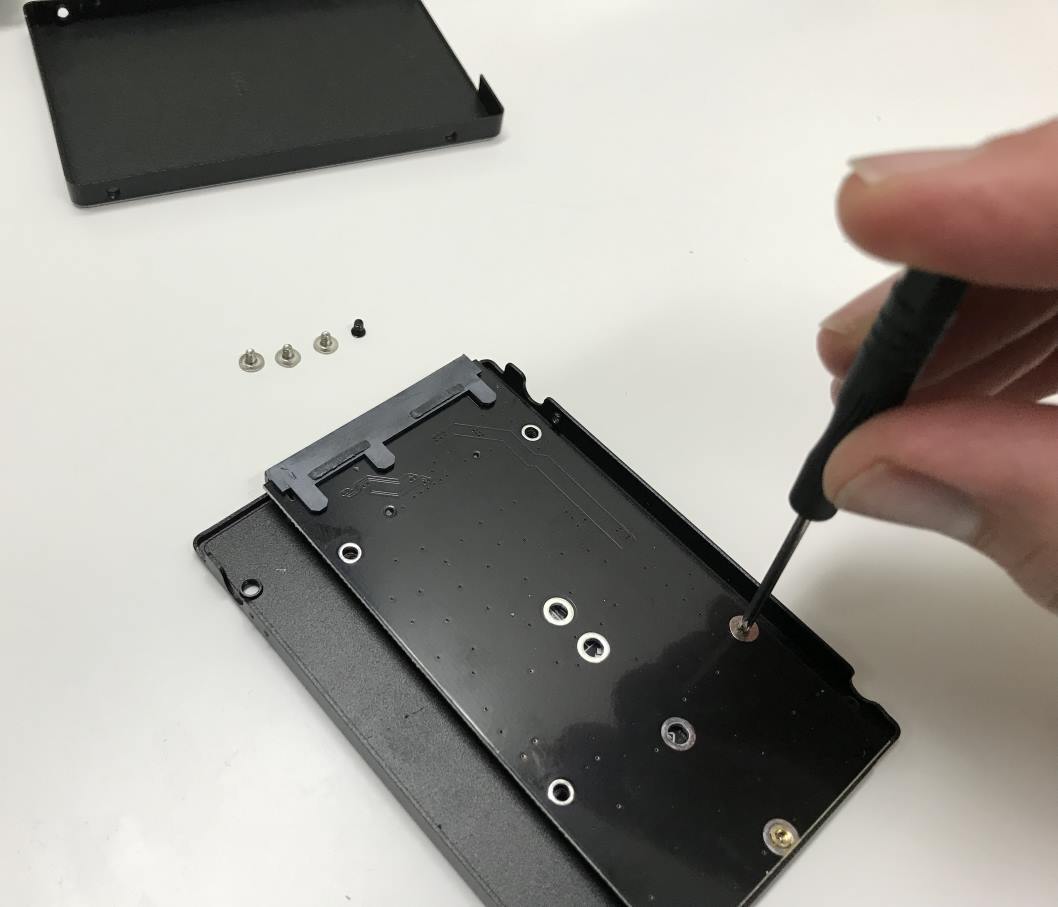
Unpacking the enclosure, there's a tiny screw one one side to undo, then you can pry open the cover.
With the cover off, four more screws to extract before you can access the mounting board
Now it's just a simple matter of sliding in the SSD and using the supplied screw to keep it in.
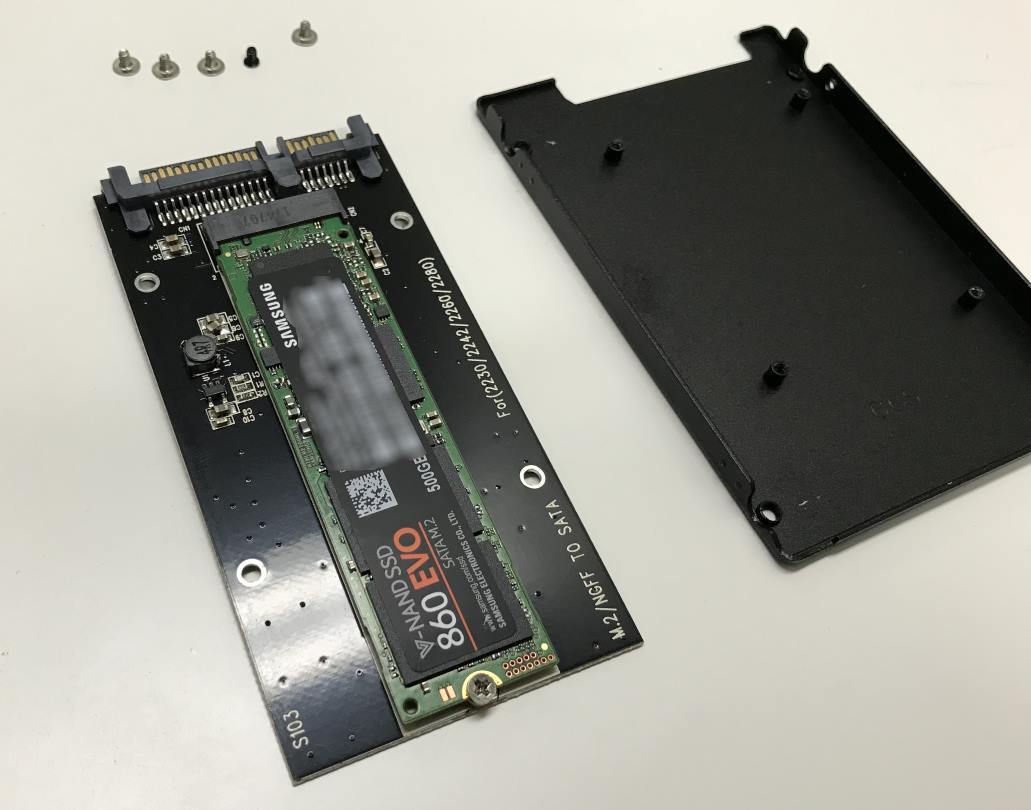
Then reassemble the enclosure and it's ready to test.
I tried it out in a spare laptop - pulling out the existing SSD and using the duplicator to image that onto the new SSD (and taking extra care to make sure I had them in the correct slots in the duplicator. It would be a disaster getting that wrong!)
Then pop the new SSD back in the laptop and see if it boots up.. Yay, it did!
The great news is MATS were able to arrange to swap over the other SSD (the one I hadn't opened yet) with a proper EVO 860 2.5" model. And I learned that if I had been more careful opening the box on the first one, that probably could have been swapped with just a small restocking fee too.
So after feeling like I'd really messed up, things ended up not too bad after all :-)
Categories: Hardware