Downloading an Azure VM
Yesterday I needed to get a copy of a virtual machine onto my local workstation. As I’m now working from home, that was going to mean downloading a lot of data, but first I had to find the VM. I remembered I had exported this particular VM up into Azure at one stage to experiment with using different hardware specs to find out how that would affect performance.
Lucky for me, the VM was still there (though de-allocated to reduce costs). Usually you want to migrate a VM up into the cloud, but I needed to go the other way! So how do you get a copy of that VM? It turns out it isn’t that tricky:
- Make sure the VM is shut down (mine was)
- Open up the VM in the Azure Portal
- Under Settings, click on Disks
- Click on the individual disk (if you have more than one, you’ll need to repeat the next few steps)
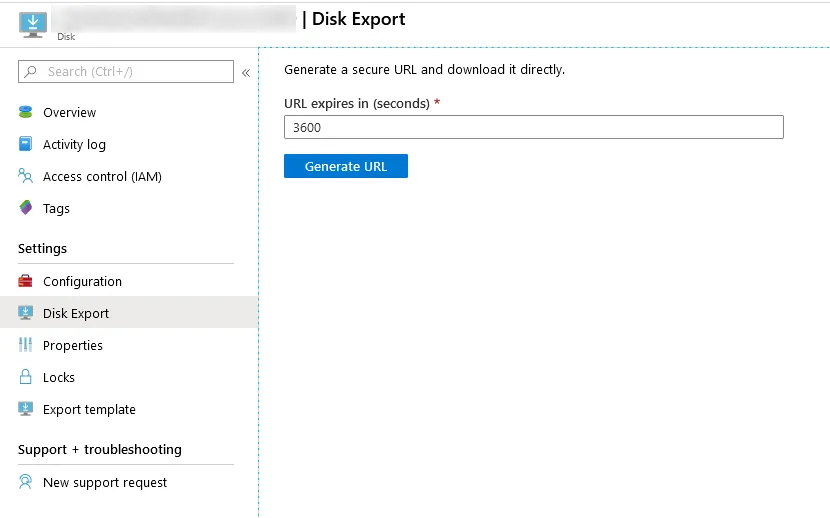
- Under Settings, click on Disk Export
- You’re prompted to enter a URL expire time. The default is 3600 seconds (1 hour). If you have limited bandwidth you should make this larger, otherwise your download may fail. I set mine to 36000 (10 hours)
- Click Generate URL and a URL will be displayed
- Download the .vhd file for this disk. Mine was 80GB and it took all day. It also failed a number of times, but I was able to restart the download and it did continue on from where it left off.
- The download defaulted to calling the file
abcd, but it is a VHD file, so just rename the file to something useful.