Synology DS1621xs+ review
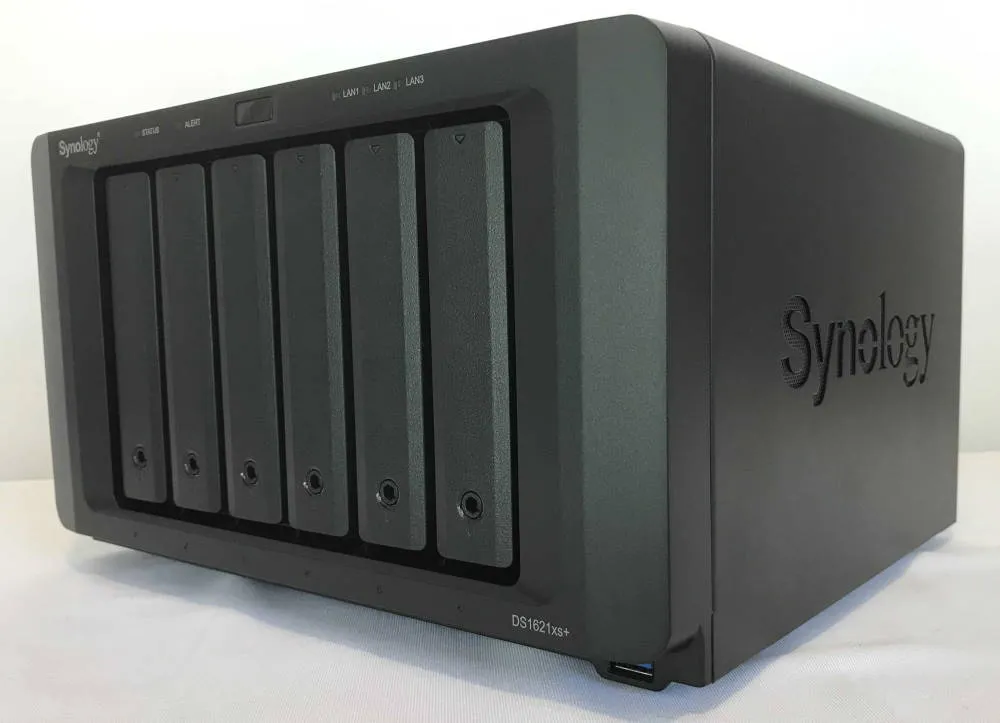
I’ve done a few hardware reviews on my blog, but one is a little different in that Synology have sent me one of their units to review. Specifically their DiskStation DS1621xs+, which is aimed at small and medium-sized businesses.
- Synology DiskStation DS1621xs+ - amazon.com.au sponsored link
- Synology DiskStation DS1621xs+ - amazon.com sponsored link
This is not the first Synology I’ve used - we actually had one at my last office as a local file server (I believe that was a DS220j), but it had been set up before my time. So I’ll be starting from scratch, and as much as possible I’ll be attempting to wear the ‘small to medium business IT/support person’ hat to consider how well it will fit their needs.
There’s a lot to cover, so I’m going to break the review down into a number of parts that I’ll be publishing over the next few weeks:
- Installing and configuring (this post)
- Cloud Sync
- Active Backup for G Suite
- Virtual Machine Manager and Docker
- Other extras
And before I go any further I should also point out some great posts that my fellow Adelaide-based Microsoft MVP Adam Fowler has done on Synology and their software. In particular I’ll call out his review of Active Backup for Microsoft 365
But let’s begin! In the box was a quick installation guide, power cable, two network cables, drive tray keys, some screws (for mounting 2.5” drives), the DiskStation unit and two complementary SSDs.
To facilitate the evaluation I purchased two Western Digital Red NAS 4TB (WD40EFRX) hard disks (which conveniently happen to be listed on the Synology Products Compatibility List). I also decided to add a couple of older spare drives I had sitting around (1TB and 1.5TB). I wasn’t sure whether one or both of these might be faulty - I was interested to see what the Synology would make of them.
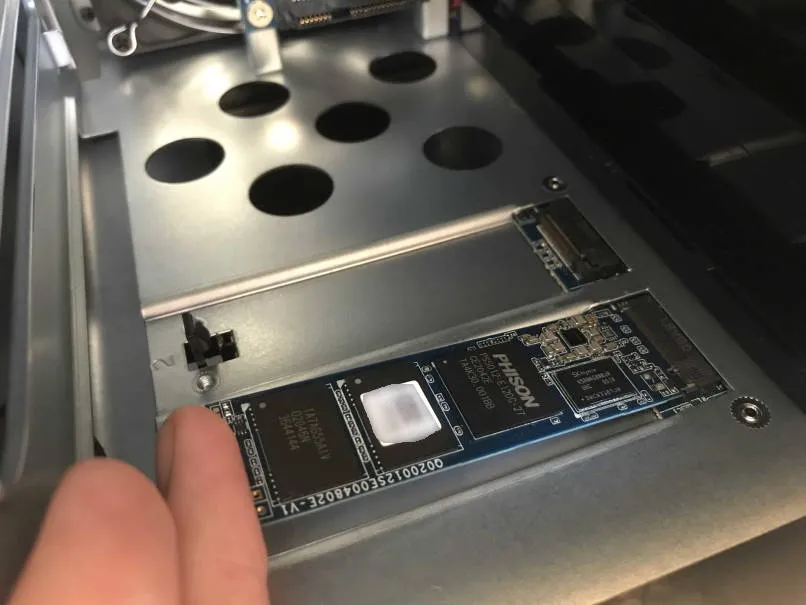
The Quick Installation Guide has pictorial instructions showing how to install hard disks into the 6 drive bays. I noticed it didn’t mention SSDs (and I couldn’t see anywhere obvious for them to go). I discovered that there’s a whole lot of documentation online as well, including the Hardware Installation Guide. Chapter 2 of that guide includes a section “Add an M.2 NVMe SSD to Synology NAS”, which to summarise has you removing all the drive bays so that you can then slide in the SSDs onto what turns out to be the side of the case.
With those installed it was time to add the hard drives. That was quite straight forward, again following the instructions.
The DS1621xs+ comes with three network ports - one 10 Gigabit Ethernet and two Gigabit Ethernet ports. It’s nice to see they’ve catered both for higher capacity networks as well as allowing for some network redundancy. There’s also 3 x USB3 ports (1 on the front, 2 on the back) for connecting external drives, or if you’re serious about expansion there’s eSATA ports into which you can connect Synology Expansion Units.
All of this allows for up to 96 TB (6 bays with 16TB drives) or up to an impressive 256TB with expansion units.
With the first two drives installed, it’s time to start everything up. Power and network cable in, and press the power button on the front of the unit.
My first reaction was ‘wow, that’s loud!’. The fans kicked in and reminded me a bit of one of those rack-mounted servers that would normally live in a dedicated server room. (I was relieved to find that later on in the installation process the fans became a lot quieter and remained so.)
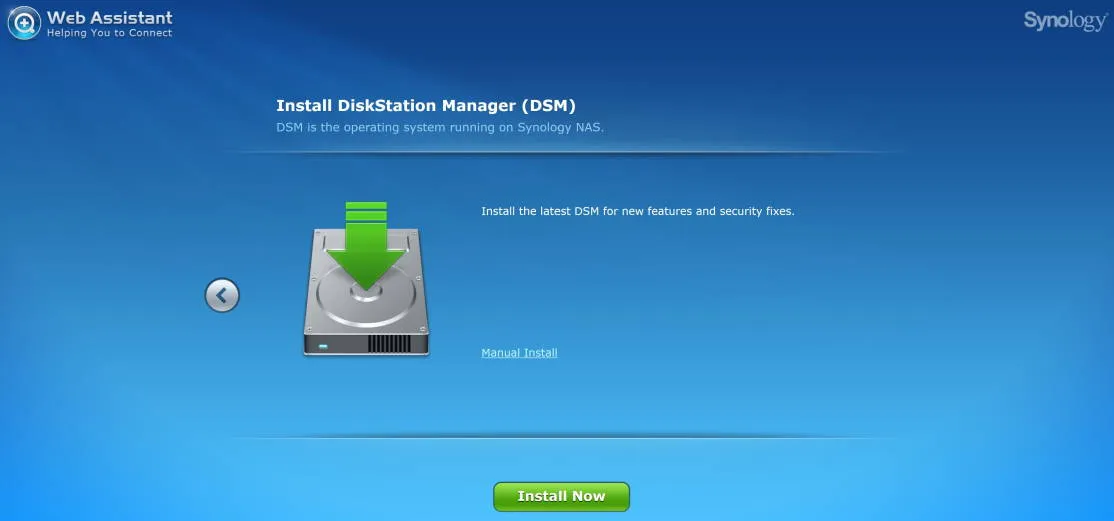
Rather than continue reading the instructions at this point, instead I looked up the devices on my network and found that ‘diskstation’ was now registered. Hitting that with my browser brought up this welcome screen:

I guess I’d assumed that the DiskStation would be all ready to go, but it turns out the first part of the process is to actually download and install DiskStation Manager (DSM) - the Synology’s operating system. An advantage of this is that you’re always going to be running the latest version at the time of configuration.
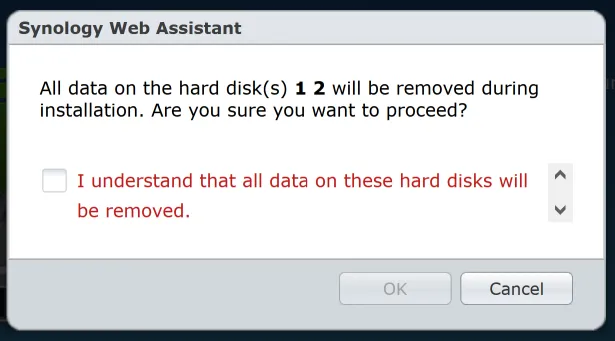
At this point I’d just added the two WD 4TB drives, so it was good to have confirmation that any data on them would be removed:
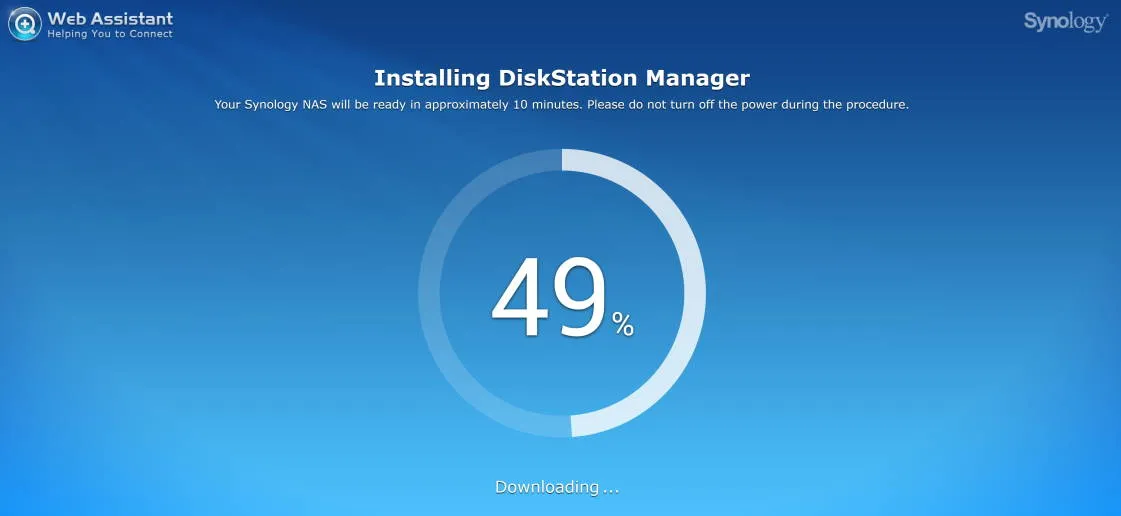
The 10 minute estimate was pretty accurate. It then restarted, and I got this screen:
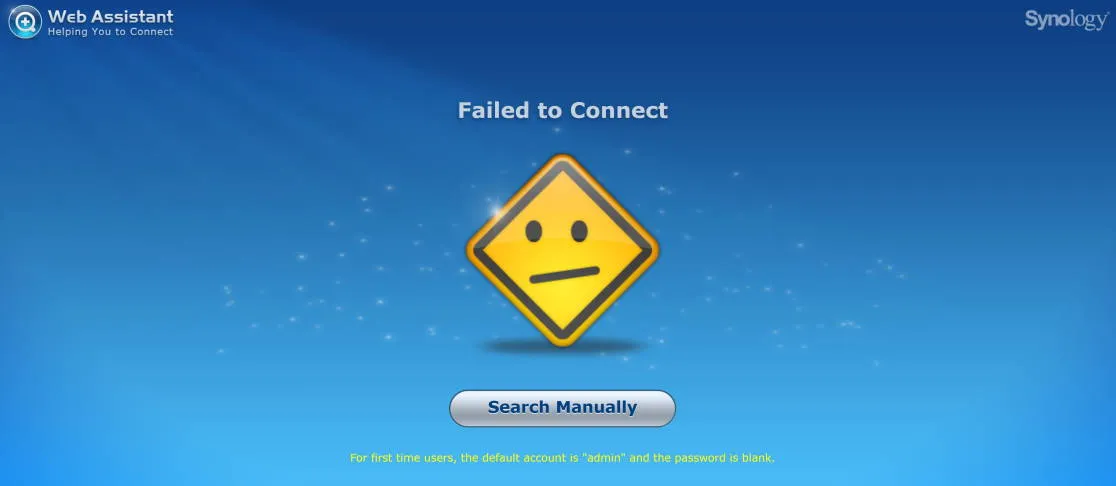
That will teach me not to read the instructions! Checking the network and I found ‘synologynas’ was now the name. Changing to that URL and I was back in business.
Next a prompt to customise the server name and supply a username and password, followed by the option to set up QuickConnect (and associate it with a Synology account). I wasn’t quite clear what ‘QuickConnect’ was. A link to further information would have been useful at this step. I found more details in the Synology Support Center. If you skip this step you can set it up later.
And with that, the main DSM desktop is displayed!
A number of times I found myself wanting more information. I should point out that most applications have a ’?’ icon in the title bar that does link to context-sensitive help. What seemed to missing is a similar feature when various wizards operate.
I then had a security advisor screen show that even with the latest version of DSM installed, two of the bundled packages had additional updates pending.
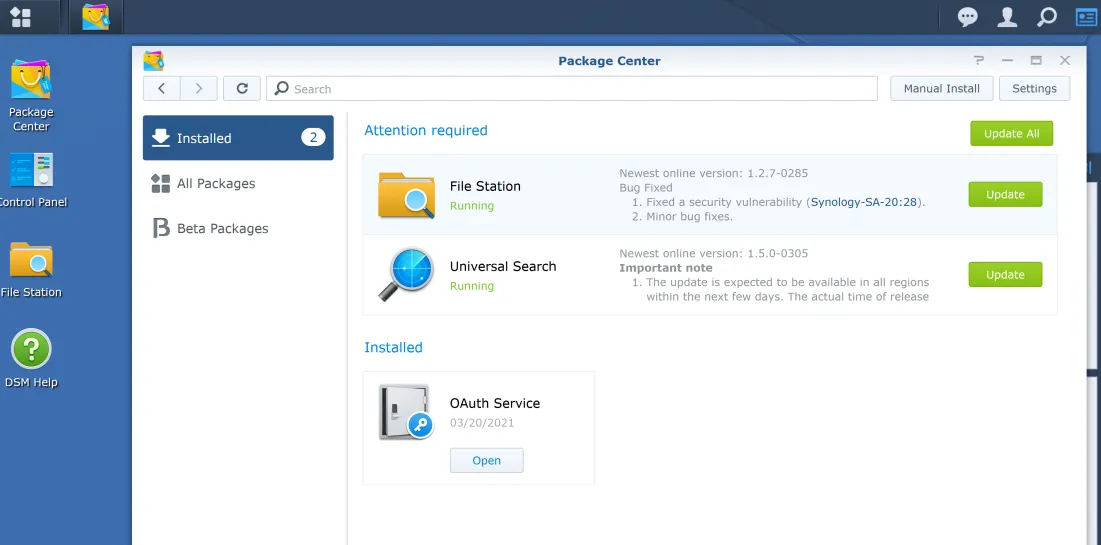
Those packages were then updated.
At this point if you try to do much more you’ll quickly discover that the next thing that must be addressed is storage. Our disks actually need to be configured into a storage pool. Opening Storage Manager shows that while everything is ‘healthy’, there aren’t actually any volumes or storage pools. The two drives are listed as ‘unused’.
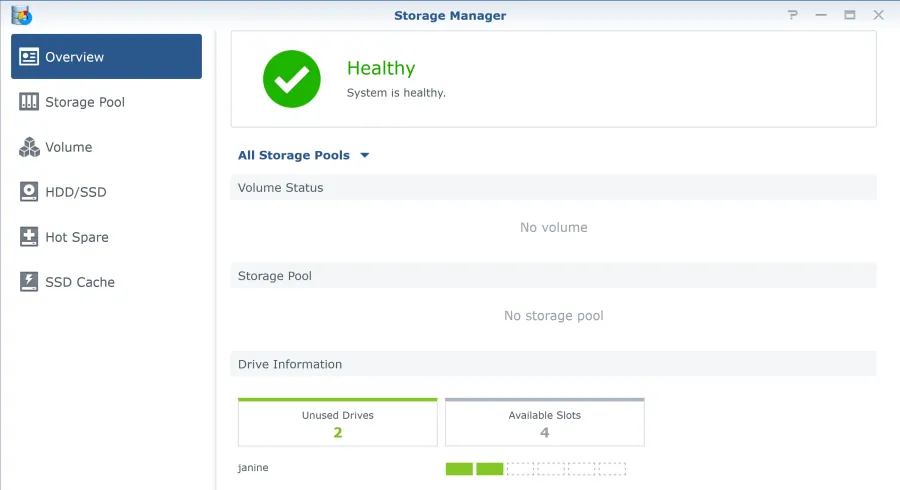
What is a storage pool? Good question. There’s a bit more of an explanation over in the online help. A storage pool has one or more “volumes”. You need to create the pool first, and then you can create volumes within it.
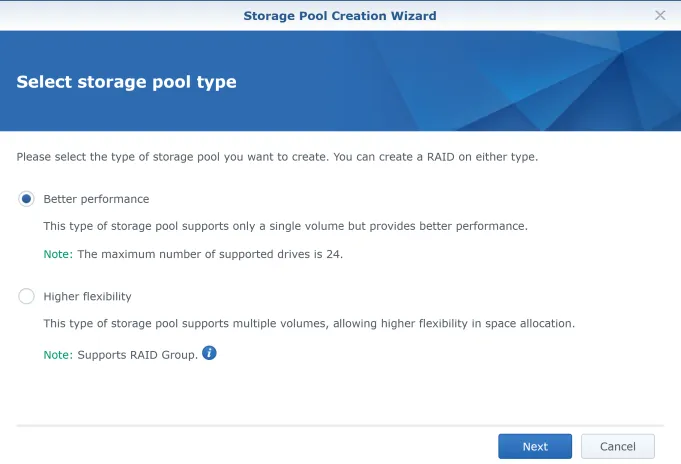
Creating a new storage pool starts with the Storage Pool Creation Wizard. The first thing to decide is which type of storage pool to create: “Better performance” or “Higher flexibility”. Well both of those sound desirable to me. A link to more info in the wizard would have been helpful, but I did manage to find more details under Create a New Storage Pool in the online help.
My reading of that online help is if you’re just planning to have a single volume in your pool, then the “Better performance” option is right. If you want to have multiple volumes in the pool, then choose “Higher flexibility”. Keeping things simple works for me, so I picked the single volume option.
Next you need to decide what type of RAID this pool should use. The UI is smart enough to alert you if you pick a RAID type that is incompatible with the remaining unallocated drives. eg. RAID 5 requires a minimum of 3 drives (and they should all be the same size), so with just two drives currently mounted that wasn’t one to pick for me.
In fact if you’re not sure which one to pick (and I wasn’t clear what the difference was between some of the options), the RAID Calculator might be worth a visit.
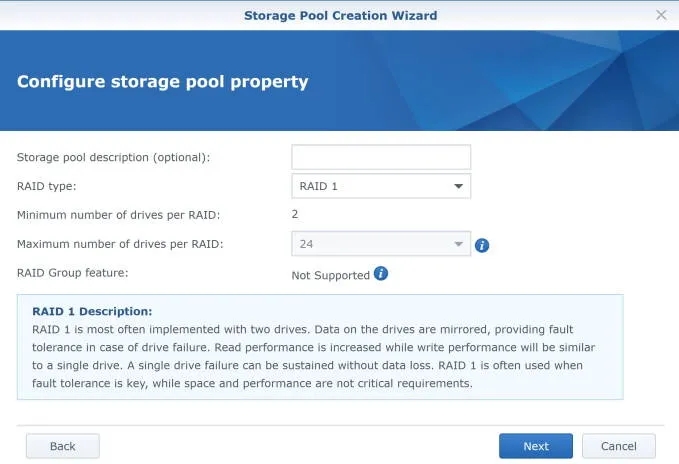
The DS1621xs+ supports the following RAID types:
- RAID 1
- RAID 5
- RAID 6
- RAID 10
- Basic
- JBOD
- RAID 0
- RAID F1 (intended for SSDs)
I was surprised to learn that ‘SHR’ (Synology Hybrid RAID) is not on that list. I suspect this is related to the target market. A small/medium business should be in a position to afford enough disks to pick one of the industry standard RAID levels (5/6/10). But bear that in mind - if you were hoping for the flexibility that SHR offers then another model might be a better choice.
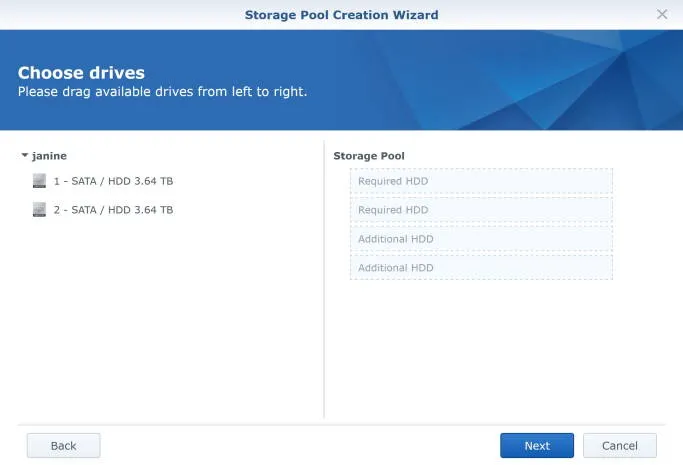
Next up you can assign available drives to this pool. Depending on the RAID type you’ll be prompted to assign the minimum number of drives (and can assign more if any are available).
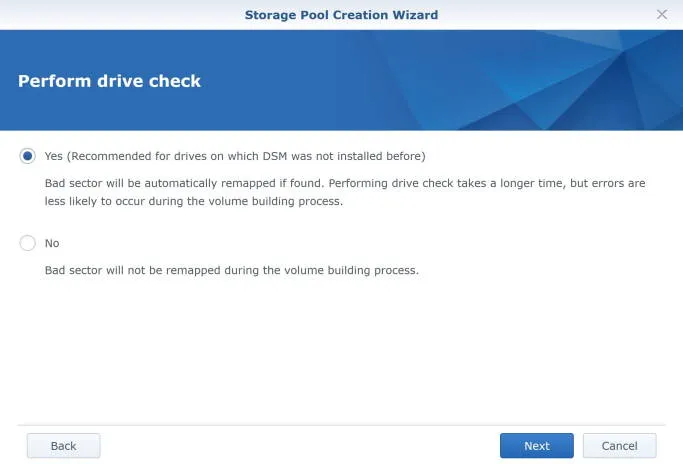
Next you can do a drive check. If you trust your drives (eg. if you’ve used them before without issue) I guess you could skip this, but I wanted to be thorough. It does take a while though, from a few hours to possibly even overnight depending on how fast and/or large your disks are.
Once you’ve selected all those settings you get a chance to confirm you want to proceed.
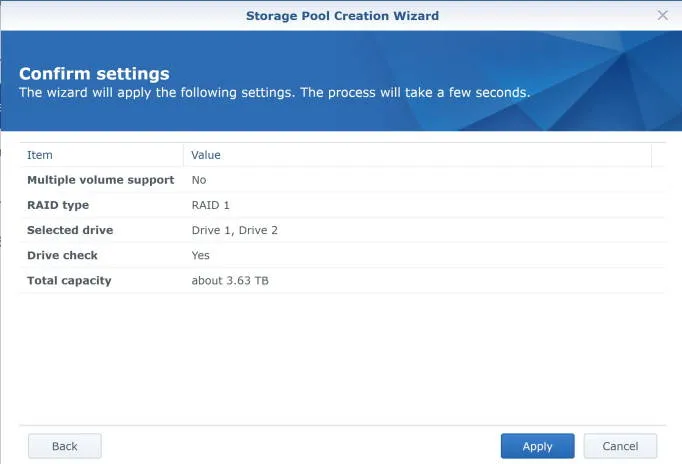
The pool is now being created, with the drive verification going on in the background.
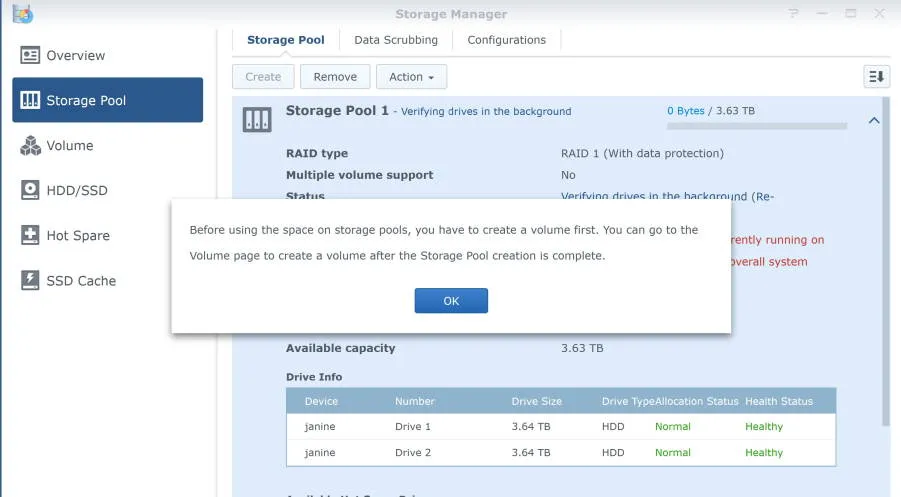
In my case it took around 2.5 hours for both 4TB drives to be verified (and pleasingly no problems were found!). Once the pool is available you can create a volume. I just created one that took up the entire pool, and chose the ‘Btrfs’ file system. Nice that the Volume Creation Wizard is one case where it does provide a link to extra info on file systems.
I had been wondering when I’d be able to make use of the SSD drives. Using SSDs for caching is a feature that isn’t found on every Synology model, but the DS1621xs+ is on the list and one of the few that comes with built-in M.2 slots (so you don’t use up a SATA drive bay).
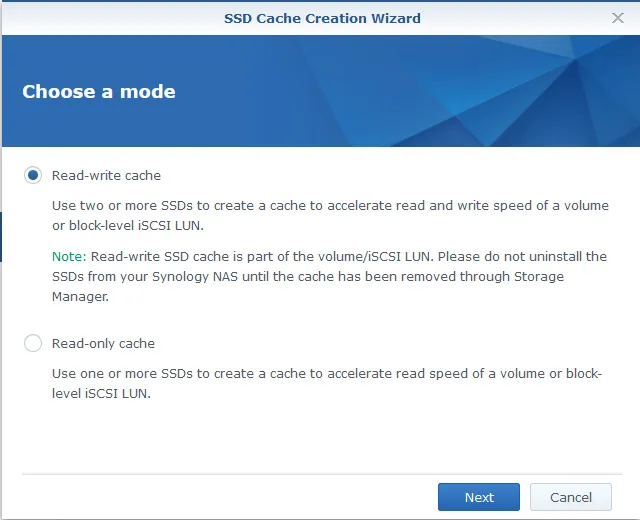
Creating an SSD cache involves selecting the SSD drives and associating the cache with a specific volume. There’s also the SSD Cache Advisor. I suspect the advisor is more useful if you’re adding a cache to a system that’s been up and running for a while as then it will have some history to base its analysis on. In my case as my volume was newly created it just recommended a really small cache.
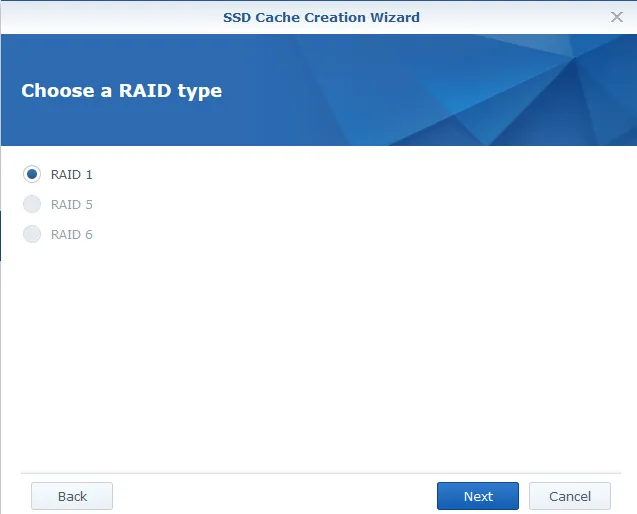
One thing to watch out for with caches: if you want a read-write cache, you’ll need to have at least two SSDs. That’s because they must be configured as RAID 1, 5 or 6. If you only want a read-only cache then you can get away with a single SSD. This isn’t really called out in the SSD Cache Creation Wizard but is mentioned in the SSD Cache help page.
I have to select both drives.
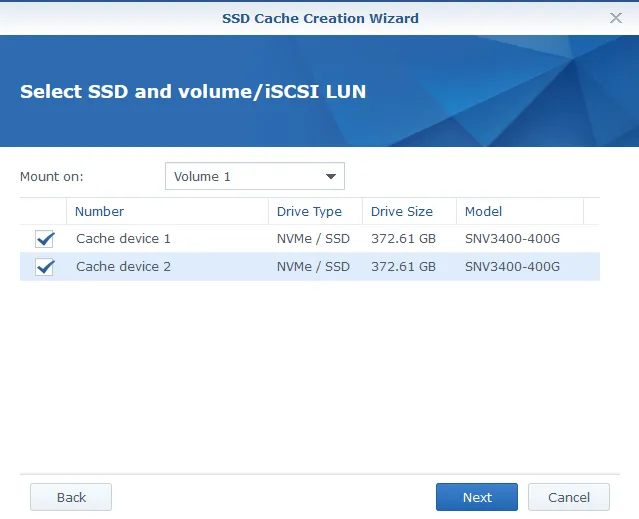
With two SSDs and the earlier choice of a read-write cache, RAID 1 is my only option:
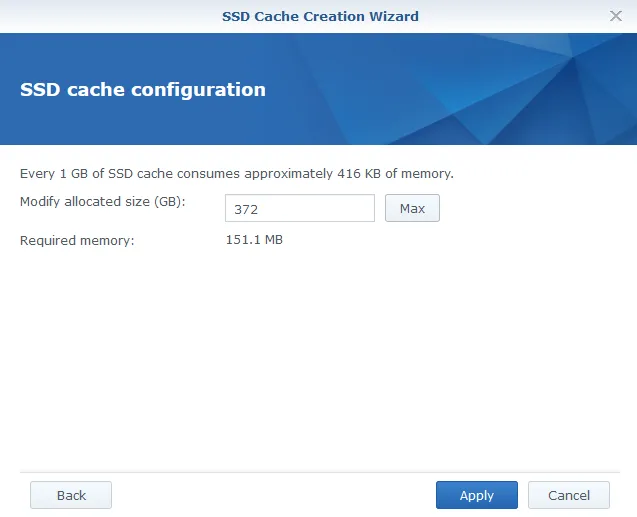
A chance to confirm how much space to allocate. I chose the maximum.
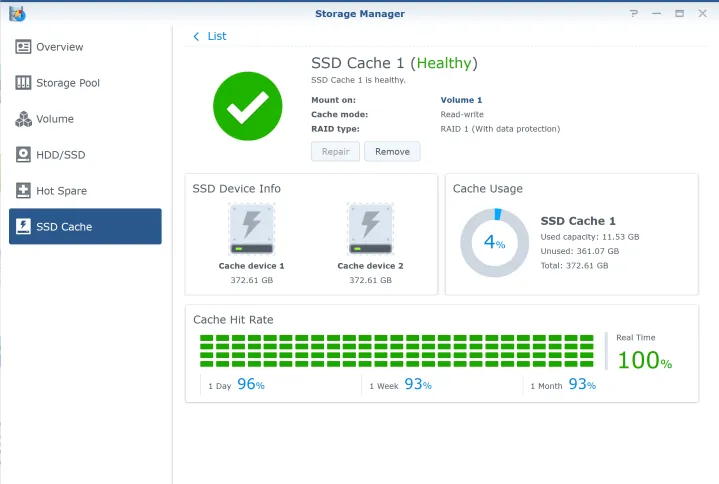
I’ve included a screenshot of the SSD cache status here. (This was actually taken a few days after the initial setup - I wanted to give it a chance to see a bit of data, though as you can see my usage so far is still pretty light)
The final thing I wanted to do was go back and configure those other two drives. I decided to put these drives in a separate storage pool as I wasn’t sure how good they were. I went through the same process using the Storage Pool Creation Wizard. When I got to the “Choose drives” step and dragged the first available drive over, I got this popup.
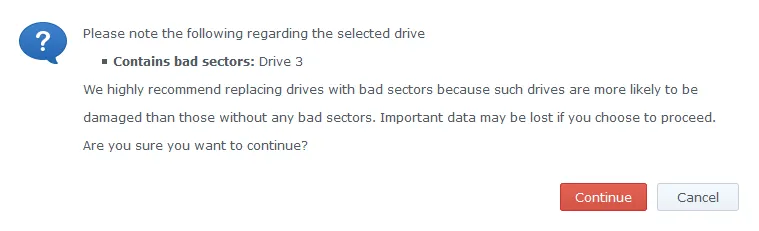
That’s a helpful warning, and in a business setting if I saw that I’d be inclined to destroy that drive and replace it with a new one. It isn’t worth the risk. If you really wanted to keep using the drive then this is definitely the time to make sure you have ‘Perform drive check’ selected.
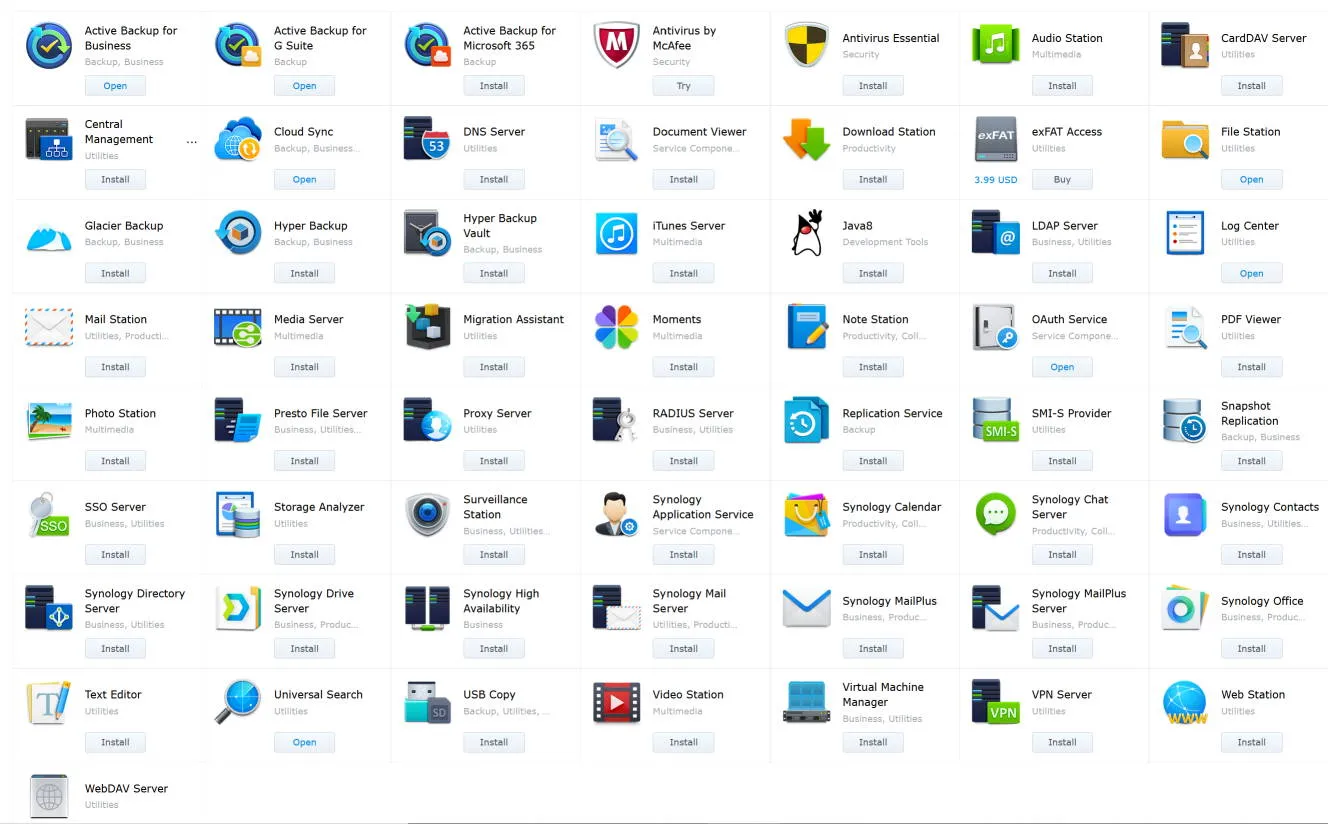
With the volumes in place and caching enabled things are looking good. Next up we’ll go and explore the Package Center and start adding some useful functionality.
Just look at all the packages to choose from (and this doesn’t include the 3rd party ones)!
Note that links to Amazon are sponsored links