Synology Active Backup for G Suite
This is part 3 in a series of posts reviewing the DiskStation DS1621xs+.
In part 1, I unboxed the Synology and configured storage. In part 2, I set up Cloud Sync. Now I’m going to use the Active Backup for G Suite tool to do a full backup of a G Suite.
I have a domain that’s hosted by Google’s G Suite. Synology offer an on-premise backup solution for G Suite - Active Backup for G Suite.
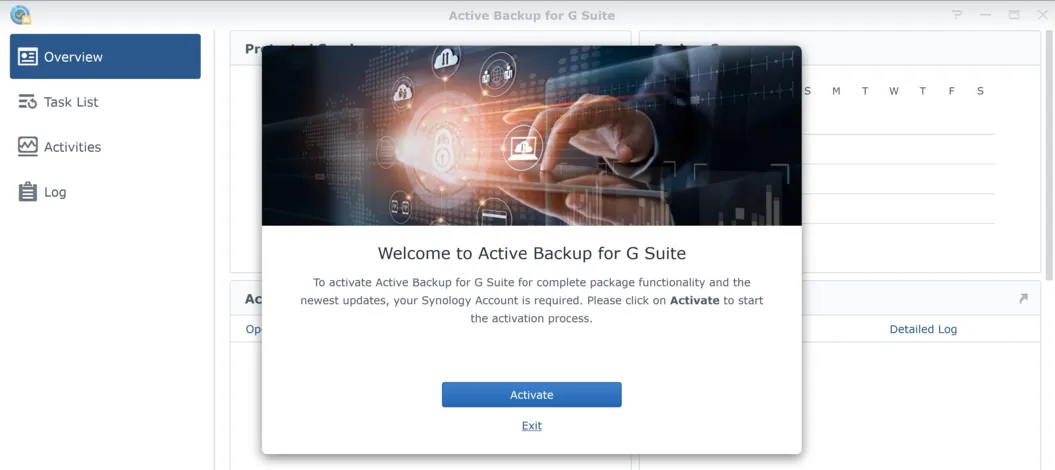
The first time you open Active Backup for G Suite, you’ll be prompted to activate the package by entering your Synology account.
Enter your Synology account email address and password.
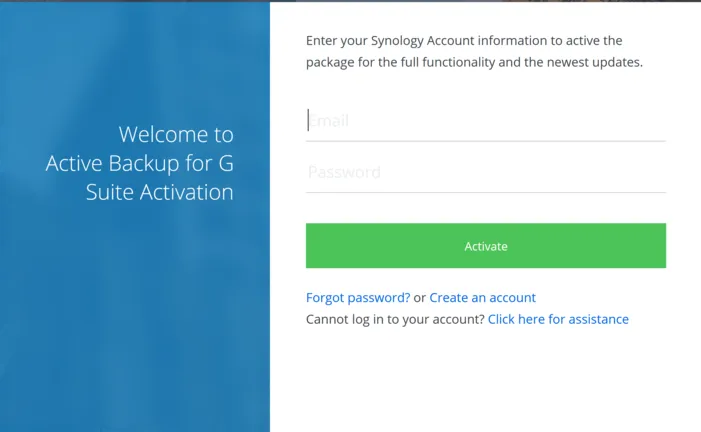
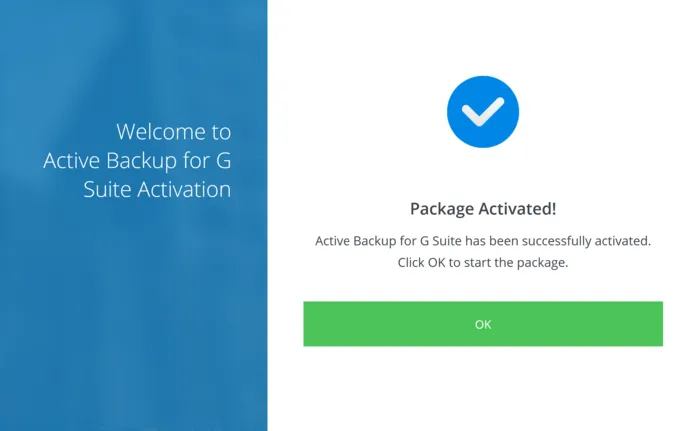
And you’re good to go.
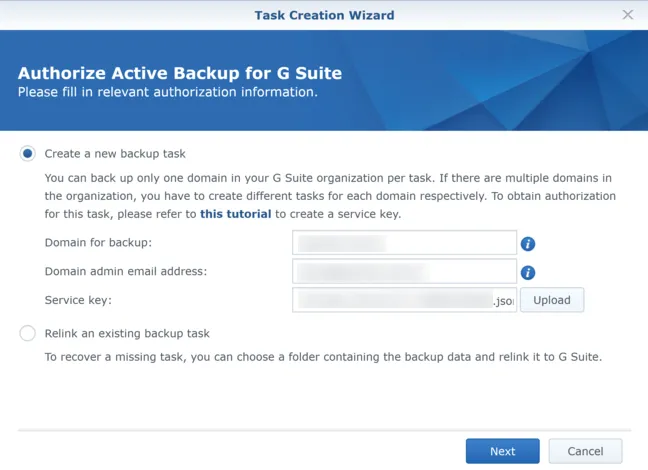
We’re now ready to start creating a backup task. First up, enter your domain, email address and service key. I wasn’t sure what a ‘Service Key’ was, but you’ll notice there’s a hyperlink right there in the description that takes you a step by step tutorial on configuring G Suite and creating the service key.
I followed the tutorial through and created the service key JSON file that I then selected for this step.
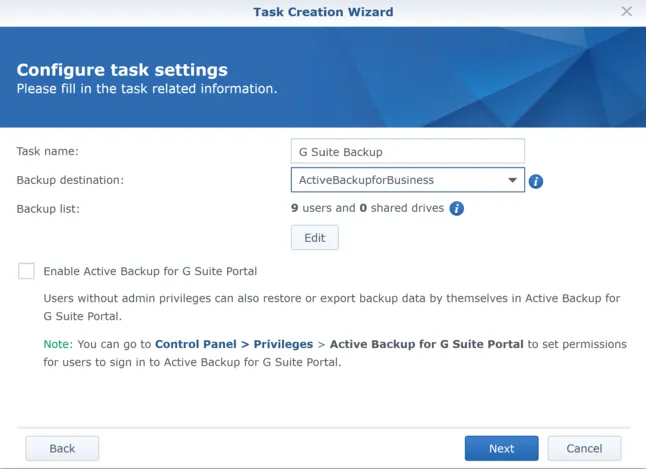
Next enter a task name and confirm the destination folder. Unlike previous configurations, the only choice is to pick the top-level directory. The task will create a subdirectory under this location for you.
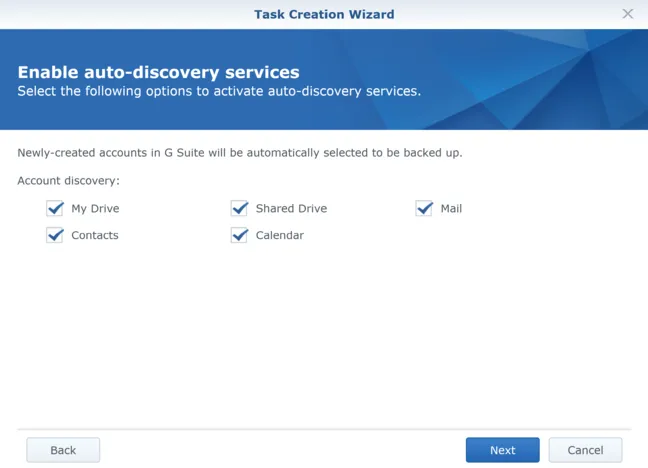
You can then select services to be automatically added should new G Suite accounts be created in the future.
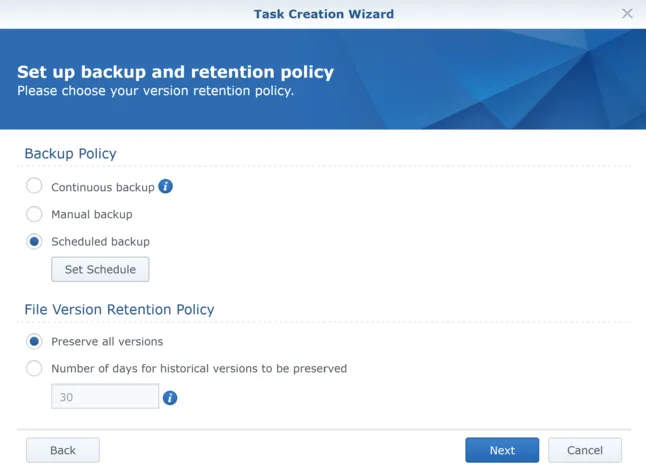
You can choose whether to run backup continuously, or on a regular schedule. You also can set whether to keep all versions of files, or just a specific number of days.
Finally, a summary of all the settings before you finally create the task.
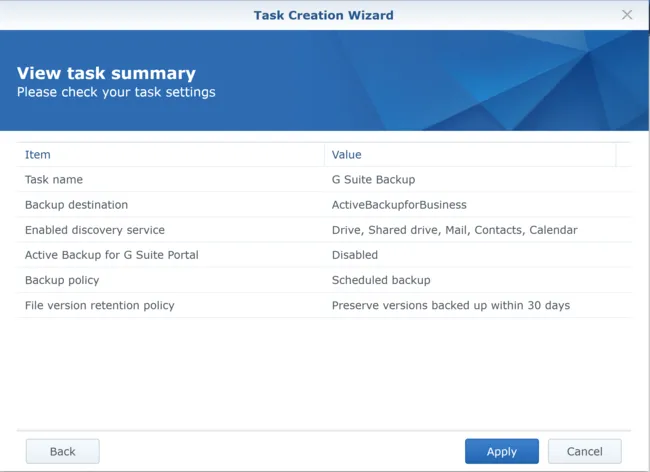
And then your task is created! Pretty easy really.
If you configured it to run on a schedule, then you can then choose to start your first backup immediately (otherwise I assume it will start at the specified time).
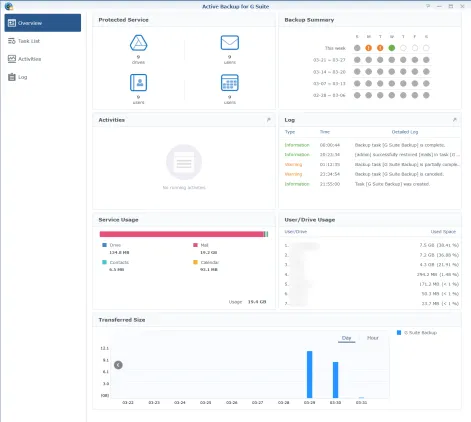
You can monitor the backup progress from the Task List page.
Here’s an example having the Active Backup for G Suite run on a nightly schedule. The first couple of times were quite large, but the most recent backup was quite small, which makes sense if it’s just the changes since the previous backup. Looks like I possibly had a network outage the previous night which interrupted that backup, but everything is green now.
Now backups are great, but they’re essentially useless unless you can restore from them.
You can explore the backups using the Active Backup for G Suite Portal.
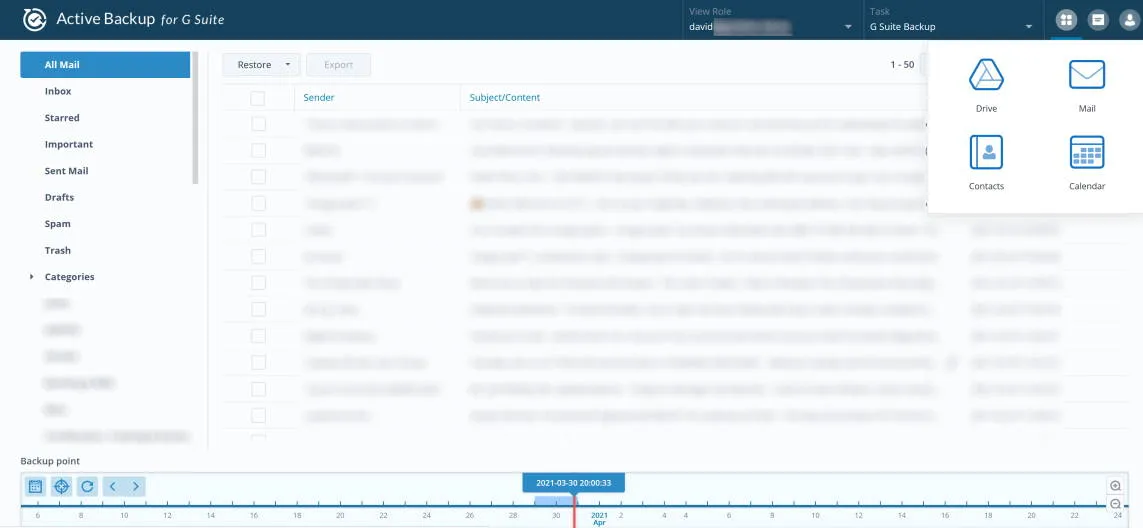
It is possible to allow multiple users to have access to the portal, but in my case I’m just using the admin account. You can select which Google account’s services you’re inspecting and (as per the screenshot) you can switch between the different services (eg. Drive, Mail, Contacts and Calendar).
The timeline across the bottom allows you to choose the point in time to restore from.
To restore an item, you simply select it, and then choose the ‘Restore’ button. There’s also the option to restore the entire service (eg. mailbox).
You get a chance to confirm the restore action.
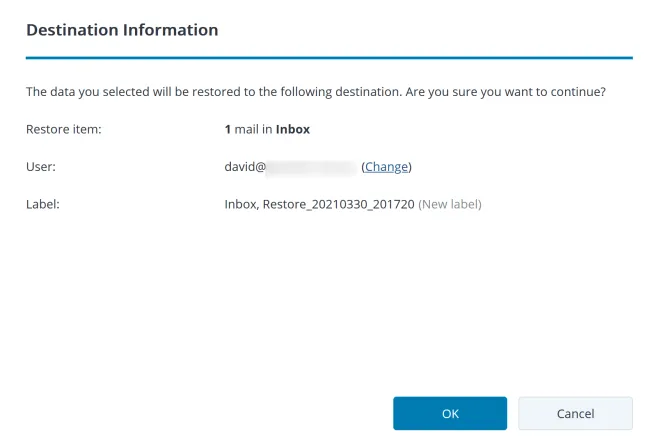
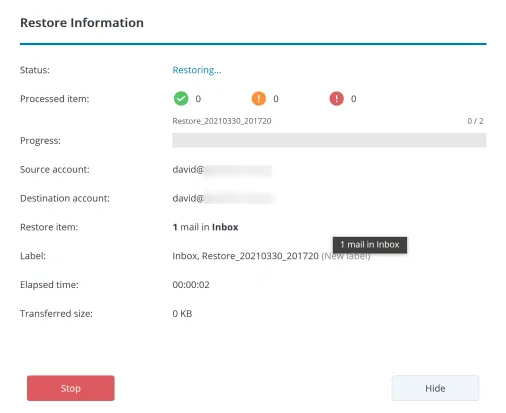
And then watch the restore progress.
 .
.
Checking the inbox of the relevant account, I could then see the email ‘magically’ restored!
Handily it also adds a label on the email so you can easily identify it was restored.
 .
.
In summary, I think this is a really useful feature that I plan to keep using. I can also imagine it would be valuable for organisations that need to retain data to comply with legal requirements.