RODE NTUSB Microphone and PSA1 Boom Stand
My “home office” is working rather well, but I did think it would be nice to go the extra mile and do some minor upgrades, particularly for remote presenting.
First up is audio recording.
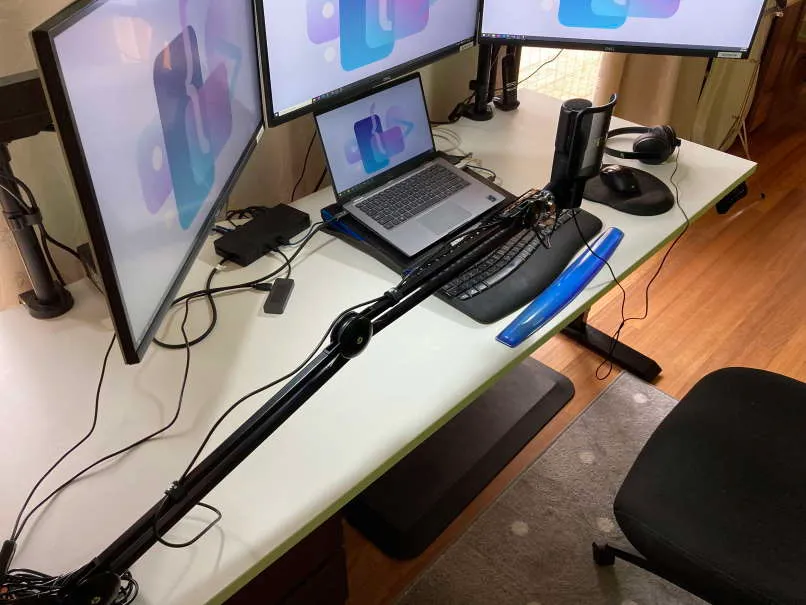
My requirements were a better microphone on one of those flexible arms, but it needed to fit on my existing desk layout. I have three 27” monitors mounted on a standing desk. Something coming down from above was almost certainly going to obstruct my view, so I figured if it could come in low from the side, that could work. Something that “hovered” above the keyboard so I could still see all three external monitors as well as the laptop display. It might obstruct the keyboard a bit, but I can touch type so that’s not a show-stopper.
Whilst an XLR microphone would have been nice, that would also require purchasing a separate device to plug into my computer. I didn’t think I could justify the extra expense.
After a fair bit of research I settled on the following:
(Affiliate links)
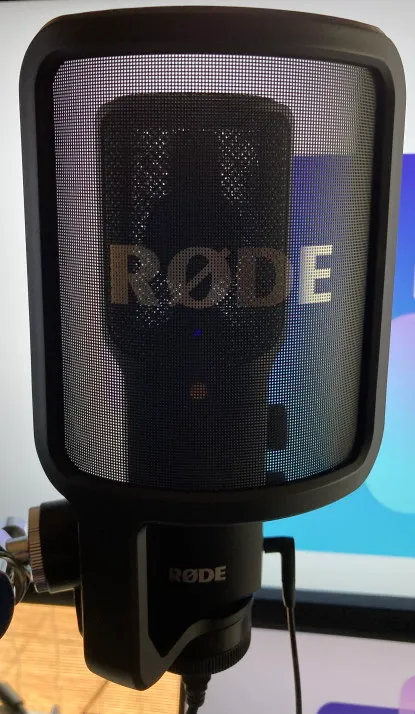
RØDE produce world-class audio gear, and it’s pretty cool that they’re actually an Australian company.
My one hesitation was whether the boom stand was going to be flexible enough and reach far enough. My desk is 1800mm wide, so it would need to span 900mm to get to the middle. Using a measuring tape it sounded like it would, but there’s nothing like actually getting one and trying it out. Good news - it does just reach!
I was a little surprised at how sensitive the microphone is. I’ll definitely need to keep the door shut when I’m using it. It will also be interesting to see if it picks up a lot of ambient noise (fans, keyboard, etc). I’ve read some comments online that mention getting better results by turning down the gain a lot (eg. 50-60%).
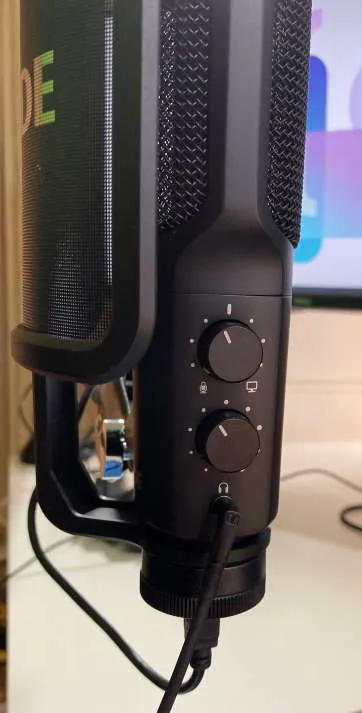
The microphone comes with it’s own 3.5mm audio jack, perfect for plugging in some headphones. This output appears as a USB audio playback/output device in Windows. There are two dials on the side of the microphone for managing the headphone audio. The top dial is used for adjusting the mix between the microphone and other audio. The bottom dial is the volume for the headphones. The documentation mentions that the audio output is “zero latency”, so you’re hearing yourself directly (without the audio having to be processed by the computer and then sent back).
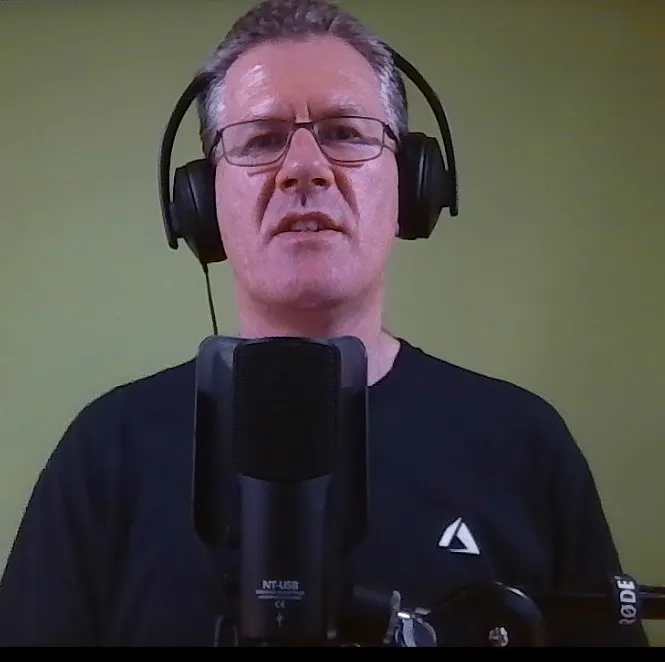
The NTUSB comes with a pop shield - useful for reducing popping sounds and keeping moisture off the microphone. This is optional so you don’t necessarily need to fit it, or you could use different filter.
Some people like to use a microphone shock mount (those fancy wire cradle things that hold the microphone - often used by radio announcers). I figure I’ll see how I go without that for now.
Mounting the microphone onto the PSA1 boom stand was straight forward, as was mounting the boom stand on my desk. The stand comes with two options, either a clamp style (which is what I used), or an insert (for a larger desk where you’d drill into the desk and mount it that way). I was able to use the clamp mount, putting it on the left edge of my desk.
When I’m not using the microphone, the stand folds up sits to the side. In doing so it’s out of my field of view for using the monitors.
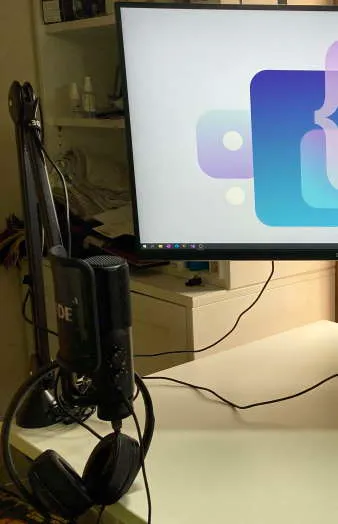
Not only does the arm + microphone reach and “hover” as I’d hoped, but it turns out it’s barely (if not at all) in shot when doing video presentations, which is ideal.