Running Speedtest on a Synology NAS
How to install and configure Speedtest Tracker on a Synology NAS using Docker to run scheduled internet speed tests and monitor your home connection quality over time.
Yesterday I noticed that our home Internet speed seemed a bit sluggish. Logging into the modem showed that instead of the usual 48-50Mbps, we were only getting around 25 (and sometimes much worse). Restarting the modem did not improve the speed, so I resorted to calling our ISP (Internode). They tried a reset from their end (on the NBN ‘Node’ I believe) but still no improvement. They’ve logged a call with the NBN who are scheduled to investigate the problem tomorrow. Interestingly the Internode support person said I was the third person she’d dealt with in the last few hours with a speed problem in my area.
Anyway this got me thinking. It would be nice to have some kind of regular scheduled speed test running to be able to monitor (and possibly even be notified of changes) to our Internet speed.
Doing a search for “synology speed test” came up with How to Install Speedtest Tracker on Your Synology NAS, which I started to follow when I realised that actually I think this could be done through the Synology Docker UI, rather than using a scheduled task. Here’s what I did:
Installing Speedtest Tracker
-
In the Synology UI, open the Docker application.
-
Go to the Registry page, and enter
speedtest-tracker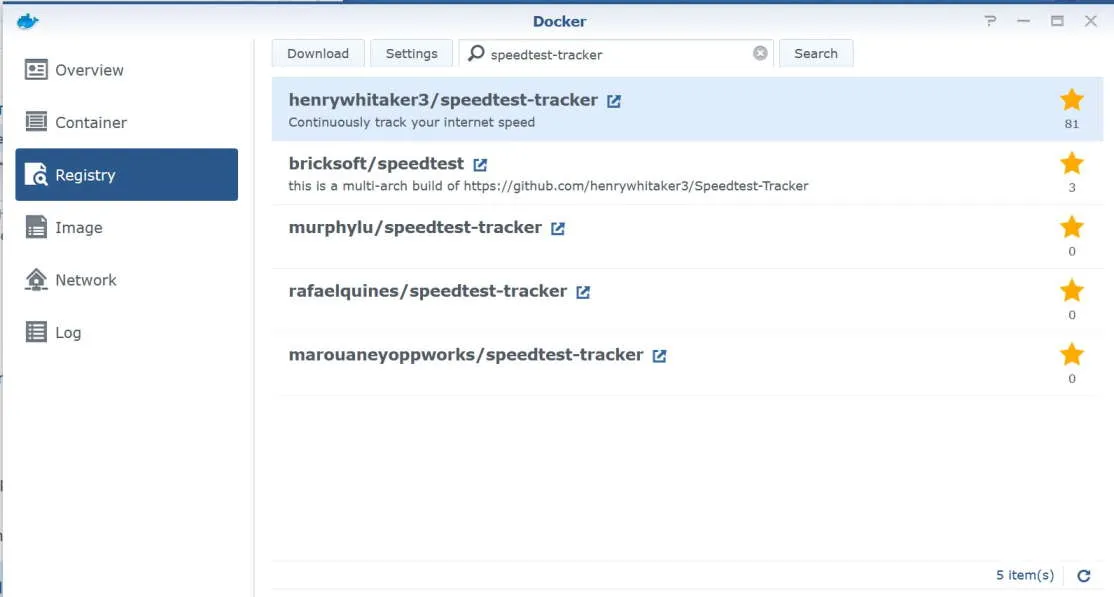
-
Select henrywhitaker3/speedtest-tracker, then click Download
-
At the Choose Tag prompt, select latest and click Select
-
Go to the Image page and wait for the image to finish downloading
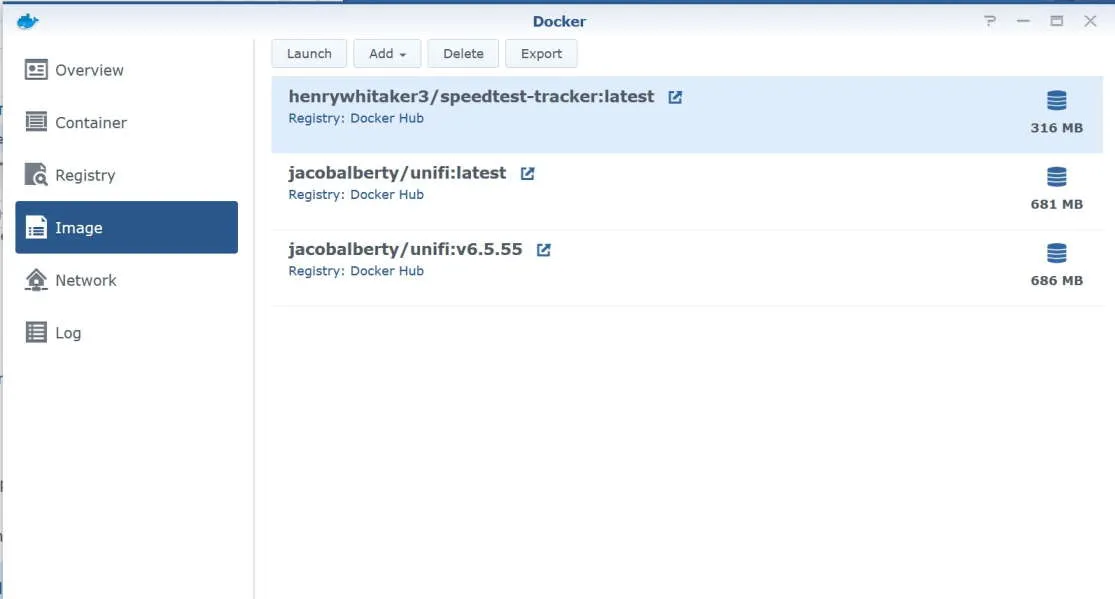
-
Select the henrywhitaker3/speedtest-tracker:latest image and click on Launch
-
In Container Name enter
Speedtest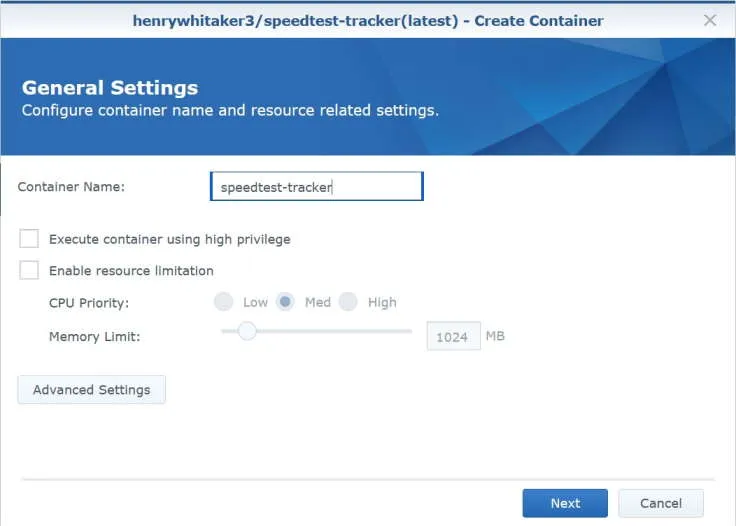
-
Click on Advanced Settings
-
Under Advanced Settings tab, check Enable auto-restart
-
Under Volume tab, click Add Folder
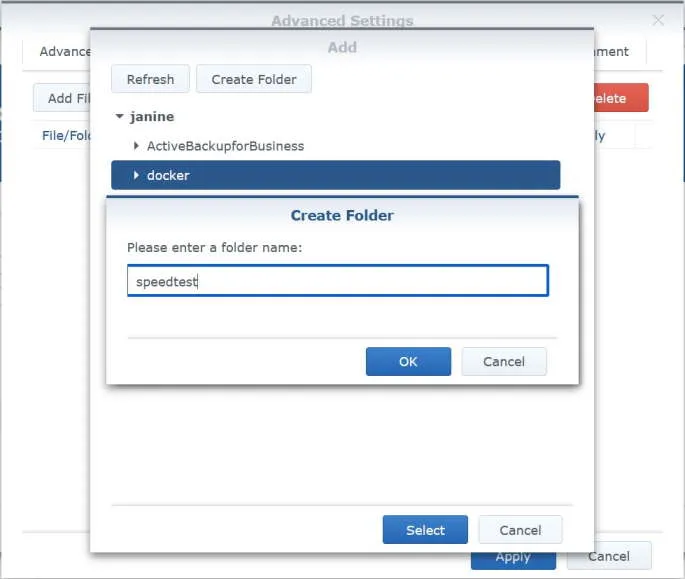
-
Select docker folder and click on Create Folder
-
Enter
speedtestand click OK -
Click Select
-
In the Mount Path field, enter
/config -
Under Port Settings tab, select the 443 row and click on the - button to delete the row.
-
Select the 80 row and in the Local Port field, enter
8788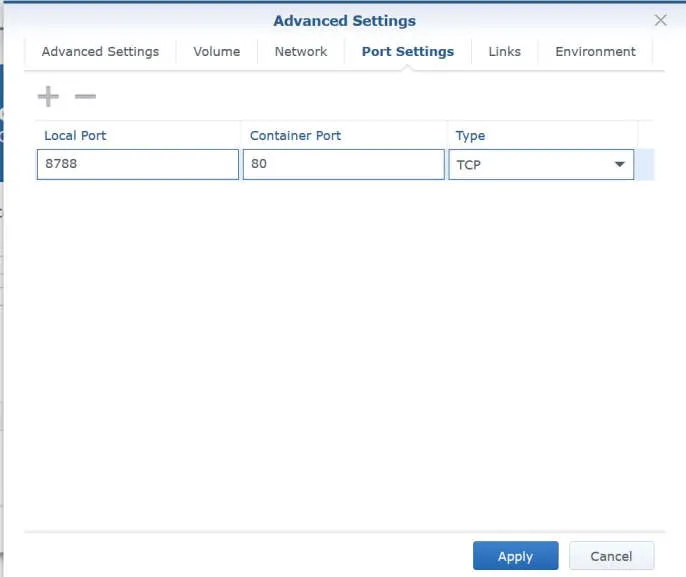
-
Under the Environment tab, click the + button to add the following environment variables. Refer to Marius’s tip on getting the values for PUID and PGID, and unless you also live in Adelaide you’ll need to change the TZ value to something from this list.
variable value PUID1026 PGID100 TZAustralia/Adelaide OOKLA_EULA_GDPRtrue 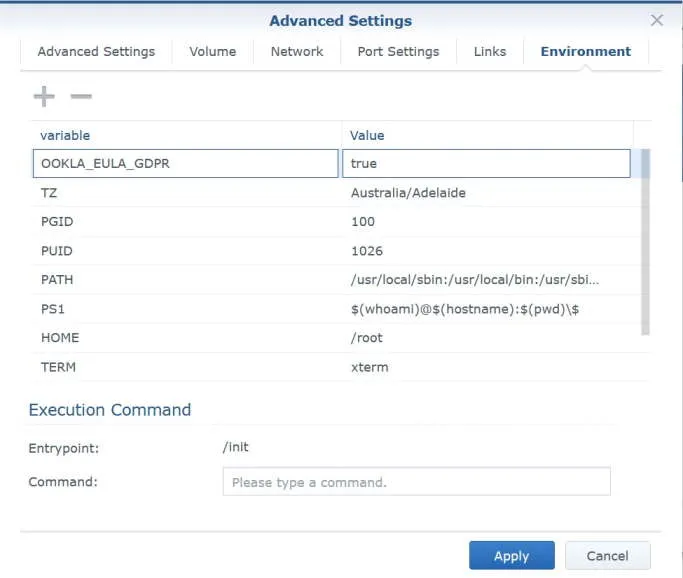
-
Click Apply
-
Click Next
-
Review the summary to confirm the details are correct then click on Apply
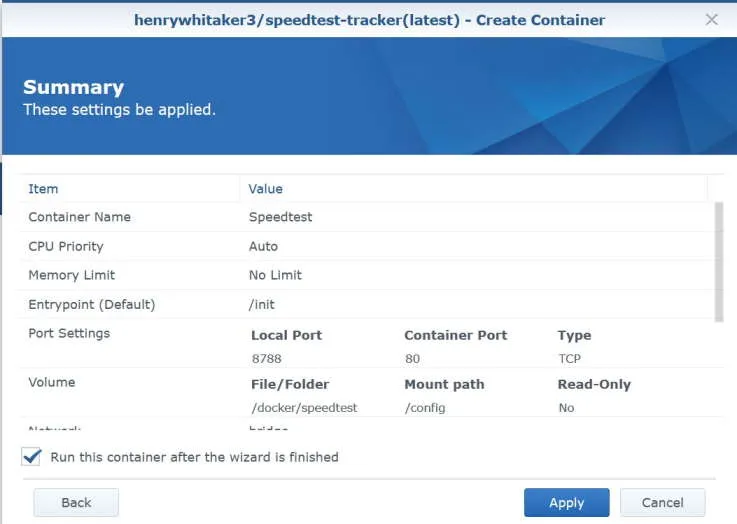
-
Switch to the Container page and confirm that the container is running.
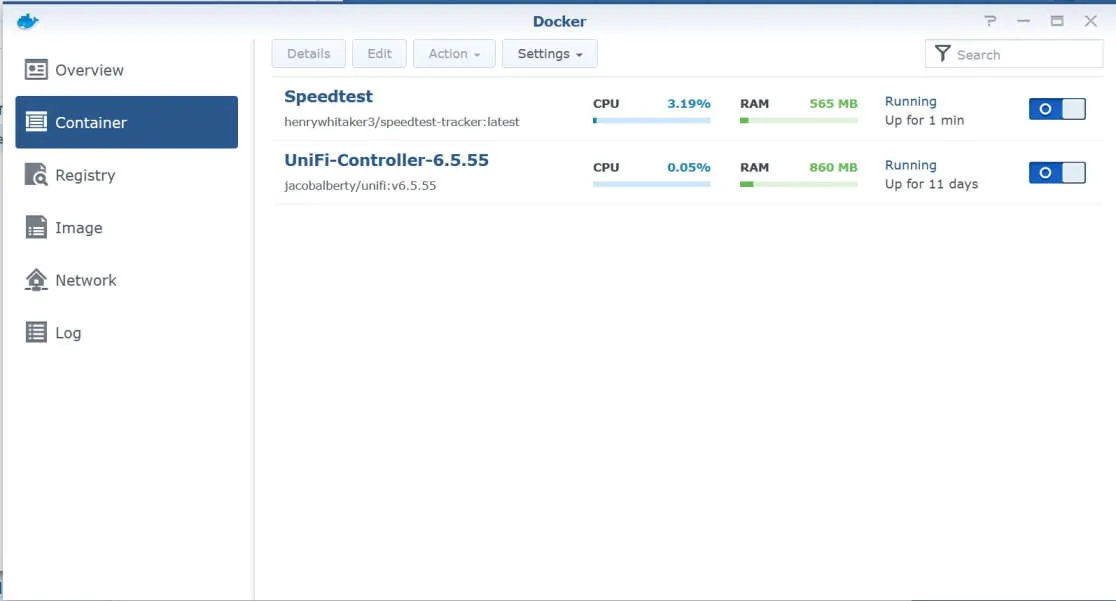
-
Now browse to http://your-synology:8788 (Change
your-synologyto the IP address or name of your Synology). Either click the button to start the test, or just wait a minute or so (as it started automatically for me).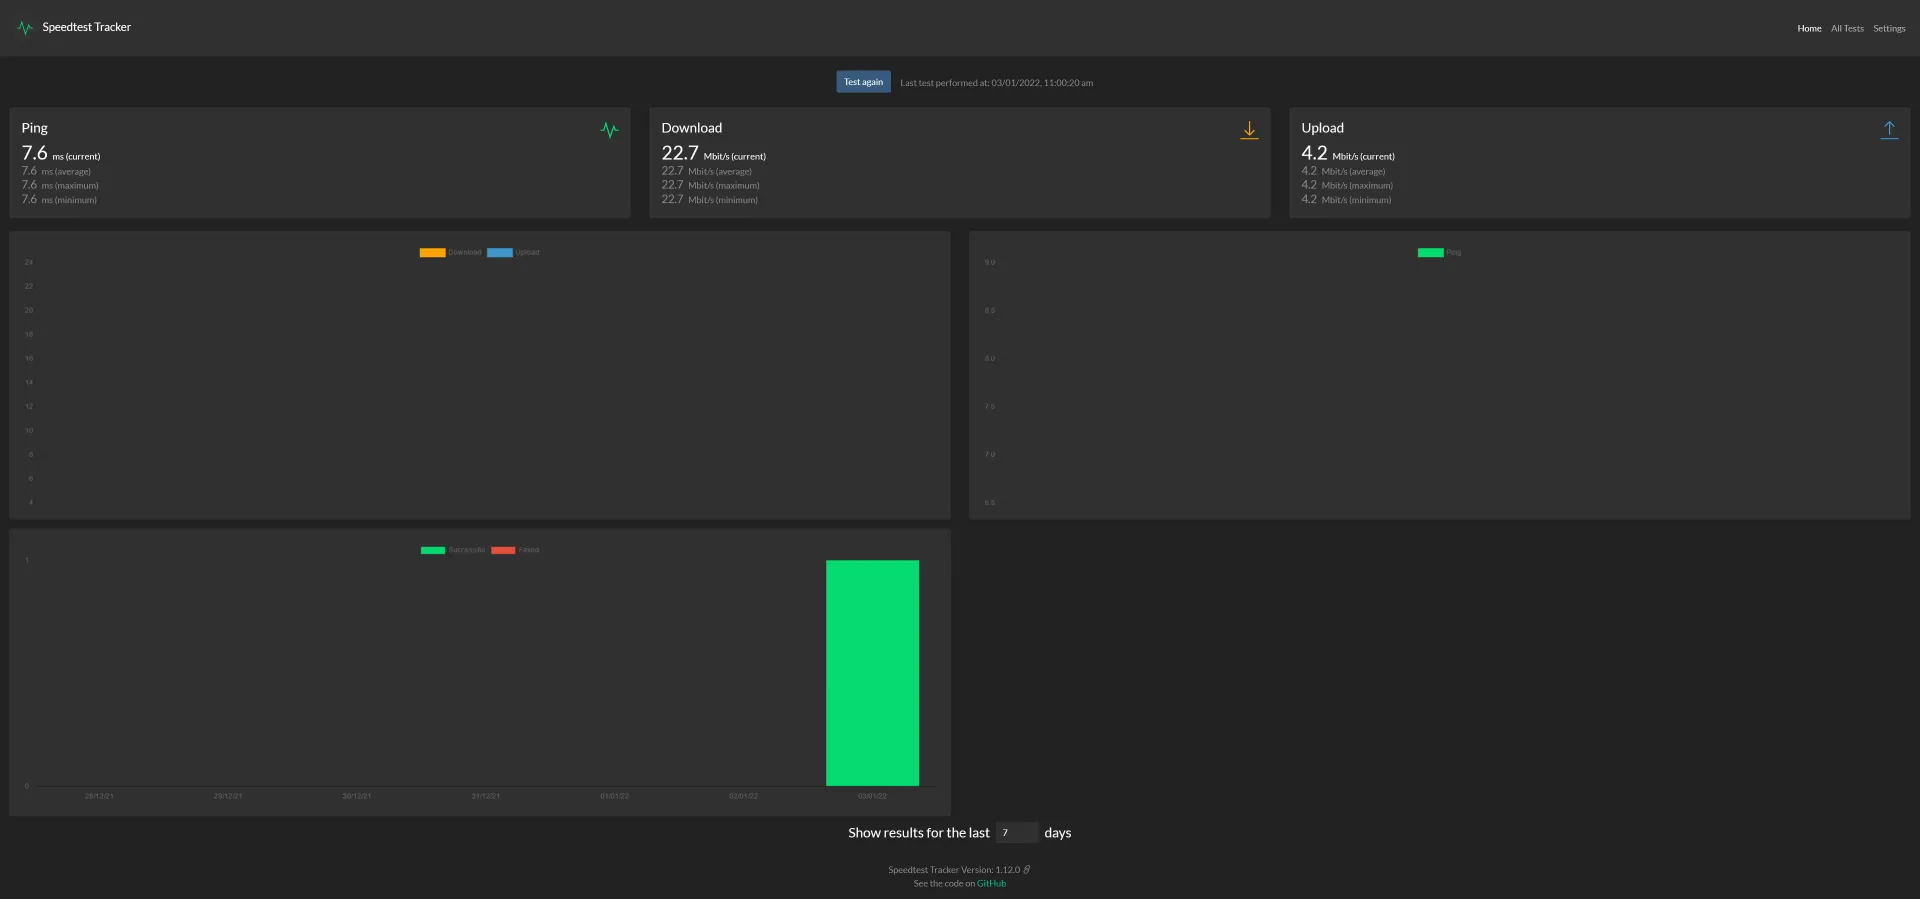
So now Speedtest Tracker application is running a test every hour. Over time, this should become a useful reference to map our average Internet speed (and be able to identify outages or degradations). Hopefully tomorrow it might also track the restoration of our speed if NBN can fix the problem.