Adding a disk to a Synology with DSM 7.1
I recently added another Western Digital hard disk to my Synology DS1621xs+ NAS (as it was warning me that my free disk space was getting low).
I went with another WD Red Plus WD40EFZX 4GB drive. I was pleasantly surprised that the prices had dropped a bit since my last purchase - from $AU163 (July 2021) down to $AU125 (the price does vary from day to day). I did consider buying an 8GB drive, but the extra price was a bit much. Maybe next time!
I could be wrong, but installing the drive felt like an easier process this time. Here’s what I did:
-
First off, insert the new disk into a free drive caddy in your Synology.
-
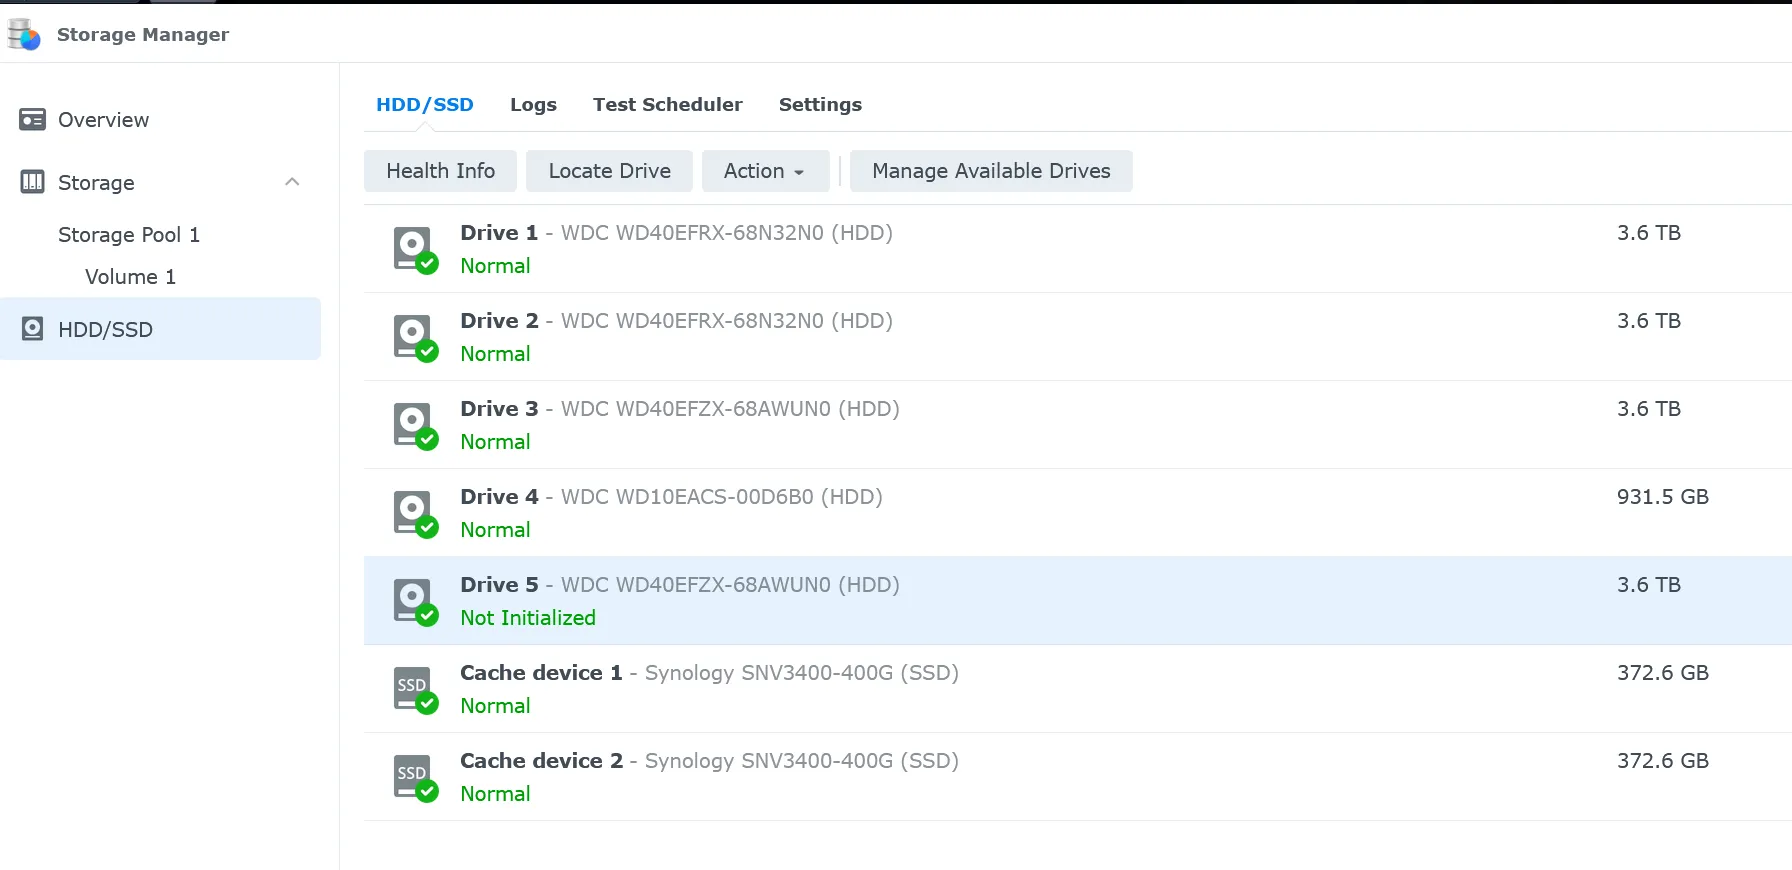
Now connect to your Synology via your web browser and open Storage Manager. If you select the HDD/SSD tab, you should see your new disk with a status of “Not Initialized”.
-
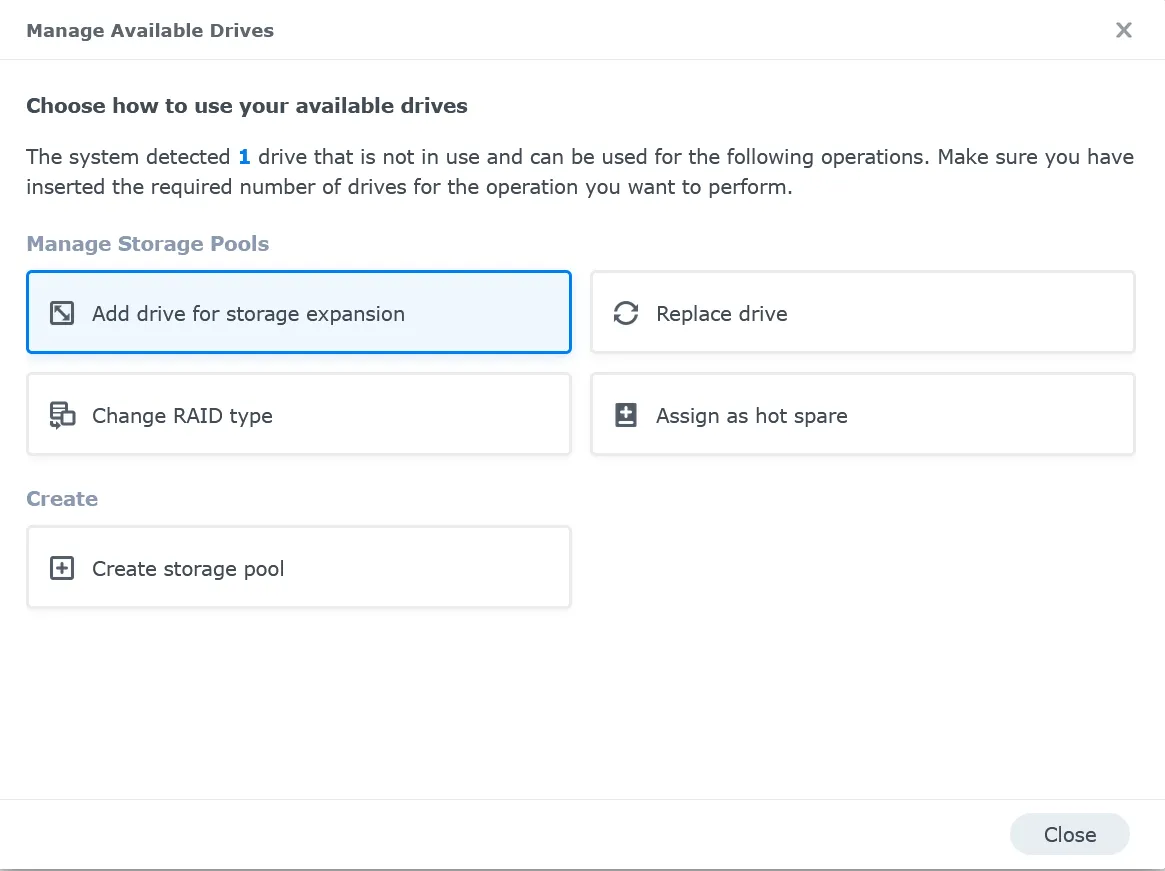
Select the new drive, then click on Manage available drives to launch the Manage Available Drives dialog.
-
Click on Add drive for storage expansion
-
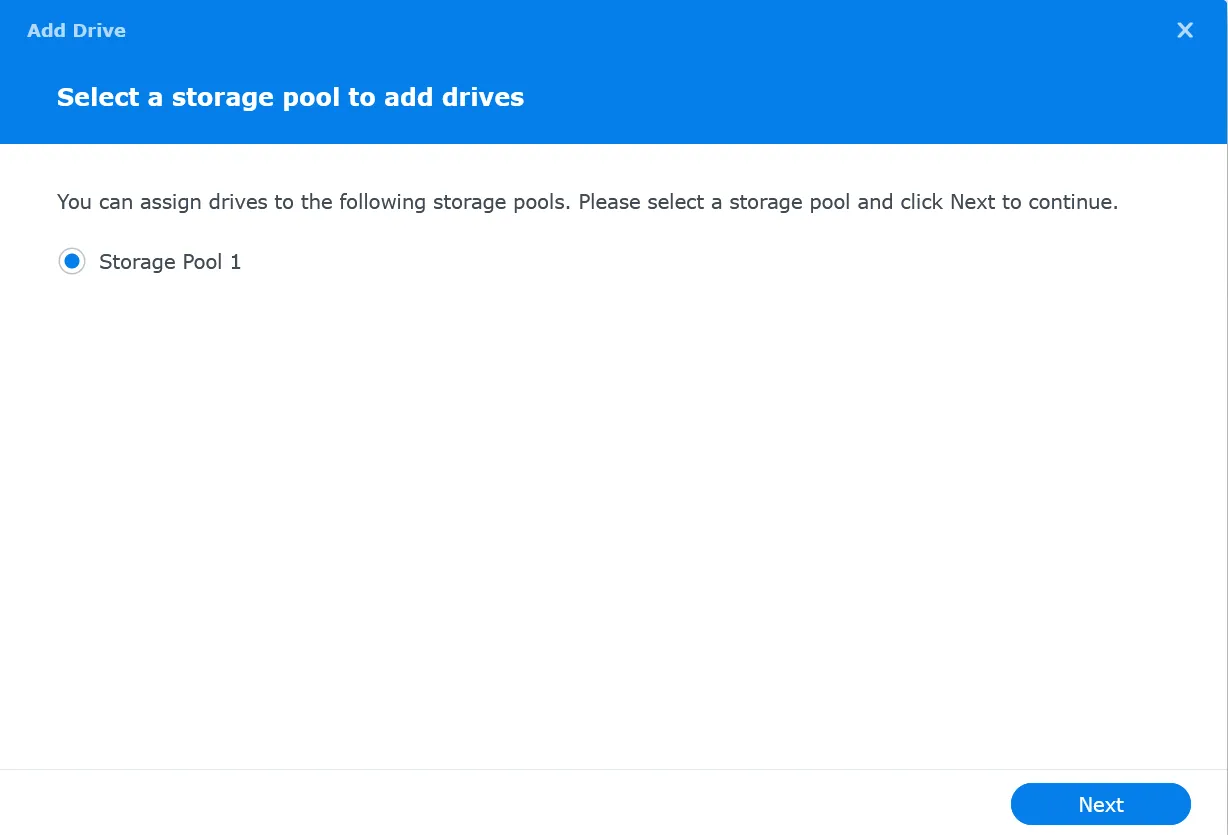
Select “Storage Pool 1” and click on Next
-
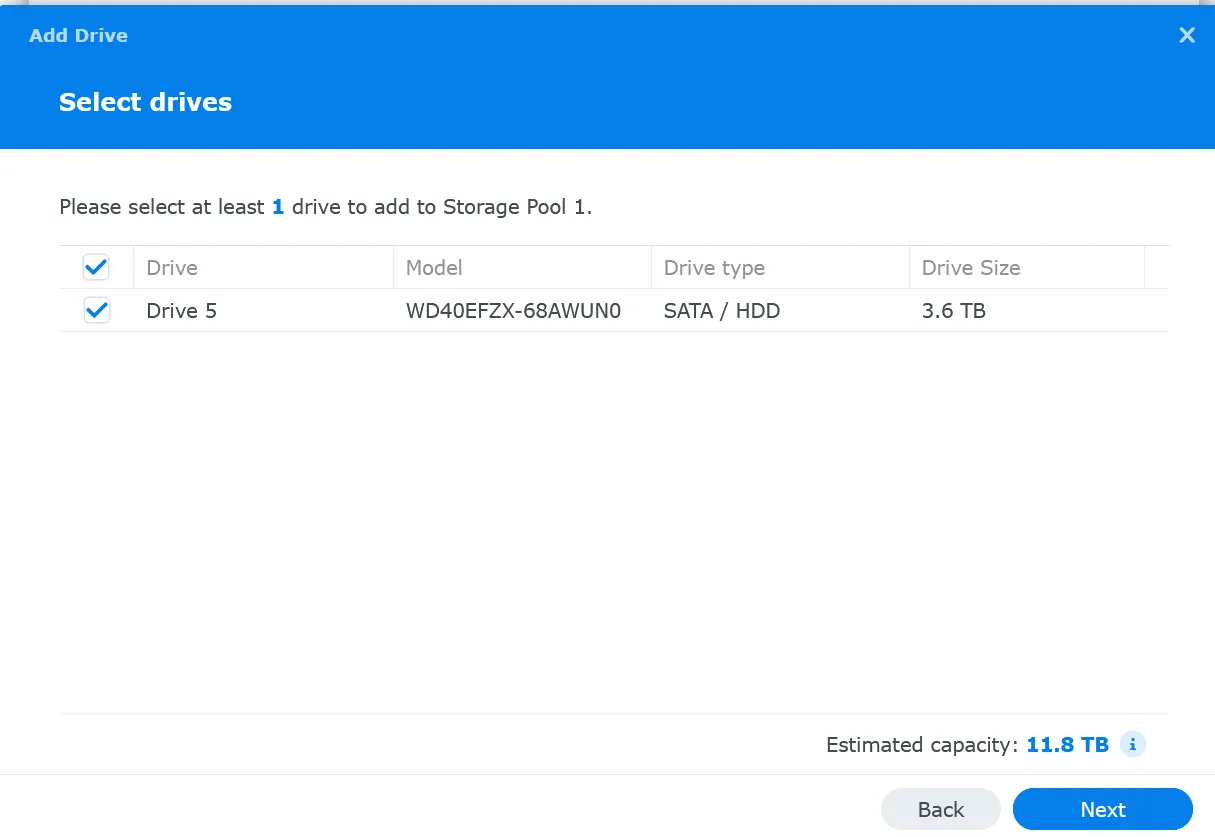
Select the drive(s) and click Next
-
Review any warning about drive compatibility
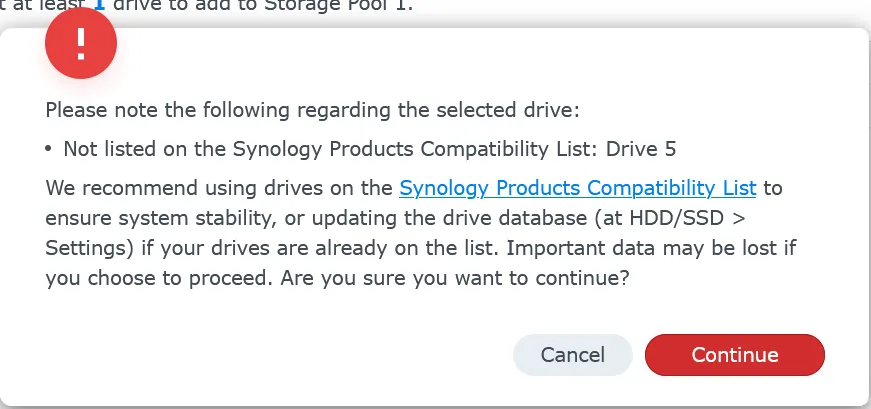
-
Optionally choose to expand the volume with these disks. Select Expand the capacity of Volume 1 and click Next
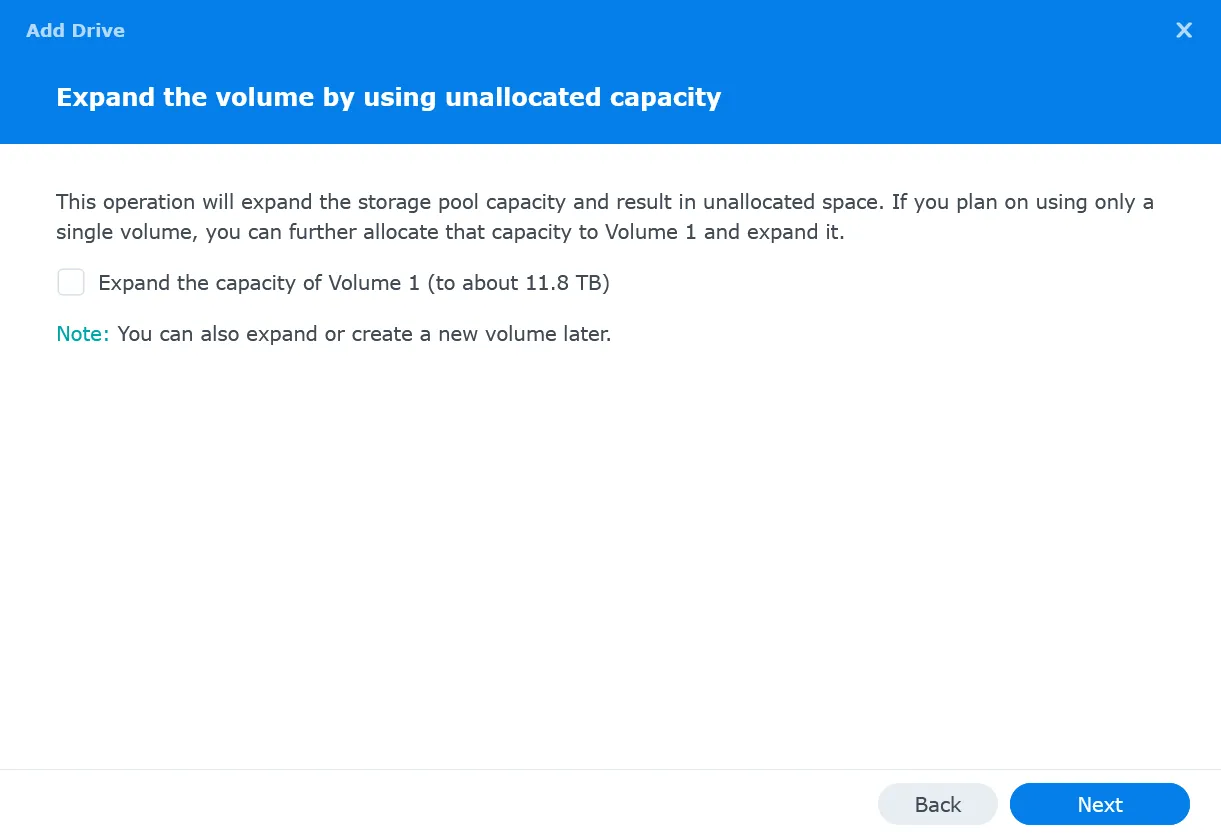
-
Review settings and then click Apply
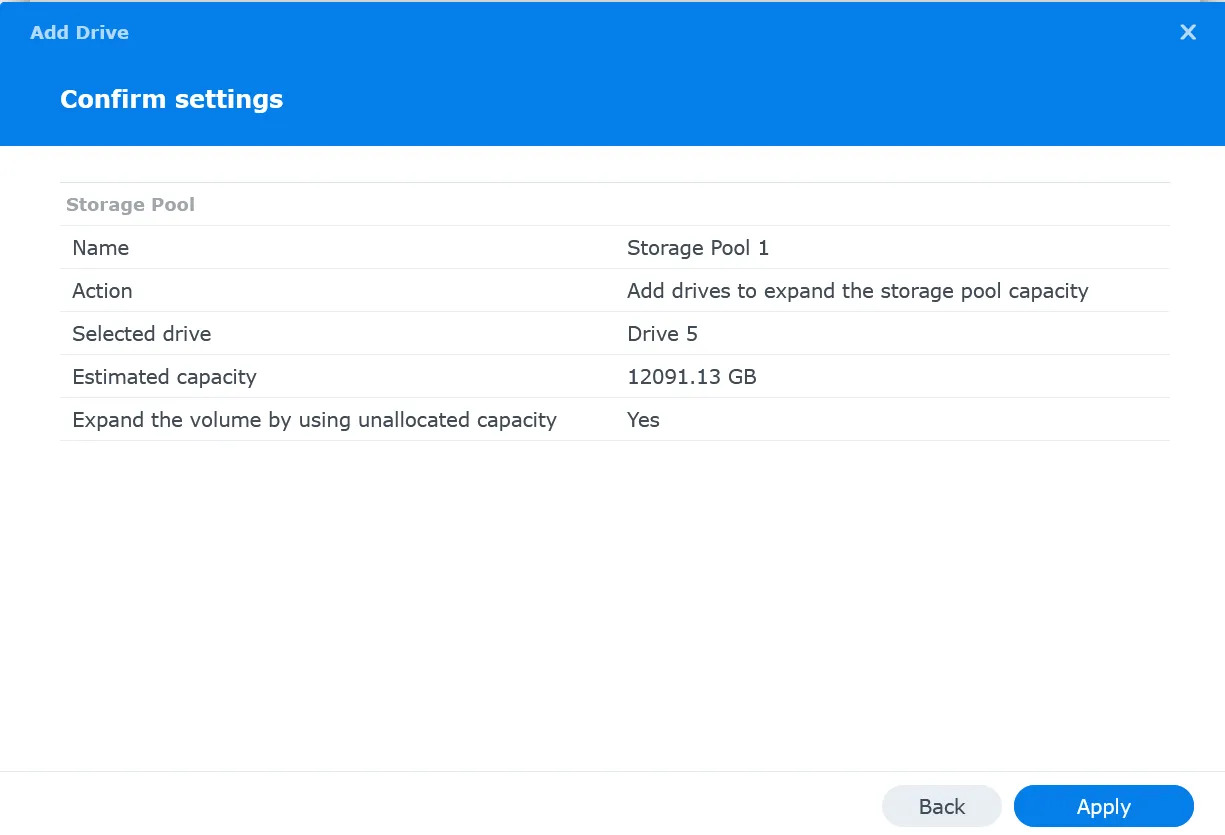
-
Confirm you are ok to erase the new drive then click OK
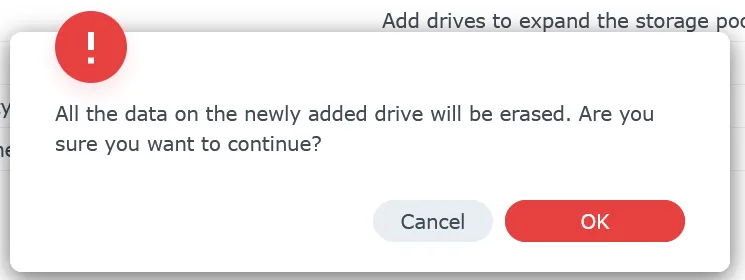
Now you’ll need to wait a while. Depending on the pool’s RAID configuration, it may be a day or longer before the disk is fully added. You can monitor the progress of drive adding by going to the storage pool.
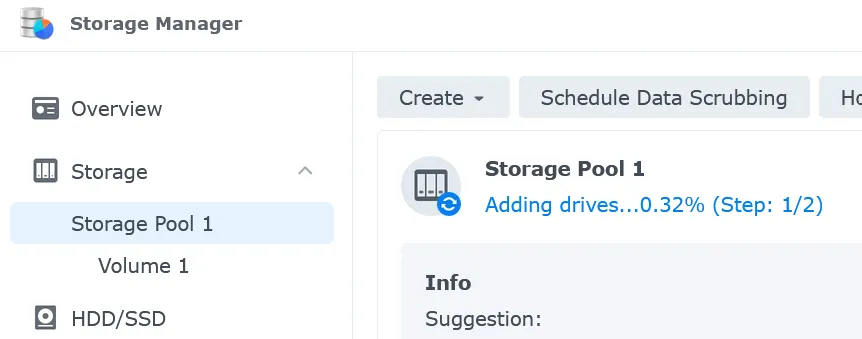
Once the drive has finished being added you’ll see the pool status back to ‘Healthy’ and the capacity will have increased.

Links to Amazon are affiliate links