-
FTTP (part 2)
Last time I described how I'd upgraded our home internet from Fibre to the node (FTTN) to Fibre to the premises (FTTP). I've since made a minor changes to the gateway settings after getting some feedback from the folks in the Leaptel thread on Whirlpool.
I had configured my gateway to use PPP to authenticate with the FTTN connection, and initially when I switched to FTTP I kept that in place. But I've since learned that there's another option to consider:
d-m-z said:
Looks like you're using PPPoE? You're probably better off with DHCP, as PPPoE adds extra overhead.
and went on to explain:
PPPoE encapsulates your traffic. There's an 8-byte header on each packet. Packets can be up to 1500 bytes, but aren't always that big. So as a percentage, the overhead varies. This part isn't that big of a deal though.
The other thing you can run into is the CPU required to run PPPoE. On the 100/20 plan that you have, it's probably not an issue. If you moved to a faster plan, you will likely find a bunch of routers can't do PPPoE at gigabit speeds.
In your Leaptel portal, as long as IPoE is enabled (it is by default), you should simply be able to switch your router over to the DHCP mode. You might need to kick your session and/or reboot the router. And that should be it.
Matt E (Leaptel CEO) clarified:
There are advantages to PPPoE over DHCP. If you router handles the speeds well on PPPoE you get extra error correction as well as any network changes which force you to re-auth you are back online within a 90 seconds. But there is overhead issues as well as if your router's CPU can handle it.
So it seems there are a couple of options:
- Stick with the PPP configuration and maybe get a bit more reliability, or
- Switch to DHCP and lessen the overhead on your gateway and maybe get a tiny bit more throughput on your connection
I decided I'd try out the DHCP option to see what it was like:
Firstly, I turned off the auto WAN sensing option and disabled the PPP connection.
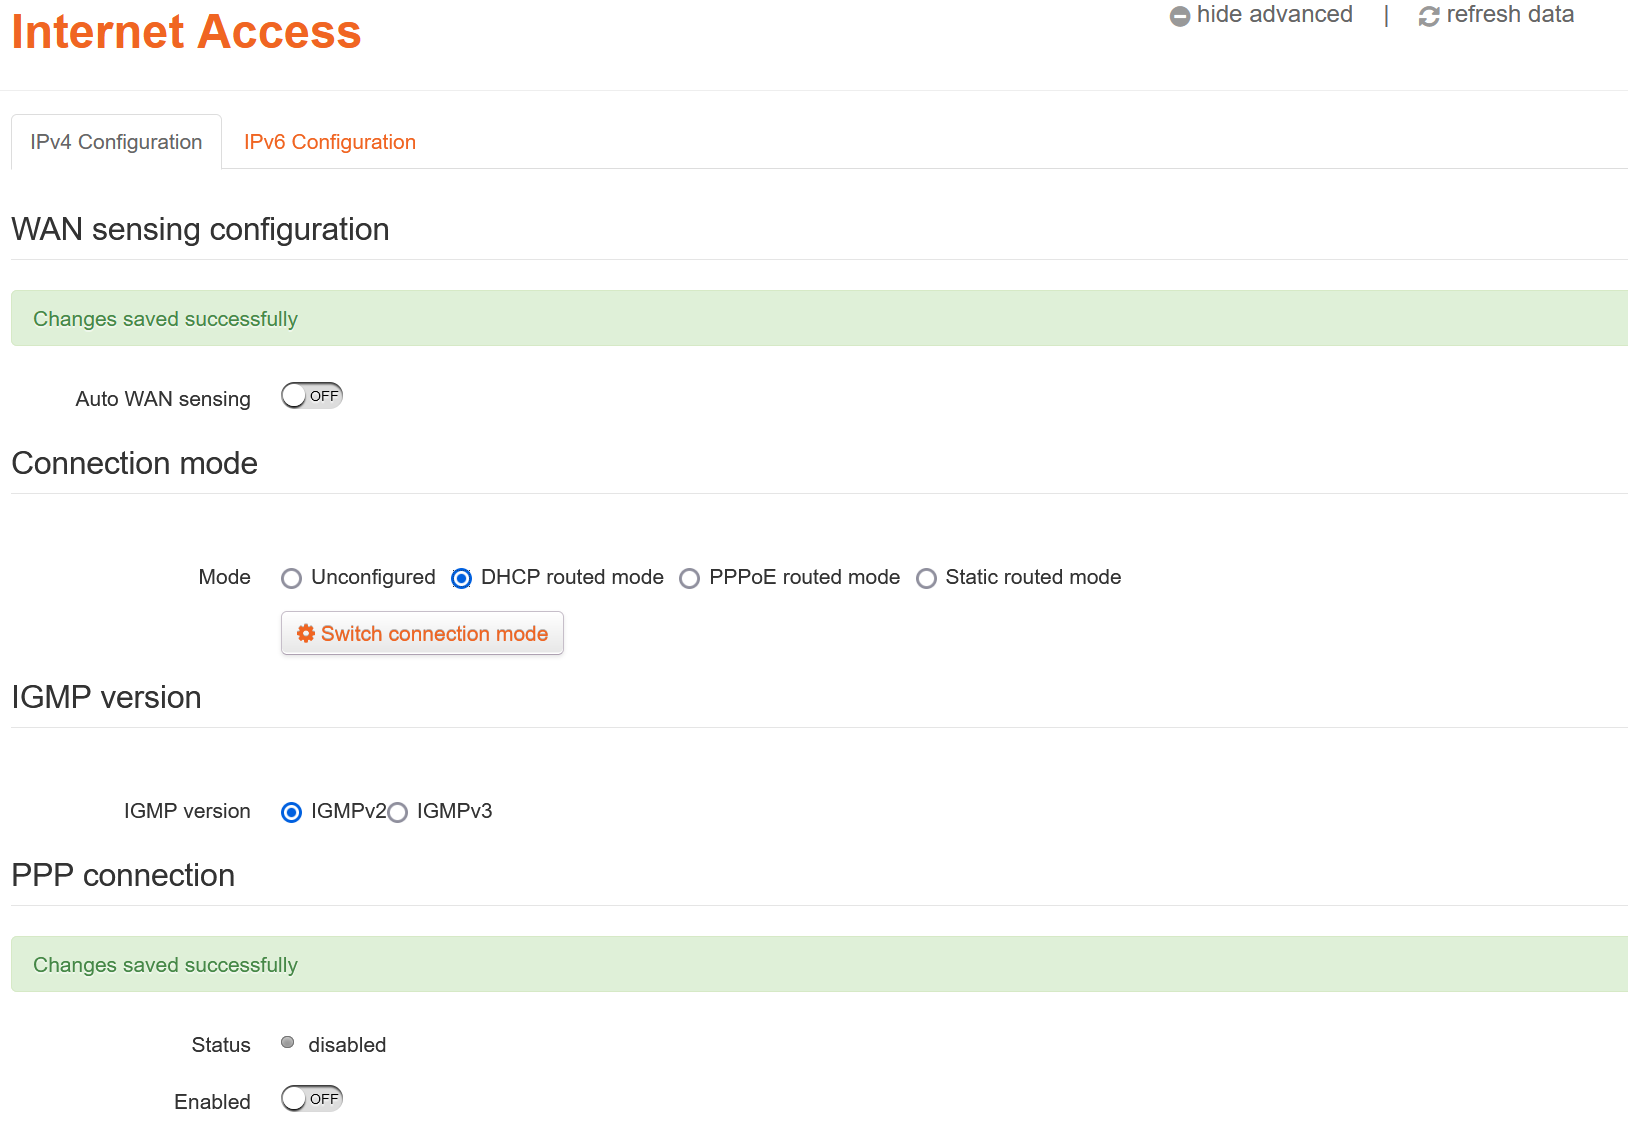
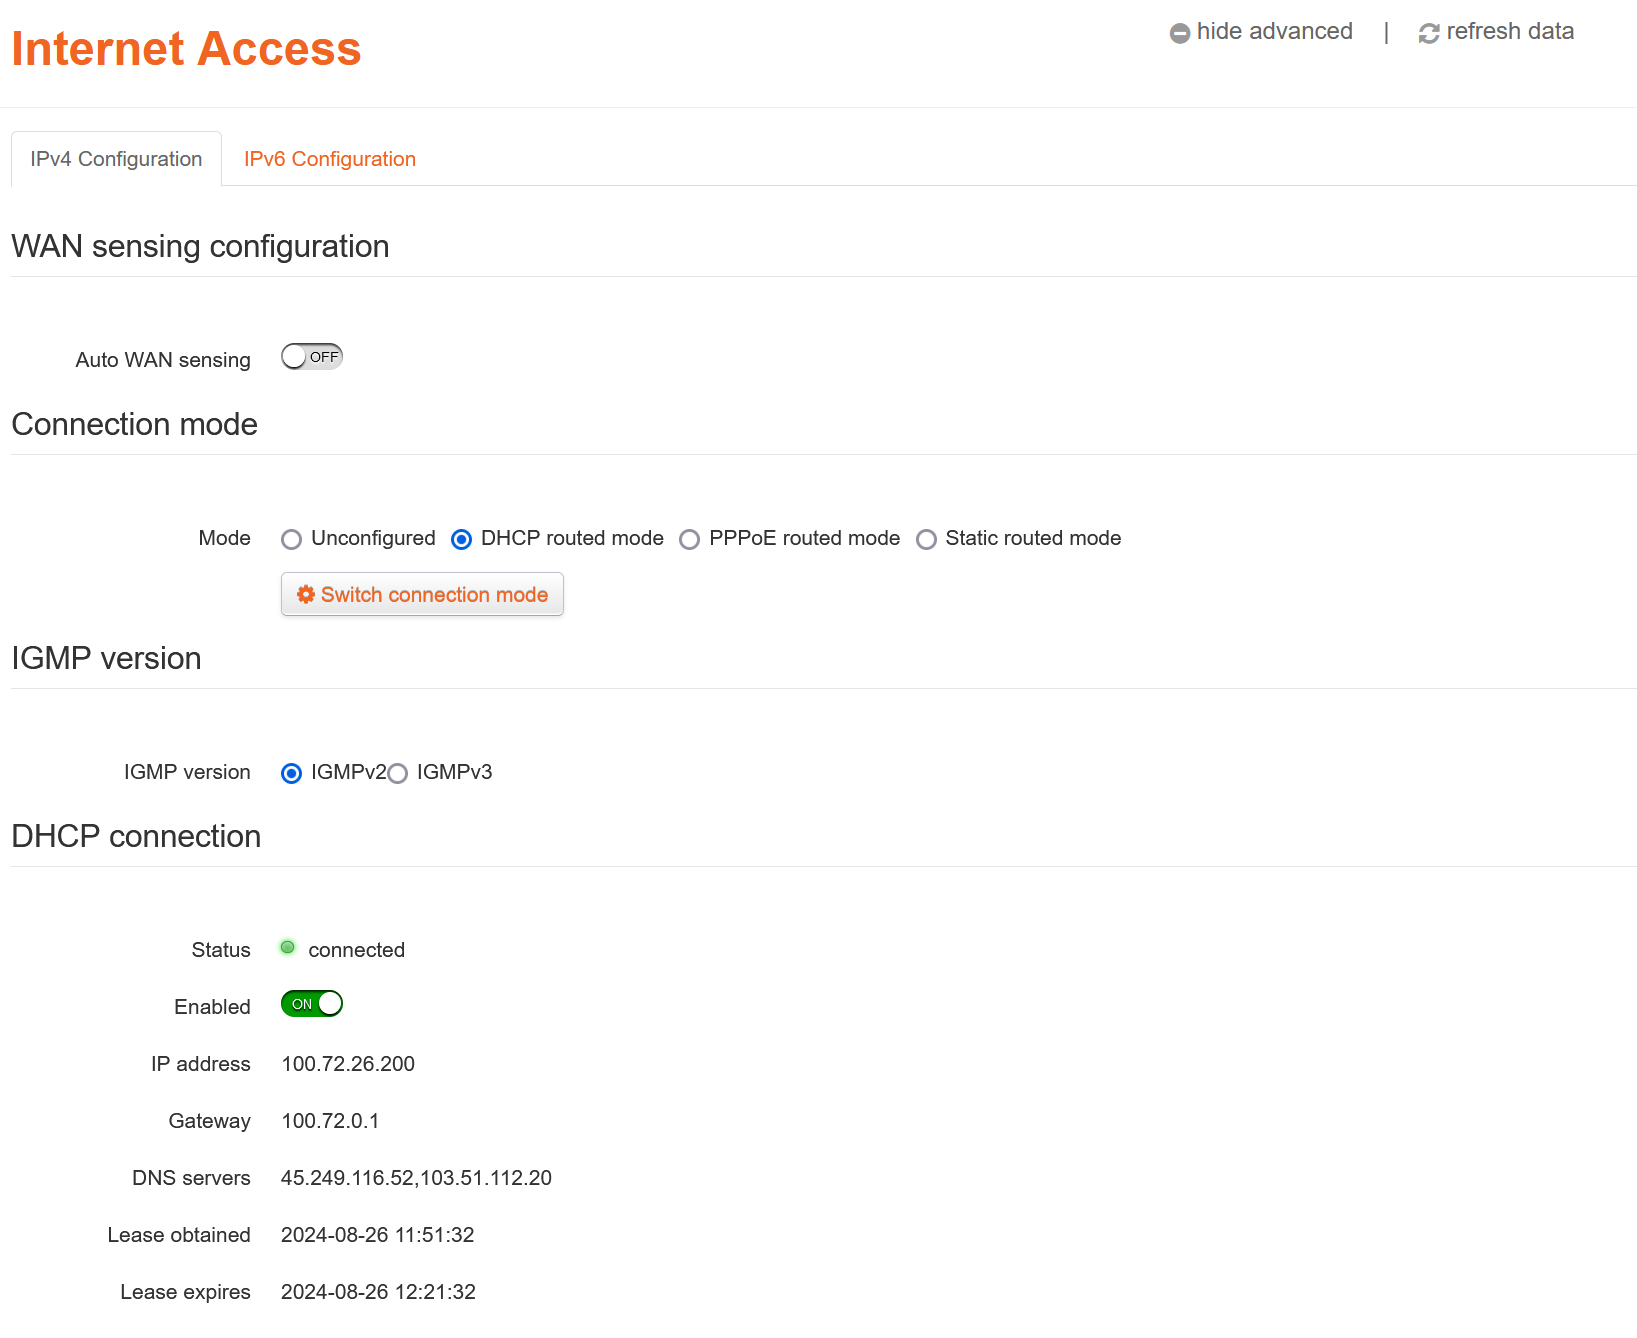
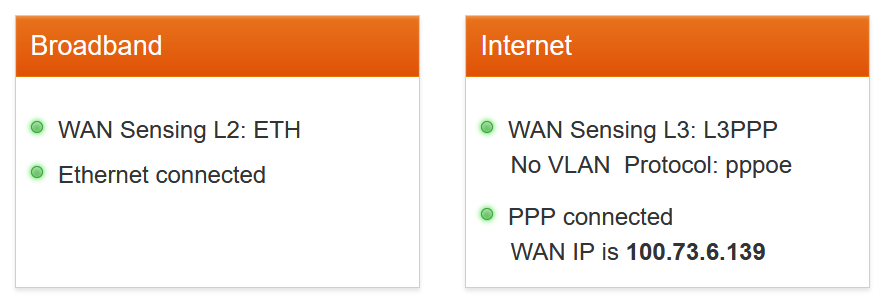
This then enabled me to select DHCP routed mode. Saving those changes and then reloading the Internet Access page then showed the DHCP connection was up:
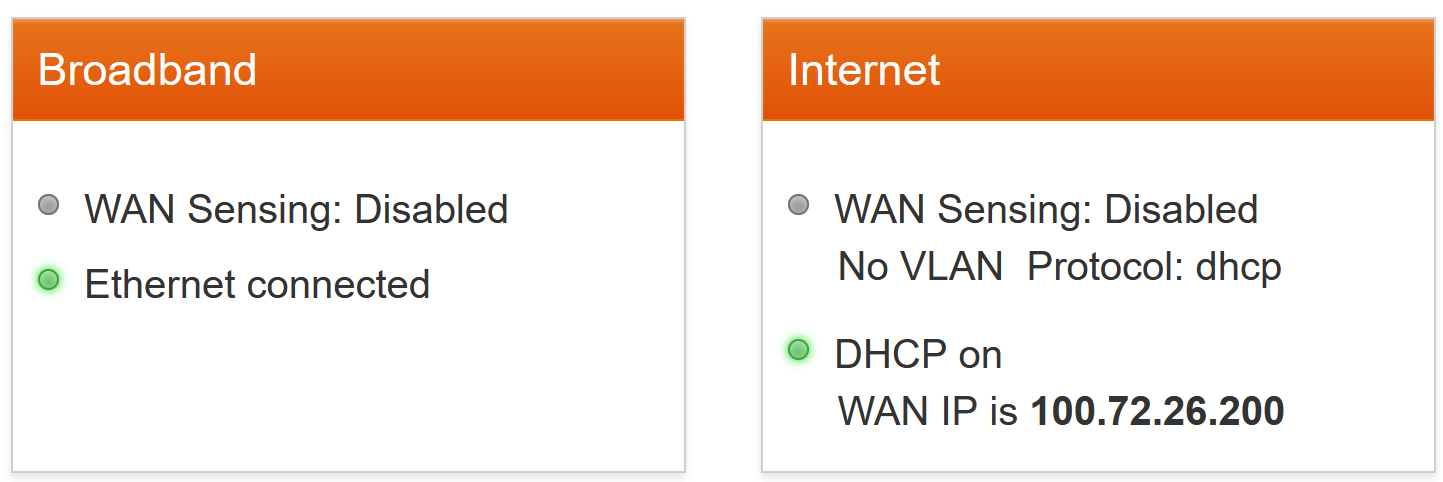
And now the gateway's main status page showed it was in 'DHCP' mode.
Regarding DHCP - it's my impression that this essentially telling the gateway to be a DHCP client to configure itself. Not to be confused with choosing to run a DHCP server on your local network (quite often on the gateway itself), servicing devices on your network.
So far, so good!
-
Farewell FTTN, Hello FTTP
It's all happening here on the Internet front. Last week I switched ISPs, and today we've upgraded from copper to fibre (or 'fiber' for North Americans!). I had a few concerns about how it was going to go, but TL;DR it went really well.

First off, the existing conduit that runs to the house is pretty narrow, so I was worried that it wouldn't be suitable for pulling the fibre, in which case they'd likely need to install a new conduit - digging up the front garden and maybe either cutting through our concrete path or lifting up lots of pavers. Messy and disruptive options.

Secondly, when NBN fibre is installed, they install two boxes. One on the outside of the house (the 'NBN utility box'), and the second inside (the 'NBN connection box' which terminates the fibre and gives you an Ethernet port to plug into). Ideally I really wanted the latter to be located right up the back of our house in a storeroom where all my other networking gear lives. However it's a fair distance internally so I wasn't sure if they would agree to go that far.
Step one was locating the small communications pit that was hiding in our front garden under quite a few layers of leaves and tree bark. I didn't even know this existed until the initial NBN survey of our street almost two years ago uncovered it. It's roughly under the big stick in the photo 😀.

The NBN technicians tested the existing conduit that runs from this pit up to the house for blockages by squirting some water from the hose down it. I gather this was successful, so they were happy that the conduit was usable.
The external box was mounted on the outside wall just above where the old conduit came out of the ground. The old copper wire was kept in place. In my case the copper goes into the wall cavity via a brick air vent and up to the fascia underneath the roof gutter where there's a little box that then connects to the internal telephony wiring (in my case I had a central splitter just inside the roof and then CAT5 cabling running back up to the aforementioned storeroom).

Rather than pulling the fibre up through the wall cavity following the copper line (I suspect it's probably too risky getting a kink in the fibre), they added extra conduit runs up to the roof and it enters the roof space.

Crawling around inside our roof is not fun, but they managed to get the fibre all the way over to the storeroom and used an existing hole in the ceiling (from when I'd previously run network cables to two wireless access). If I'd been thinking ahead when that room was built, I would have put in a proper large conduit from the wall up to the ceiling so that all those cables could use that!
They installed the 'NBN connection box' on the wall of the storeroom right next to my modem/gateway, network switches and Synology, exactly where I'd hoped it could go.
There was a short outage while they were doing the install - I gather they disconnected the copper for a bit when they were using it to pull the fibre. But it was reconnected and I was back online after a few minutes.
While they were finishing up, I received a text from Leaptel confirming that the new fibre connection was ready.
I've been using a Technicolor MediaAccess TG789vac v2 modem/gateway since we switched from ADSL to FTTN. It was supplied by Internode, but it isn't locked, and it has a WAN port so I was confident it would work as a gateway once our fibre was live.
I pulled out the telephone cable from the back of the gateway and confirmed that there was just a LAN patch cable from the 'NBN connection box' plugged into the gateway WAN port.
Opening the gateway configuration, I navigated to the 'Internet Access' page and clicked on show advanced.
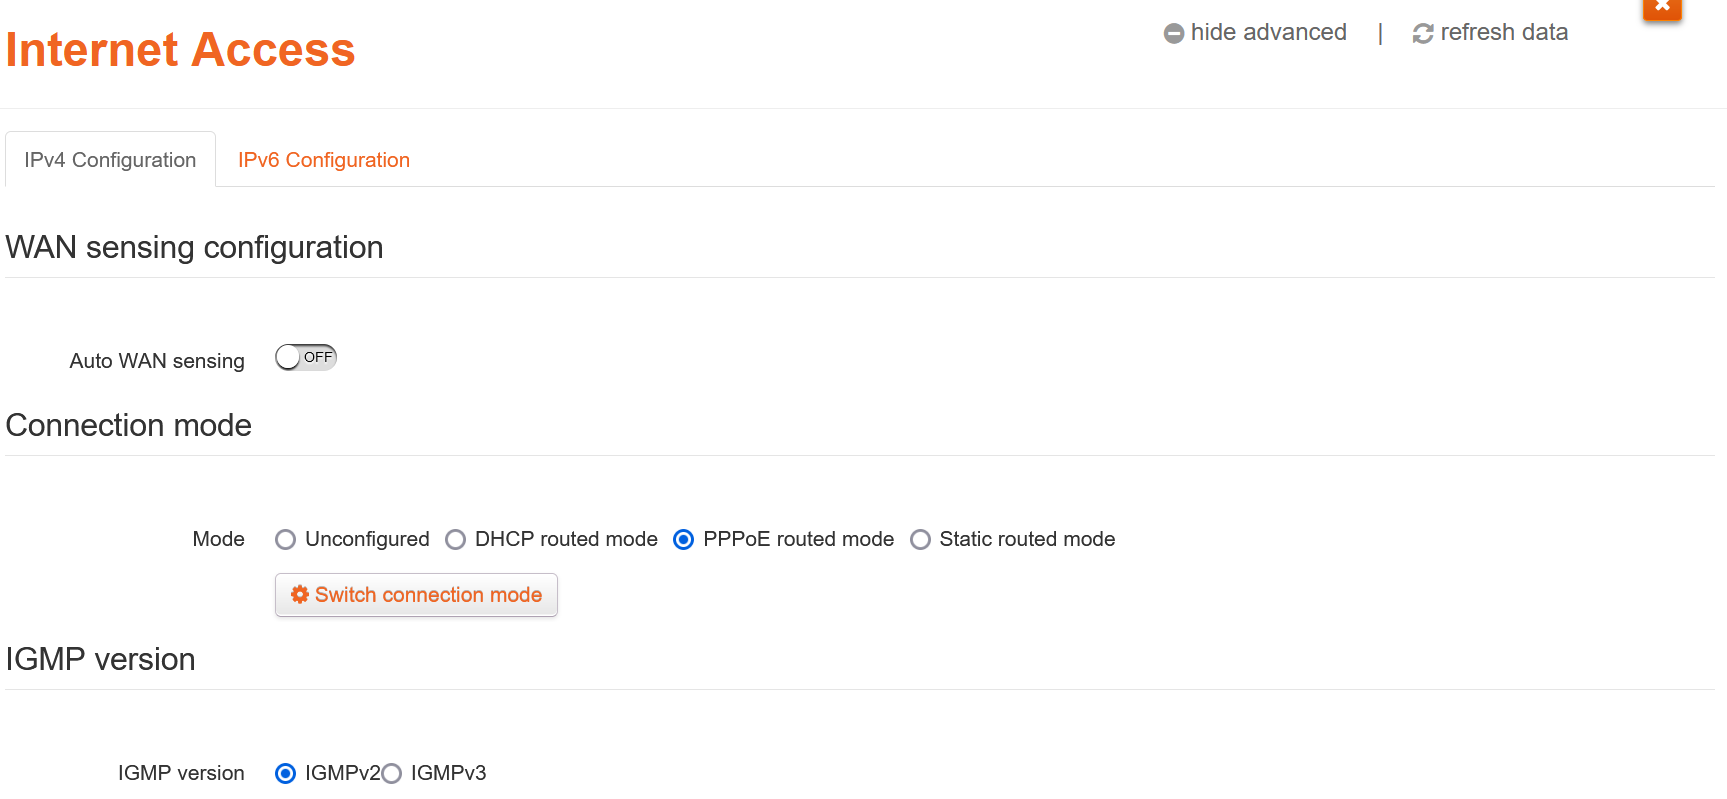
I then enabled Auto WAN sensing and clicked Save, then Close.
After a few seconds, the status updated to show the gateway using the WAN connection
And finally, a quick speed test, and wow, isn't that awesome - 106.74Mbs download and 18.1Mbps upload!

Down the track, upgrading the gateway to something like a Ubiquiti UniFi Cloud Gateway Ultra could be nice.
-
Farewell Internode, hello Leaptel
I've been using Internode as our home ISP for quite a long time. I'm struggling to find when we first signed up with them, but extrapolating back from the last invoice I can find, it might be around 2002/2003? That's probably when I upgraded from my work dial-up to ADSL1.
They were the first ISP in Australia to offer ADSL2+, and we upgraded in 2006.
Internode introduced IPv6, which I wrote about in 2010.
In 2012 I shifted to 'Naked ADSL' and migrated our home phone number to VoIP.
In 2017 the first NBN (National Broadband Network) rollout in our neighbourhood meant I could upgrade to Fibre To The Node (FTTN). Frustratingly, this was originally planned to be full Fibre To The Premises (FTTP), but a change of government meant going for a cheaper (and short-sighted in my opinion) option. Unfortunately for me, our house was on the end of a long copper run from our nearest 'Node', so the best speed we'd ever achieve would be ~45Mbps.
Finally, 7 years later the NBN has provisioned FTTP in our suburb. You need to register with your ISP to request a (free) upgrade from the existing copper and get the fibre from the street into your house (and termination equipment installed).
After the NBN was rolled out in Australia, there was a period of consolidation among ISPs. In 2011 Internode was bought by iiNet, which in turn was acquired by TPG Telecom in 2015.
For the most part, things just kept working, though there were some signs of change. The rare time I needed to call support, they now appeared to be offshore rather than Adelaide-based. Last year they dropped support for hosted email and then stopped accepting new customers under the Internode brand. I suspect it won't be long before it's gone completely.
So rather than just move by default to iiNet (which I believe is what would happen if I requested FTTP through Internode), I thought this was a good opportunity to check out what other providers were in the market.
And so after some research and reading comments and reviews on the Whirlpool forums, I settled on a newer ISP called Leaptel.
There were a couple of things that interested me about Leaptel. For one, their prices were competitive, but secondly, their CEO Matt hangs out in the Whirlpool forum and is really responsive to questions from other posters. In many ways, it is quite reminiscent of that other ISP that I signed up for all those years ago.
So step one, I've switched to Leaptel as our FTTN provider. But as part of the sign-up process, I also requested they initiate the upgrade to FTTP.
I was a bit unsure how the fibre would be installed to our house (given my observation of where our copper line comes in), so I thought it would be wise to wait until a neighbour or two had gone through the process first. That happened in the last couple of weeks, and interestingly the NBN folks ended up spending quite a few days in our street sorting out issues with tree roots, as well as having to negotiate how to run the new fibre to their houses.
In one case they wanted to dig up a neighbour's brand new concrete driveway. Not surprisingly, that neighbour said no, so they ended up running it alongside the driveway (which honestly seems like a simpler option anyway!)
I've now been notified that the NBN techs are due to come this Friday to start our upgrade. There's a few things I'll be interested to find out:
- Can they reuse the existing copper conduit to pull the fibre to our house? If they can't, then will they be digging up my front garden and/or the concrete path we have around our house?
- Can they install the 'NBN connection box' in our storeroom (where I have our current modem and networking gear)? It is right at the back of our house, so there is a risk it could be too far from the 'NBN utility box' that they apparently put on an external wall of your house.
I should have some answers to those questions soon.