-
Lights, camera, action!
A number of times now I've given a remote presentation in the evening and I've struggled with lighting. The room I use just has ceiling lights and my desk faces a window. A pleasant view in the day but very dark at night. I ended up borrowing my daughter's desk lamp to help make me look a bit brighter. That's not a long term solution (especially if my daughter wants to use her desk light too!)
I've noticed some people getting Elgato Key Lights, and they certainly look pretty swish, not to mention how they're remotely controllable, but at $AU270 per light (or $AU199 for the 'Air'), they're not that cheap. Elgato make some nice gear, but unless I was using it all the time I don't think my budget could justify it.
More recently I saw the 'Neewer' brand getting mentioned on Twitter and at $AU55 for two lights, I was interested!
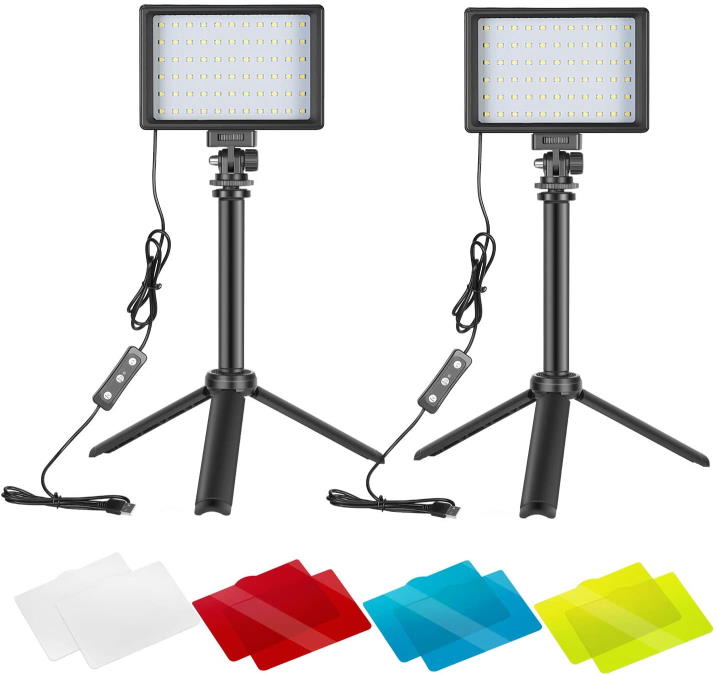
I ordered a Neewer 2 Packs Portable Photography Lighting Kit Dimmable 5600K USB 66 LED Video Light with Mini Adjustable Tripod Stand and Color Filters for Table Top/Low Angle Photo Video Studio Shooting amazon.com.au amazon.com.
You get two lights which are USB powered, with a controller on each power lead to turn on/off and dim up/down. They come with a small stand that uses standard 1/4" screw connectors.

The comments on this product point out that the stand is not that tall, but I realised that I should be able to mount the stands on my existing monitor arms. All I'd need was something to attach to the arms. A couple of SMALLRIG Super Clamp Mount with Ball Head Mount Hot Shoe Adapter and Cool Clamp amazon.com.au amazon.com should do the job!
I was pleasantly surprised that it only took a few days for the packages to arrive. I presume they must have stock in Australia instead of having to ship from overseas.
I assembled the lights and removed the tripod foot so I could instead use the clamps. Here's the clamp attached to the monitor arm:

And here's one of the assembled lights:

Now I'm all set for my next evening presentation!
Disclosure: As an Amazon Associate I earn from qualifying purchases
-
Why I'm excited to be a developer right now

Microsoft's Ignite 2020 conference is on this week. It's all online and registration is free!
This Thursday at 3pm +930 I'm participating in a "Table Talk" open discussion on the topic "Why we're excited to be a developer right now", along with Samir Behara, Sal Janssen, Dr Neil Roodyn, Senthamil V.
We'd love to have you join and take part in the discussion!
-
The church of the future (from 1995)
Way, way back in 1995 I'd been a part of a team that published a newspaper leading up (and during) that year's National Christian Youth Convention (aka NCYC 95). After the convention had finished, the New Times newspaper (which had been supporting us) asked us to continue writing pieces.
Recently my Dad gave me a collection of articles from these publications that he'd kept. This one stood out as being surprisingly relevant! If you know me well, you'll be familiar with my unusual sense of humour, and I enjoyed sprinkling this into my written work.
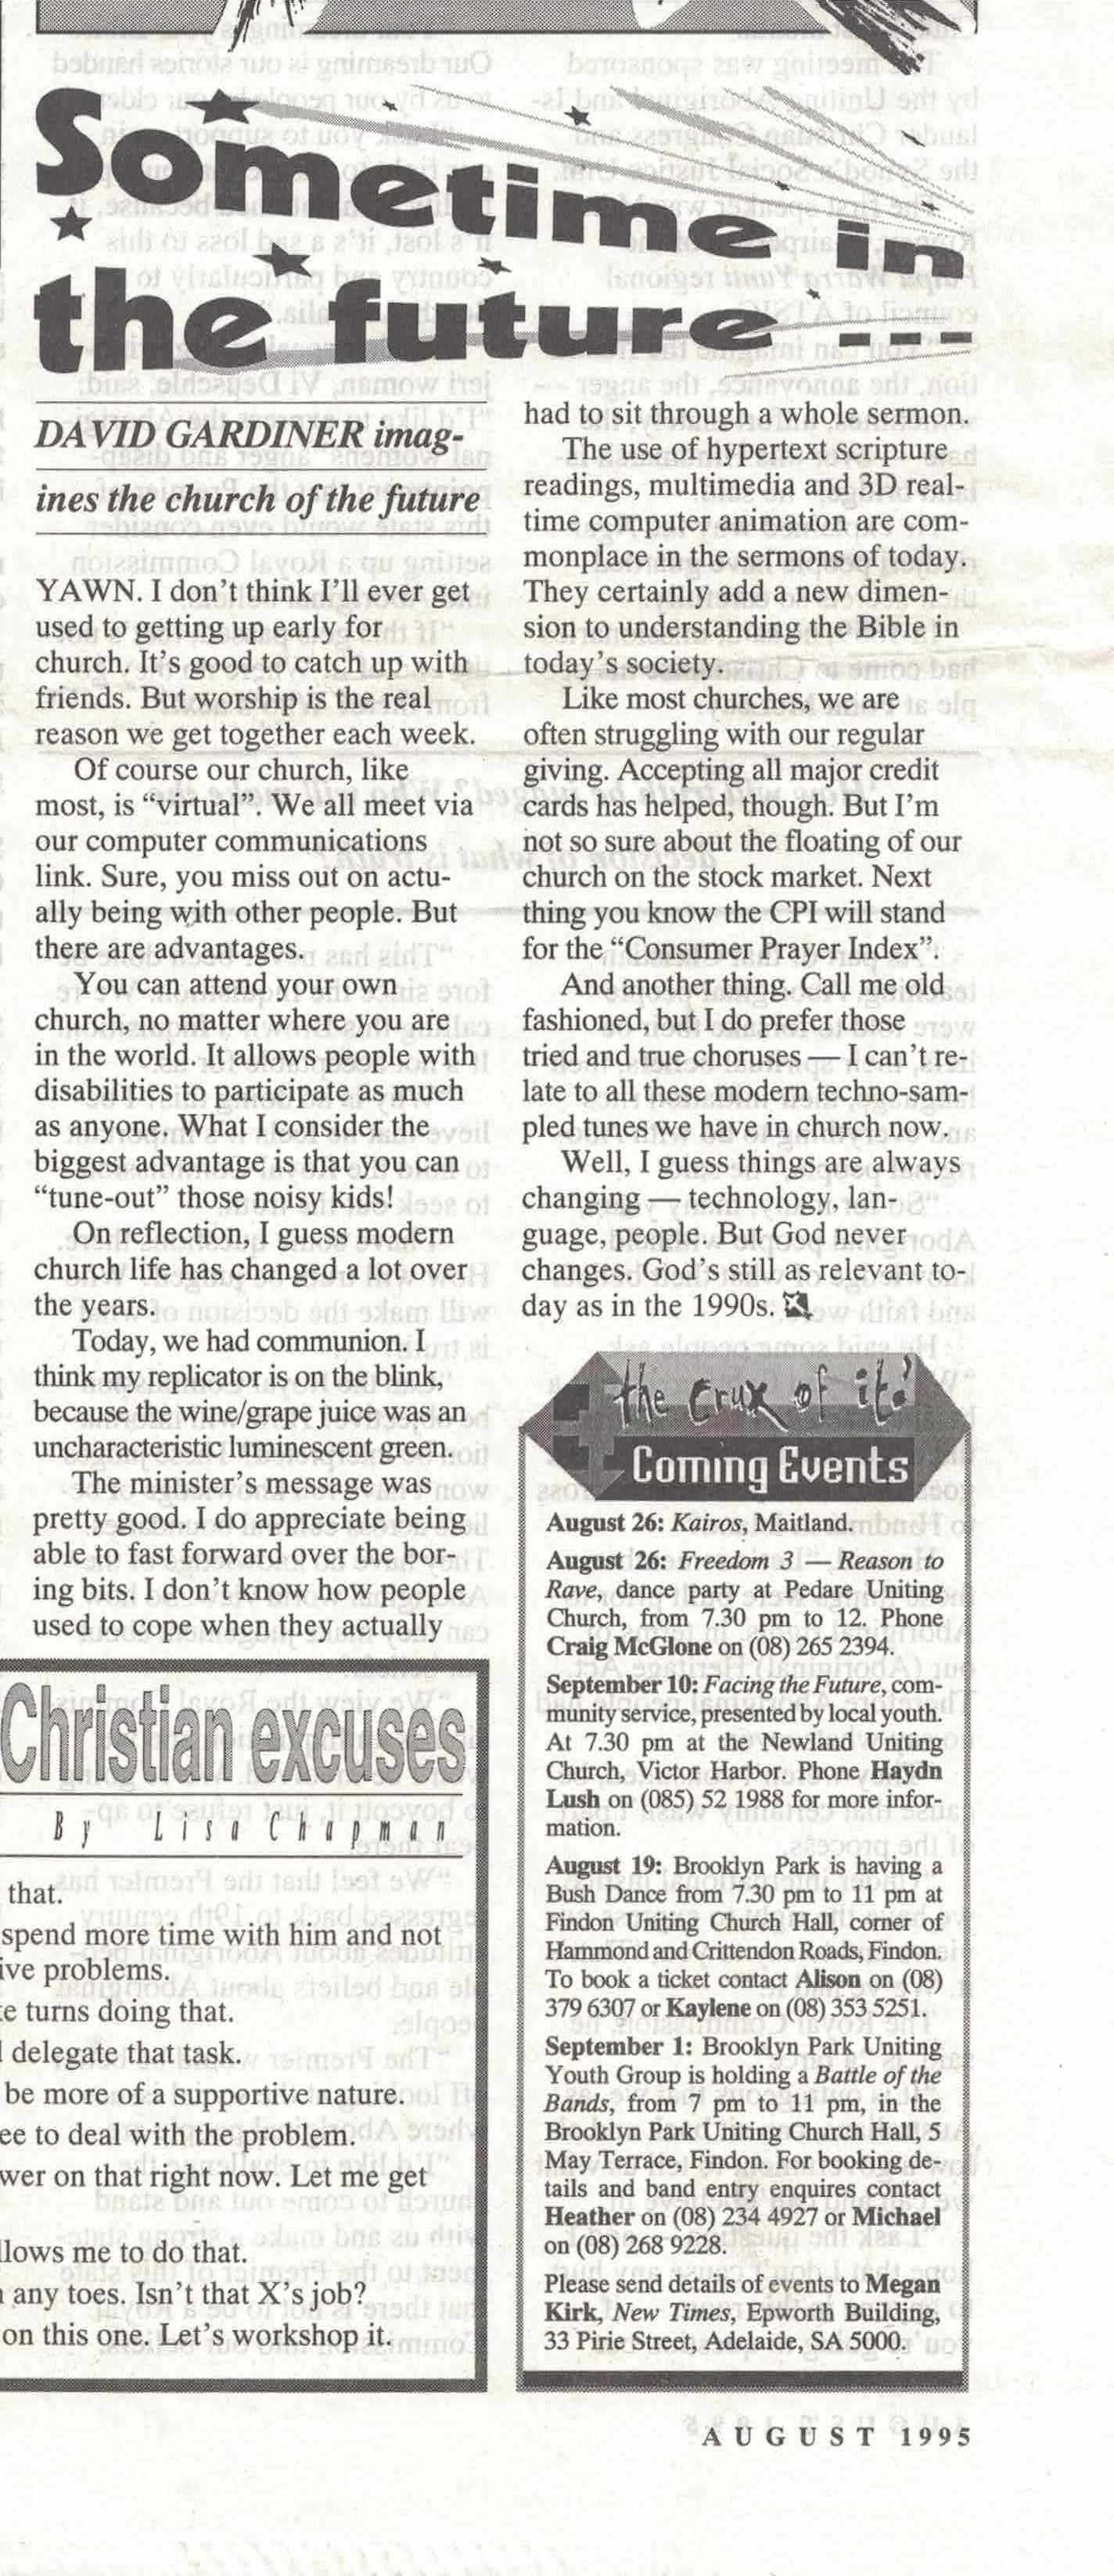
The full text from my article, first published in the August 1995 edition of New Times follows:
YAWN, I don't think I'll ever get used to getting up early for church. It's good to catch up with friends. But worship is the real reason we get together each week.
Of course our church, like most, is "virtual". We all meet via our computer communications link. Sure, you miss out on actually being with other people. But there are advantages.
You can attend your own church, no matter where you are in the world. It allows people with disabilities to participate as much as anyone. What I consider the biggest advantage is that you can "tune-out" those noisy kids!
On reflection, I guess modern church life has changed a lot over the years.
Today, we had communion. I think my replicator is on the blink, because the wine/grape juice was an uncharacteristic luminescent green.
The minister's message was pretty good. I do appreciate being able to fast forward over the boring bits. I don't know how people used to cope when they actually had to site through a whole sermon.
The use of hypertext scripture readings, multimedia and 3D real-time computer animation are commonplace in the sermons of today. They certainly add a new dimension to understanding the Bible in today's society.
Like most churches, we are often struggling with our regular giving. Accepting all major credit cards has helped, though. But I'm not so sure about the floating of our church on the stock market. Next thing you know the CPI will stand for the "Consumer Prayer Index".
And another thing. Call me old fashioned, but I do prefer those tried and true choruses - I can't relate to all these modern techno-sampled tunes we have in church now.
Well, I guess things are always changing - technologies, language, people. But God never changes. God's still as relevant today as in the 1990s.
Given what's happened just this year, I'd say most of my predictions been pretty close to the mark.

A blog of software development, .NET and other interesting things