-
Windows detected a hard disk problem
I found this when logging in this morning:

And some related events in the System event log:
Log Name: System Source: Microsoft-Windows-DiskDiagnostic Date: 26/08/2015 9:20:08 AM Event ID: 1 Task Category: None Level: Critical Keywords: User: SYSTEM Computer: ***** Description: Windows Disk Diagnostic detected a S.M.A.R.T. fault on disk ST500DM002-1BD142 (volumes D:\). This disk might fail; back up your computer now. All data on the hard disk, including files, documents, pictures, programs, and settings might be lost if your hard disk fails. To determine if the hard disk needs to be repaired or replaced, contact the manufacturer of your computer. If you can’t back up (for example, you have no CDs or other backup media), you should shut down your computer and restart when you have backup media available. In the meantime, do not save any critical files to this disk.
Log Name: System Source: disk Date: 26/08/2015 9:20:07 AM Event ID: 52 Task Category: None Level: Warning Keywords: Classic User: N/A Computer: ***** Description: The driver has detected that device \Device\Harddisk0\DR0 has predicted that it will fail. Immediately back up your data and replace your hard disk drive. A failure may be imminent.
Log Name: System Source: iaStorA Date: 26/08/2015 9:04:54 AM Event ID: 4102 Task Category: None Level: Error Keywords: Classic User: N/A Computer: ***** Description: Error log: Smart event occured on disk :S2AXWXVT
Fortunately, this is my D: drive. There’s only a couple of virtual machines there, but nothing I can’t recreate if necessary. That’s the first time I’ve seen hard disk SMART diagnostics kick in like that.
-
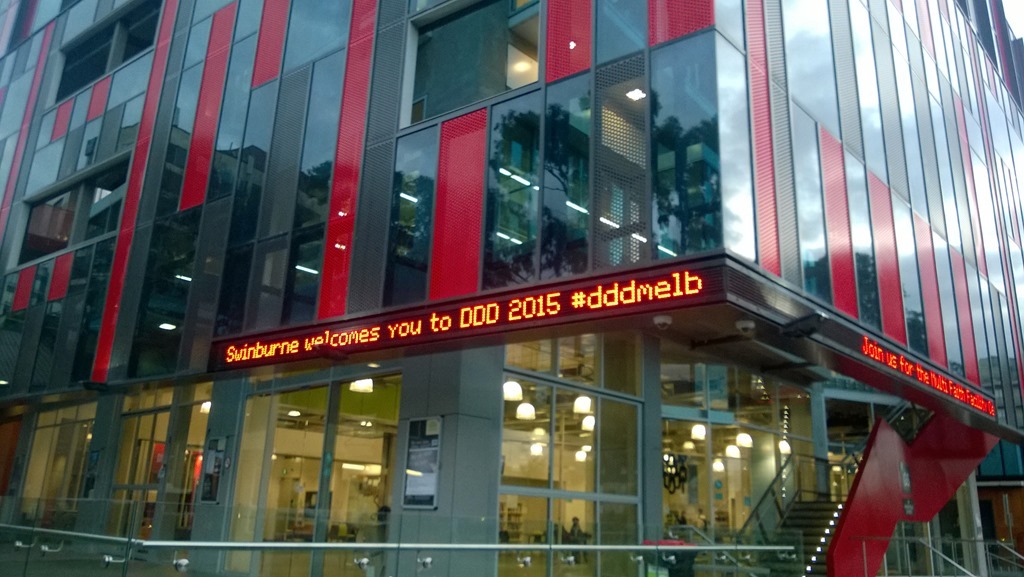
DDD Melbourne 2015
Last Saturday I attended the DDD Melbourne conference. I’d decided earlier in the year that I’d like to go along, so it was an extra bonus to learn that I had a session submission accepted too.

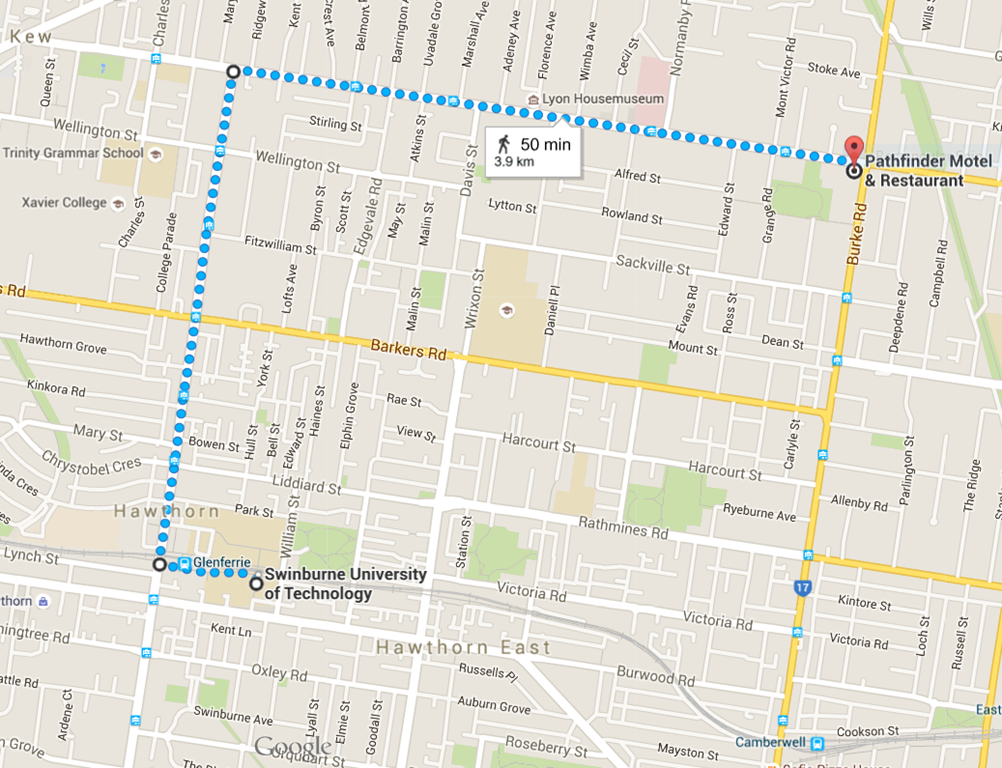
I flew over on the Friday, and stayed at the Pathfinder Motel in Kew (nothing fancy, but it did the job, though the traffic can be a bit noisy). I’d originally looked at the map and figured it was pretty close to the conference venue at Swinburne University’s Hawthorn campus. After I’d settled in to my motel room, I decided to do a bit of reconnaissance of the area and walk down to the campus just to check how long it would take me to get there the next morning.
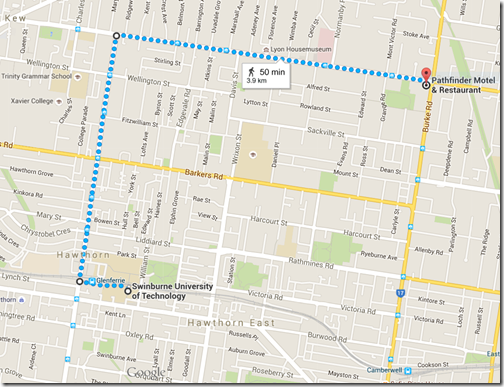 Turns out I probably miss-read the scale on the map, as the round trip turned out to be just short of 8kms. Needless to say I caught the tram on Saturday 😀.
On the plus side, there are lots of cafes, restaurants and a cinema on Glenferrie Rd, so plenty of eating options.
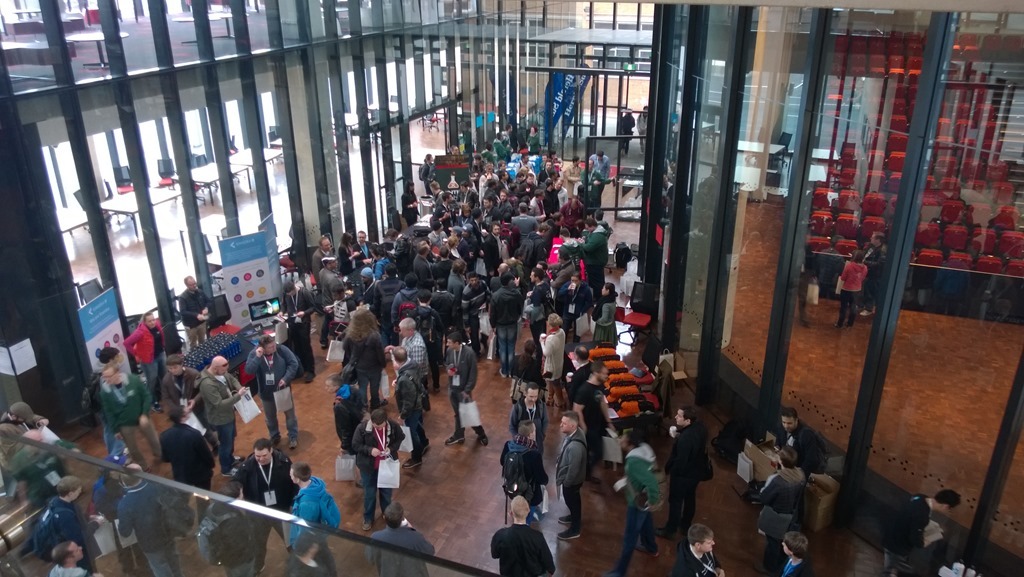
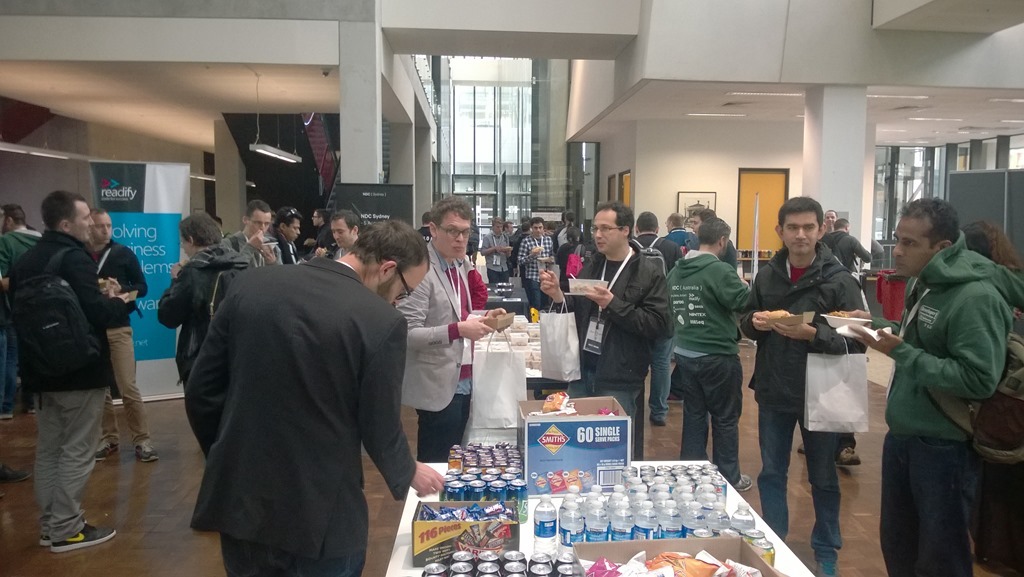
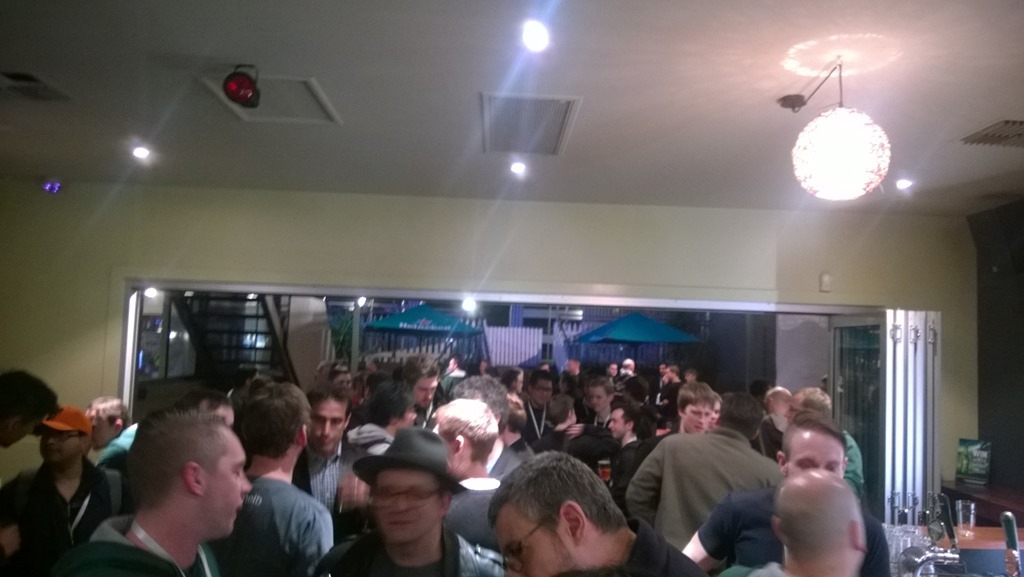
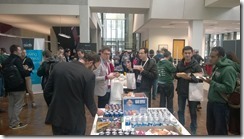
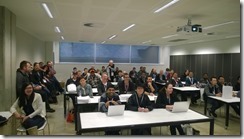
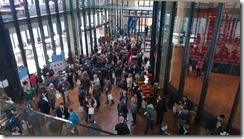 Registration officially opened around 8.20am on Saturday, but there were quite a few people there even before that. Lots of helpful volunteers were on hand to help with this as well as general venue management, directing pedestrian traffic and helping with morning/afternoon teas and lunch.
This year they had 398 attendees, and the tickets all sold out in just 33 minutes. Wow!
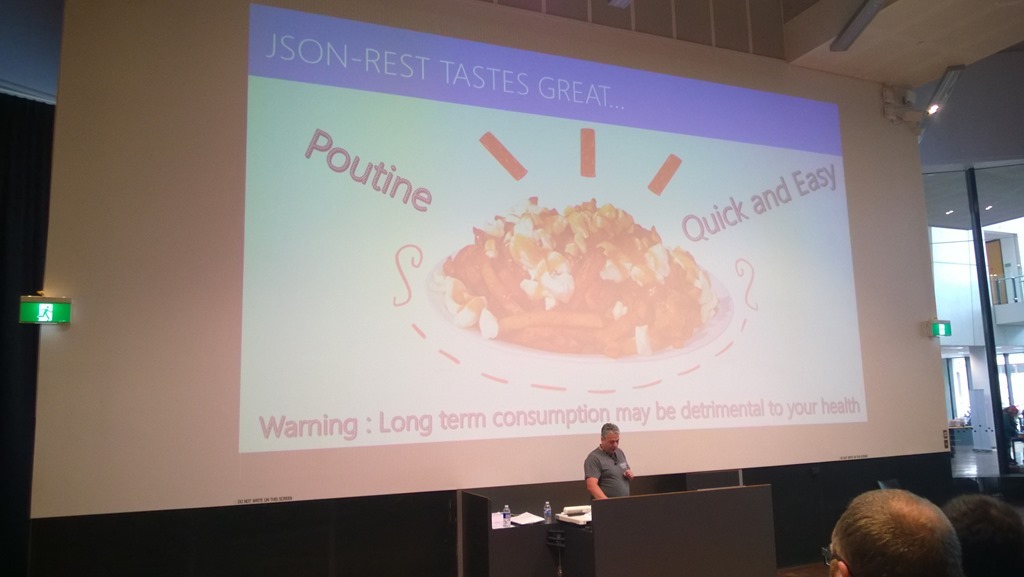
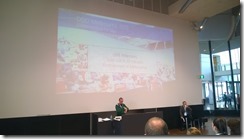
The keynote speaker was Darrel Miller, who spoke about REST, the journey around making it work and separating the concept of REST from a particular implementation.
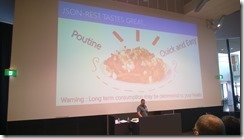
He likes food, so almost all of his slides used food metaphors.
Lucky the organisers laid out some morning tea next before the first session began!

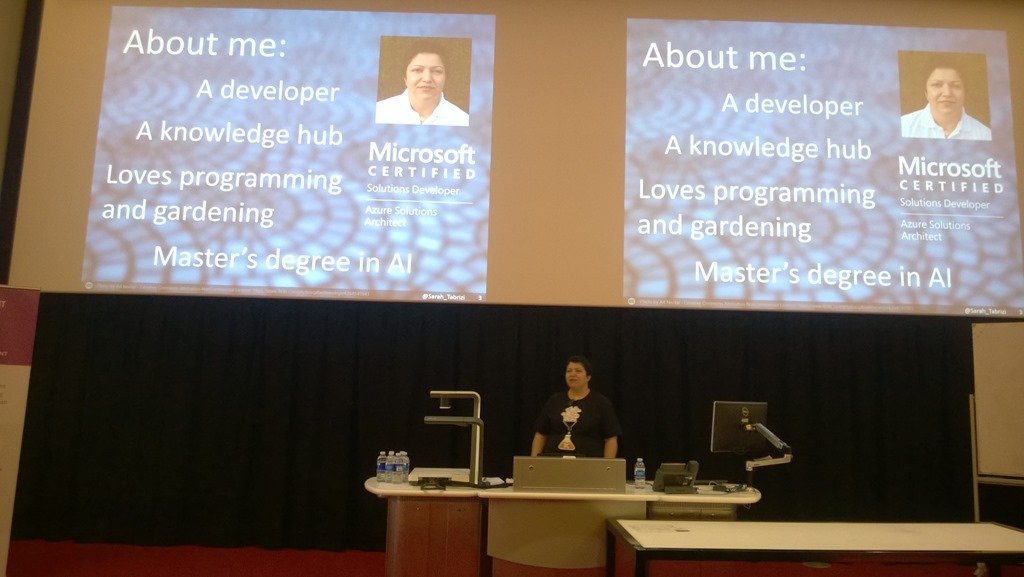
First off, I saw Sarah Tabrizi speak about “Agile and Azure”. She had some great Azure demonstrations. I actually liked that the demos were pre-recorded as it meant they all worked properly (no surprises or problems with dodgy network connections) and could be talked over the top of as required.
Next up I caught Philip Beadle discussing tips on automation. Definitely some Lean influences coming through there.
Some of the key points Philip made were:
- Active documentation (eg. using MarkDown with Cucumber to do BDD-style Given/When/Then tests that are business-readable)
- Fully automated applications
- Signals for hypothesis – provide ways to measure business outcomes of software
 Next Daniel Chambers spoke about making your C# and JavaScript more functional. No surprises that last year Daniel presented on F#!
He suggested that functional languages were the next evolution after object-oriented languages. I asked him what came next, but he wasn’t sure.
Some interesting demos on incorporating functional concepts into C# (via Linq and Reactive Extensions) and JavaScript (via lodash). His talk materials are here.
I’m also embarrassed to admit that I was confused by Daniel’s Twitter picture. He doesn’t look anything like Jack Nicholson.
Time for some lunch. Hotdogs with cheese and onions, and drinks/muffins etc.
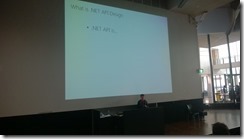
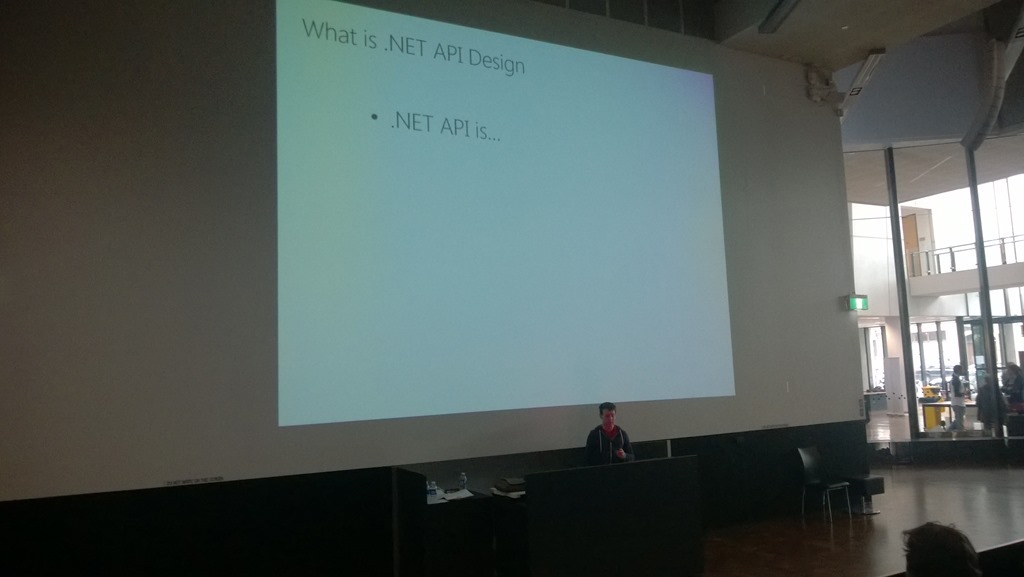
Next up, James Newton-King on designing good APIs. James knows a thing or two about this, being the developer behind JSON.NET – one of the most depended upon 3rd-party libraries available for .NET.
Some very interesting reflections from him on things to consider (and watch out for) when designing your own APIs.
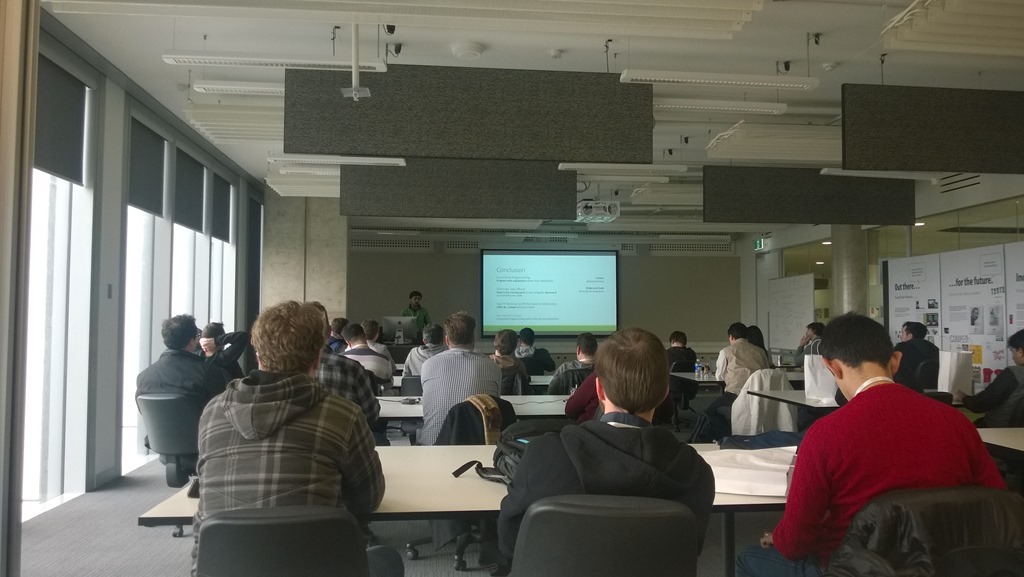
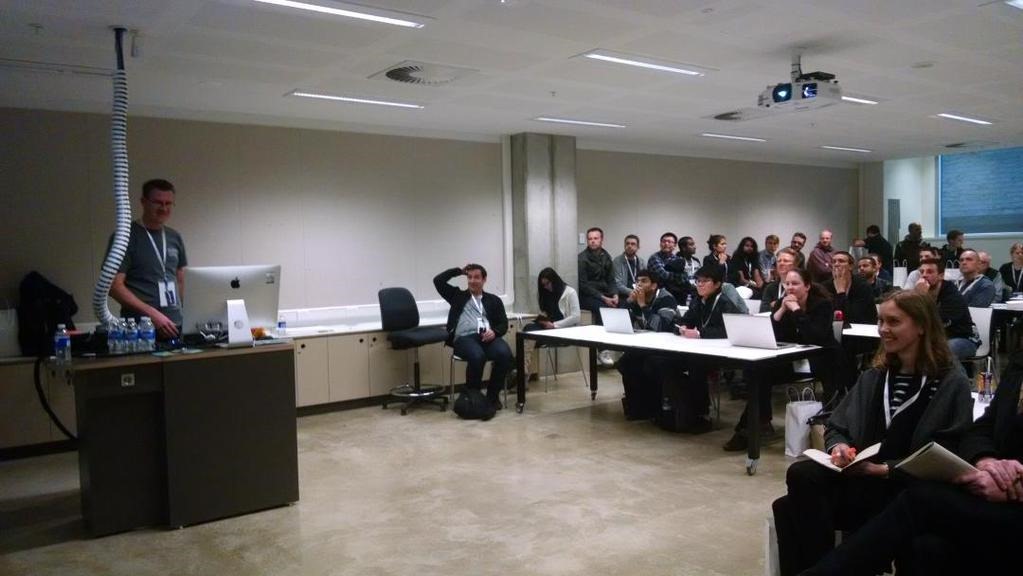
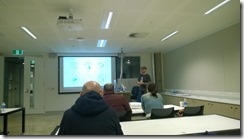
And then, it was my turn!
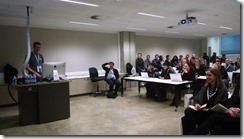
As you can see, the room was packed. As a speaker, there isn’t much more of a complement than that (especially as everyone stayed to the end!). My talk seemed to go quite well, though I need to practise my chocolate throwing technique.
(Second photo courtesy of Martin Doms)
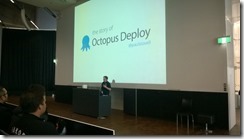
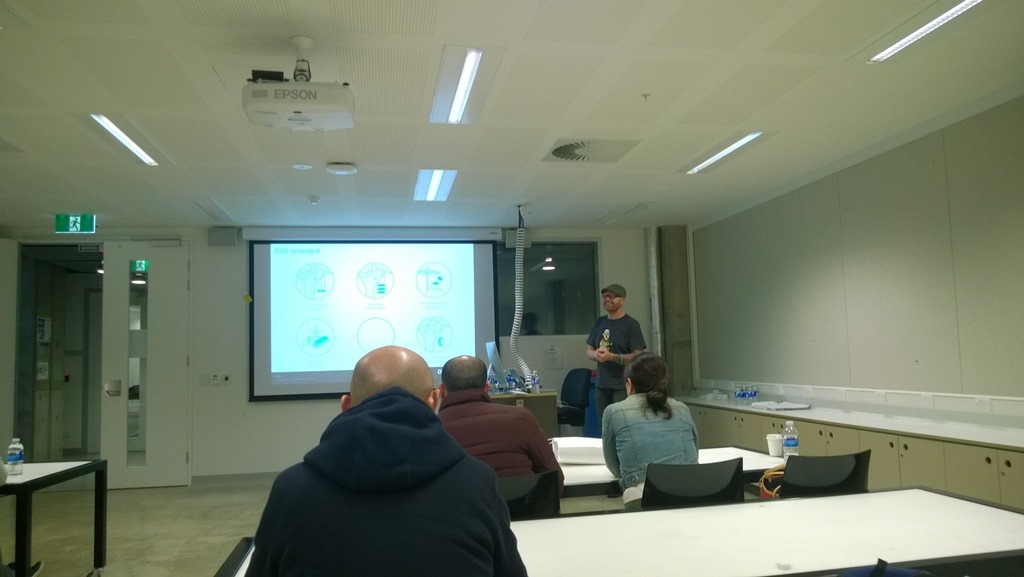
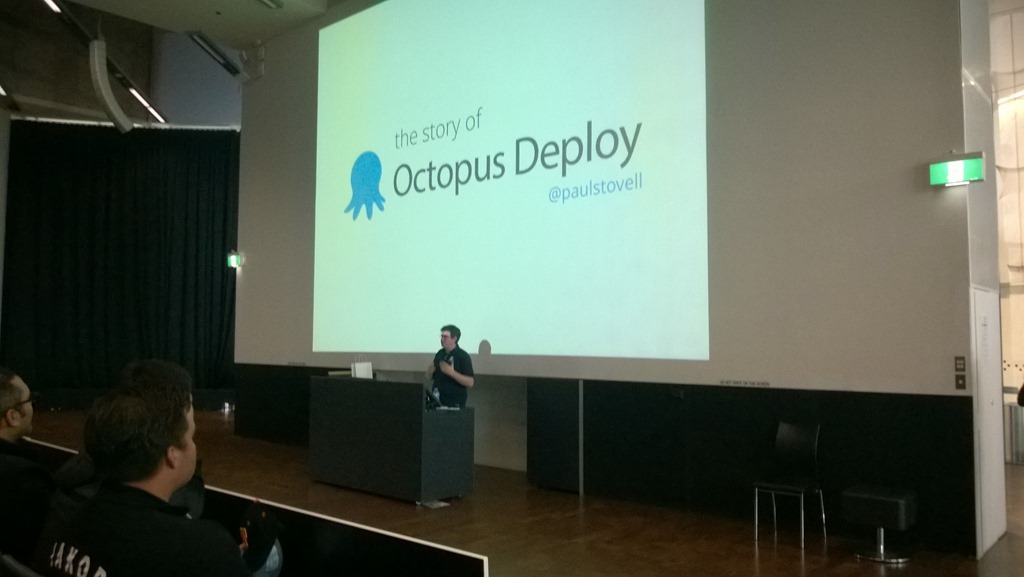
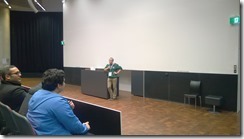
The final speaker for the day was Paul Stovell, founder of Octopus Deploy.
I’ve bumped into Paul a few times over the years (he’s originally from SA, though now based in Brisbane), so it was great to hear his story of how he created the Octopus Deploy software application and then build a successful company around that product.
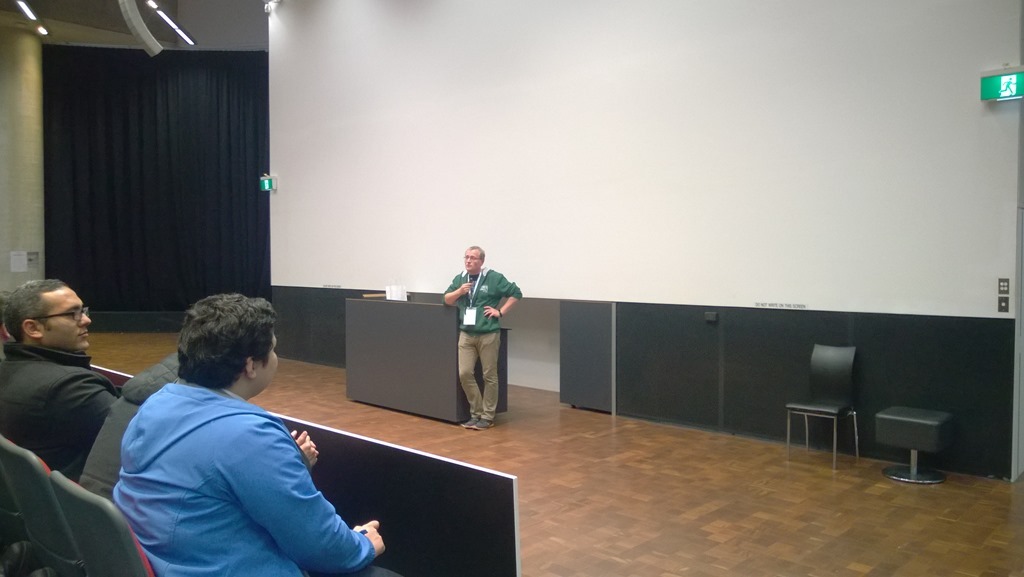
 Then after a final thankyou from Lars (one of the organisers), it was off to the pub around the corner for free drinks (make mine a dry ginger, thanks)
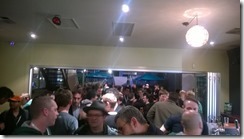
It was a great conference. Really good speakers, content and organisation.
I made a particular point of talking to a number of the speakers to see if we could get them to present to the Adelaide .NET User Group in the future. I also spent a bit of time talking to Lars about how they’d organised the event, to get ideas about maybe doing a DDD Adelaide again in the future. It was great how helpful and encouraging he and others I spoke to were.
The final big news was that NDC (who were the main sponsors of the conference) announced that they will be holding a conference in Australia 1-5th August 2016. NDC Sydney is now open for registration, and also has a call for papers open until April 1st. At least they’ve given everyone a year to save up for it.
-
ASP.NET Web API for .NET Framework 4 in Visual Studio 2015
This is a pretty unique set of constraints I know – sometimes there are limitations outside your control as to which version of .NET you (or those who will be running your software) can use.
Note that the most recent version of Web API that works with .NET Framework 4.0 is 4.0.30506.0 (The 5.x releases all require at least .NET 4.5)
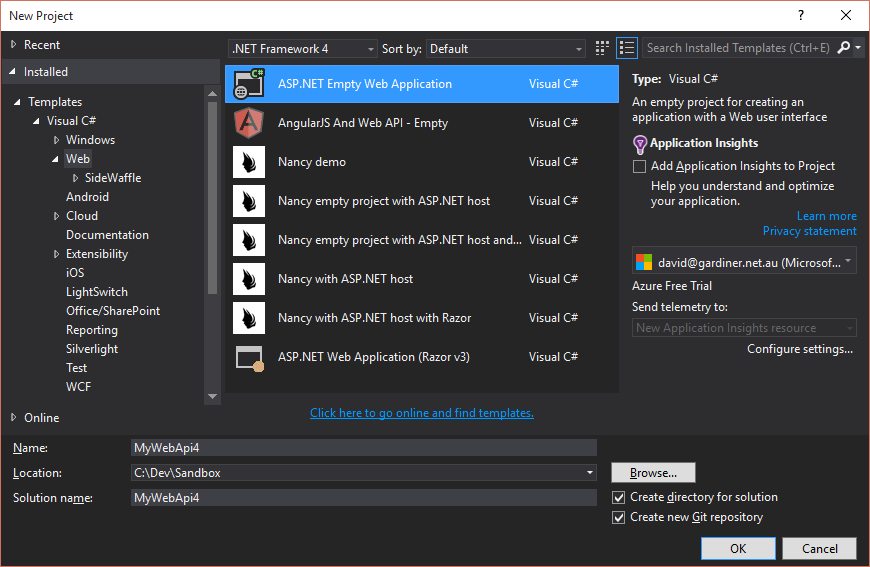
- Open Visual Studio 2015
- Create a new project (Make sure you select .NET Framework 4 in the frameworks dropdown list)
- Open the Package Manger Console
- Enter
Install-Package -Id Microsoft.AspNet.WebApi -Version 4.0.30506 -DependencyVersion HighestMinor Update-Package Newtonsoft.Json- (Optional)
Install-Package -Id Microsoft.AspNet.WebApi.Tracing -Version 4.0.30506 - Add an
App_Startfolder - Inside this folder, add new class
WebApiConfig - Add the following content to the WebApiConfig class:
public static void Register(HttpConfiguration config) { config.Routes.MapHttpRoute( name: "DefaultApi", routeTemplate: "api/{controller}/{id}", defaults: new { id = RouteParameter.Optional } ); // Uncomment the following line of code to enable query support for actions with an IQueryable or IQueryable<T> return type. // To avoid processing unexpected or malicious queries, use the validation settings on QueryableAttribute to validate incoming queries. // For more information, visit http://go.microsoft.com/fwlink/?LinkId=279712. //config.EnableQuerySupport(); // To disable tracing in your application, please comment out or remove the following line of code // For more information, refer to: http://www.asp.net/web-api config.EnableSystemDiagnosticsTracing(); }- In the top-level of the project, add a Global.asax file
- Open the
Global.asax.csfile and add the following method:
protected void Application_Start() { WebApiConfig.Register(GlobalConfiguration.Configuration); }- Add a Controllers folder
- Inside the Controllers folder, add a new class (eg. ValuesController)
- Update the ValuesController class to look as follows:
public class ValuesController : ApiController
{
    // GET api/values
    public IEnumerable<string> Get()
    {
        return new string[] { "value1", "value2" };
    }

    // GET api/values/5
    public string Get(int id)
    {
        return "value";
    }

    // POST api/values
    public void Post([FromBody]string value)
    {
    }

    // PUT api/values/5
    public void Put(int id, [FromBody]string value)
    {
    }

    // DELETE api/values/5
    public void Delete(int id)
    {
    }
}
Your project should look similar to this:
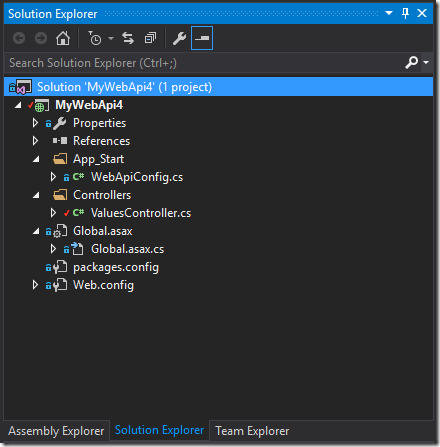
You can now build and run the web application and browse to
/api/Valuesand get a response from your controller (JSON or XML depending on your browser)

A blog of software development, .NET and other interesting things