-
Migrating deprecated Terraform resources
One of the challenges with using Terraform for your infrastructure as code is that the providers (that interact with cloud providers like Azure) are updated very frequently, and especially with major version releases this includes deprecating specific resource types. For example, when the Azure provider (AzureRM) version 3.0 was released, it deprecated many resource types and data sources. Some of these still exist in version 3, but are deprecated, will not receive any updates, and will be removed in version 4. Others have already been removed entirely.

I’ve created an example repo that demonstrates the migration process outlined here. Find it at https://github.com/flcdrg/terraform-azure-upgrade-resources.
While this post uses Azure and Azure Pipelines, the same principles should apply for other cloud providers and CI/CD systems.
To set the scene, here’s some Terraform code that creates an Azure App Service Plan and an App Service (src). The resource types are from v2.x AzureRM provider. Bear in mind, the last release of v2 was v2.99.0 in March 2022.
# https://registry.terraform.io/providers/hashicorp/azurerm/2.99.0/docs/resources/app_service_plan
resource "azurerm_app_service_plan" "plan" {
  name                = "plan-tfupgrade-australiasoutheast"
  resource_group_name = data.azurerm_resource_group.group.name
  location            = data.azurerm_resource_group.group.location
  kind                = "Linux"
  reserved            = true
  sku {
    tier = "Basic"
    size = "B1"
  }
}

# https://registry.terraform.io/providers/hashicorp/azurerm/latest/docs/resources/app_service
resource "azurerm_app_service" "appservice" {
  app_service_plan_id = azurerm_app_service_plan.plan.id
  name                = "appservice-tfupgrade-australiasoutheast"
  location            = data.azurerm_resource_group.group.location
  resource_group_name = data.azurerm_resource_group.group.name
  https_only          = true

  app_settings = {
    "TEST" = "TEST"
  }

  site_config {
    always_on                 = true
    ftps_state                = "Disabled"
    http2_enabled             = true
    linux_fx_version          = "DOTNETCORE|6.0"
    min_tls_version           = "1.2"
    use_32_bit_worker_process = false
  }
  identity {
    type = "SystemAssigned"
  }
}
The documentation for AzureRM v3.x shows that these resource types are deprecated and will be completely removed in v4.x. In addition, as these resource types are not being updated, they don’t support the latest features of Azure App Services, such as the new .NET 8 runtime.
So how can we switch to the azurerm_service_plan and azurerm_linux_web_app resource types?
You might think it’s just a matter of just changing the resource types and updating a few properties. But if you tried that you’ll discover that Terraform will try to delete the existing resources and create new ones. This is because the resource types are different, and Terraform doesn’t know that they are actually the same thing because the state representation of those resources is different.
Instead, we need to let Terraform know that the Azure resources that have already been created map to the new Terraform resource types we’ve defined in our configuration. In addition, we want to do this in a testable way using a pull request to verify that our changes look correct before we merge them into the main branch.
The approach we’ll take is to make use of the relatively new
importblock language feature. (In a future blog post I’ll cover when you might consider using theterraform importCLI command instead).By using the
importblock, we can tell Terraform that the existing resources in Azure should be mapped to the new resource types we’ve defined in Terraform configuration. This means that Terraform will not try to delete the existing resources and create new ones. Instead, it will update the existing resources to match the Terraform configuration.In the following example, we’re indicating that the Azure resource with the resource ID
/subscriptions/.../resourceGroups/rg-tfupgrade-australiasoutheast/providers/Microsoft.Web/serverfarms/plan-tfupgrade-australiasoutheastshould be mapped to theazurerm_service_planresource type. Note the use of the data block reference to insert the subscription ID, rather than hard-coding it.import { id = "/subscriptions/${data.azurerm_client_config.client.subscription_id}/resourceGroups/rg-tfupgrade-australiasoutheast/providers/Microsoft.Web/serverfarms/plan-tfupgrade-australiasoutheast" to = azurerm_service_plan.plan } resource "azurerm_service_plan" "plan" { name = "plan-tfupgrade-australiasoutheast" resource_group_name = data.azurerm_resource_group.group.name location = data.azurerm_resource_group.group.location sku_name = "B1" os_type = "Linux" }Often when you’re adding the new resource, the property names and ‘shape’ will change. Sometimes it’s pretty easy to figure out the equivalent, but sometimes you might need some help. One option you can utilise is generating the configuration.
In this case, you add the
importblock, but don’t add the resource block. If you then runterraform plan -generate-config-out=generated_resources.tf. Terraform will create a new filegenerated_resources.tfwhich will contain generated resources. You can then copy/paste those over into your regular .tf files. You’ll almost certainly want to edit them to remove redundant settings and replace hard-coded values with variable references where applicable. If you’re doing this as part of a pipeline, publish the generated file as a build artifact, so you can download it and incorporate the changes. You could make this an optional part of the pipeline that is enabled by setting a pipeline parameter to true.There’s still one problem to solve though. While we’ve mapped the new resource types to the existing resources, Terraform state still knows about the old resource types, and will try to delete them now that they are no longer defined in the Terraform configuration. To solve this, we can use the
terraform state rmcommand to remove the old resources from state. If they’re not in state, then Terraform doesn’t know about them and won’t try to delete them.The following script will remove the old resources from state if they exist. Note that the
terraform state rmcommand will fail if the resource doesn’t exist in state, so we need to check for the existence of the resource first.# Remove state of old resources from Terraform mapfile -t RESOURCES < <( terraform state list ) if [[ " ${RESOURCES[@]} " =~ "azurerm_app_service_plan.plan" ]]; then terraform state rm azurerm_app_service_plan.plan fi if [[ " ${RESOURCES[@]} " =~ "azurerm_app_service.appservice" ]]; then terraform state rm azurerm_app_service.appservice fiYou will need to add an entry in this script for each Terraform resource type that you are removing.
Testing
Ok, so we have a strategy for upgrading our Terraform resources. But how do we test it? We don’t want to just merge the changes into the main branch and hope for the best. We want to test it first, and do this in isolation from other changes that might be happening in the main branch (or other branches). To test our changes need to update the Terraform state. But if we update the state used by everyone else then we won’t be popular when their builds start failing because Terraform will be trying to recreate resources that we’ve just deleted from state. Except those resources still exist in Azure!
What we want is a local copy of the Terraform state that we can try out our changes in without affecting anyone else. One way to do this is to copy the remote state to a local file, then reinitialise Terraform to use the ‘local’ backend. Obviously we won’t do a real deployment using this, but it is perfect for running
terraform planagainst.Here’s an example script that will copy the remote state to a local file, then reinitialise Terraform to use the local backend. It assumes that your backend configuration is defined separately in a
backend.tffile. Normally this would be pointing to a remote backend (e.g. Terraform Cloud or an Azure Storage account), within the pipeline run we replace this file with configuration to use a local backend.terraform state pull > $(Build.ArtifactStagingDirectory)/pull.tfstate cat > backend.tf <<EOF terraform { backend "local" { path = "$(Build.ArtifactStagingDirectory)/pull.tfstate" } } EOF # Reset Terraform to use local backend terraform init -reconfigure -no-color -input=falseWe now should have all the pieces in place to test our changes on PR build, and then once we’re happy with the plan, merge the changes and run the migration for real. If you have multiple environments (dev/test/prod) then you can roll this out to each environment as part of the normal release process.
For Azure Pipelines, we make use of conditional expressions, so that on PR builds we test the migration using local state, but on the main branch we modify the remote state and actually apply the changes.
Here’s the Azure Pipeline in full (src):
trigger: none

pr:
  branches:
    include:
      - main

pool:
  vmImage: ubuntu-latest

variables:
  - group: Terraform-Token

jobs:
  - job: build
    displayName: "Test Terraform Upgrade"

    variables:
      TerraformSourceDirectory: $(System.DefaultWorkingDirectory)/v3

    steps:
      - script: echo "##vso[task.setvariable variable=TF_TOKEN_app_terraform_io]$(TF_TOKEN)"
        displayName: "Terraform Token"

      - task: TerraformInstaller@2
        displayName: "Terraform: Installer"
        inputs:
          terraformVersion: "latest"

      - task: TerraformCLI@2
        displayName: "Terraform: init"
        inputs:
          command: init
          workingDirectory: "$(TerraformSourceDirectory)"
          backendType: selfConfigured
          commandOptions: -no-color -input=false
          allowTelemetryCollection: false

      - ${{ if ne(variables['Build.SourceBranch'], 'refs/heads/main') }}:
          # Copy state from Terraform Cloud to local, so we can modify it without affecting the remote state
          - script: |
              terraform state pull > $(Build.ArtifactStagingDirectory)/pull.tfstate

              # Write multiple lines of text to local file using bash
              cat > backend.tf <<EOF
              terraform {
                backend "local" {
                  path = "$(Build.ArtifactStagingDirectory)/pull.tfstate"
                }
              }
              EOF

              # Reset Terraform to use local backend
              terraform init -reconfigure -no-color -input=false
            displayName: "Script: Use Terraform Local Backend"
            workingDirectory: $(TerraformSourceDirectory)

      - script: |
          # Remove state of old resources from Terraform
          mapfile -t RESOURCES < <( terraform state list )

          if [[ " ${RESOURCES[@]} " =~ "azurerm_app_service_plan.plan" ]]; then
            terraform state rm azurerm_app_service_plan.plan
          fi

          if [[ " ${RESOURCES[@]} " =~ "azurerm_app_service.appservice" ]]; then
            terraform state rm azurerm_app_service.appservice
          fi
        displayName: "Script: Remove old resources from Terraform State"
        workingDirectory: $(TerraformSourceDirectory)

      - task: TerraformCLI@2
        displayName: "Terraform: validate"
        inputs:
          command: validate
          workingDirectory: "$(TerraformSourceDirectory)"
          commandOptions: -no-color

      - ${{ if ne(variables['Build.SourceBranch'], 'refs/heads/main') }}:
          - task: TerraformCLI@2
            displayName: "Terraform: plan"
            inputs:
              command: plan
              workingDirectory: "$(TerraformSourceDirectory)"
              commandOptions: -no-color -input=false -detailed-exitcode
              environmentServiceName: Azure MSDN - rg-tfupgrade-australiasoutheast
              publishPlanResults: Plan
              allowTelemetryCollection: false

      - ${{ if eq(variables['Build.SourceBranch'], 'refs/heads/main') }}:
          - task: TerraformCLI@2
            displayName: "Terraform: apply"
            inputs:
              command: apply
              workingDirectory: "$(TerraformSourceDirectory)"
              commandOptions: -no-color -input=false -auto-approve
              allowTelemetryCollection: false
Using it in practise
Ideally when you migrate the resource types, there will be no changes to the properties (and Terraform will report that no changes need to be made). Often the new resource type provides additional properties that you can take advantage of. Whether you set this initially or in a subsequent PR is up to you.
Here’s an example output from terraform plan:
Terraform v1.6.4
on linux_amd64
Initializing plugins and modules...
data.azurerm_resource_group.group: Refreshing...
data.azurerm_client_config.client: Refreshing...
data.azurerm_client_config.client: Refresh complete after 0s [id=xxxxxxxxxxx=]
data.azurerm_resource_group.group: Refresh complete after 0s [id=/subscriptions/00000000-0000-0000-0000-000000000000/resourceGroups/rg-tfupgrade-australiasoutheast]
azurerm_service_plan.plan: Refreshing state... [id=/subscriptions/00000000-0000-0000-0000-000000000000/resourceGroups/rg-tfupgrade-australiasoutheast/providers/Microsoft.Web/serverfarms/plan-tfupgrade-australiasoutheast]
azurerm_linux_web_app.appservice: Refreshing state... [id=/subscriptions/00000000-0000-0000-0000-000000000000/resourceGroups/rg-tfupgrade-australiasoutheast/providers/Microsoft.Web/sites/appservice-tfupgrade-australiasoutheast]

Terraform will perform the following actions:

  # azurerm_linux_web_app.appservice will be imported
    resource "azurerm_linux_web_app" "appservice" {
        app_settings                                   = {
            "TEST" = "TEST"
        }
        client_affinity_enabled                        = false
        client_certificate_enabled                     = false
        client_certificate_mode                        = "Required"
        custom_domain_verification_id                  = (sensitive value)
        default_hostname                               = "appservice-tfupgrade-australiasoutheast.azurewebsites.net"
        enabled                                        = true
        ftp_publish_basic_authentication_enabled       = true
        https_only                                     = true
        id                                             = "/subscriptions/00000000-0000-0000-0000-000000000000/resourceGroups/rg-tfupgrade-australiasoutheast/providers/Microsoft.Web/sites/appservice-tfupgrade-australiasoutheast"
        key_vault_reference_identity_id                = "SystemAssigned"
        kind                                           = "app,linux"
        location                                       = "australiasoutheast"
        name                                           = "appservice-tfupgrade-australiasoutheast"
        outbound_ip_address_list                       = [
            "52.189.223.107",
            "13.77.42.25",
            "13.77.46.217",
            "52.189.221.141",
            "13.77.50.99",
        ]
        outbound_ip_addresses                          = "52.189.223.107,13.77.42.25,13.77.46.217,52.189.221.141,13.77.50.99"
        possible_outbound_ip_address_list              = [
            "52.189.223.107",
            "13.77.42.25",
            "13.77.46.217",
            "52.189.221.141",
            "52.243.85.201",
            "52.243.85.94",
            "52.189.234.152",
            "13.77.56.61",
            "52.189.214.112",
            "20.11.210.198",
            "20.211.233.197",
            "20.211.238.191",
            "20.11.210.187",
            "20.11.211.1",
            "20.11.211.80",
            "4.198.70.38",
            "20.92.41.250",
            "4.198.68.27",
            "4.198.68.42",
            "20.92.47.59",
            "20.92.42.78",
            "13.77.50.99",
        ]
        possible_outbound_ip_addresses                 = "52.189.223.107,13.77.42.25,13.77.46.217,52.189.221.141,52.243.85.201,52.243.85.94,52.189.234.152,13.77.56.61,52.189.214.112,20.11.210.198,20.211.233.197,20.211.238.191,20.11.210.187,20.11.211.1,20.11.211.80,4.198.70.38,20.92.41.250,4.198.68.27,4.198.68.42,20.92.47.59,20.92.42.78,13.77.50.99"
        public_network_access_enabled                  = true
        resource_group_name                            = "rg-tfupgrade-australiasoutheast"
        service_plan_id                                = "/subscriptions/00000000-0000-0000-0000-000000000000/resourceGroups/rg-tfupgrade-australiasoutheast/providers/Microsoft.Web/serverfarms/plan-tfupgrade-australiasoutheast"
        site_credential                                = (sensitive value)
        tags                                           = {}
        webdeploy_publish_basic_authentication_enabled = true

        identity {
            identity_ids = []
            principal_id = "a71e1fd5-e61b-4591-a439-98bad90cc837"
            tenant_id    = "59b0934d-4f35-4bff-a2b7-a451fe5f8bd6"
            type         = "SystemAssigned"
        }

        site_config {
            always_on                               = true
            auto_heal_enabled                       = false
            container_registry_use_managed_identity = false
            default_documents                       = []
            detailed_error_logging_enabled          = false
            ftps_state                              = "Disabled"
            health_check_eviction_time_in_min       = 0
            http2_enabled                           = true
            linux_fx_version                        = "DOTNETCORE|6.0"
            load_balancing_mode                     = "LeastRequests"
            local_mysql_enabled                     = false
            managed_pipeline_mode                   = "Integrated"
            minimum_tls_version                     = "1.2"
            remote_debugging_enabled                = false
            remote_debugging_version                = "VS2019"
            scm_minimum_tls_version                 = "1.2"
            scm_type                                = "VSTSRM"
            scm_use_main_ip_restriction             = false
            use_32_bit_worker                       = false
            vnet_route_all_enabled                  = false
            websockets_enabled                      = false
            worker_count                            = 1

            application_stack {
                docker_registry_password = (sensitive value)
                dotnet_version           = "6.0"
            }
        }
    }

  # azurerm_service_plan.plan will be imported
    resource "azurerm_service_plan" "plan" {
        id                           = "/subscriptions/00000000-0000-0000-0000-000000000000/resourceGroups/rg-tfupgrade-australiasoutheast/providers/Microsoft.Web/serverfarms/plan-tfupgrade-australiasoutheast"
        kind                         = "linux"
        location                     = "australiasoutheast"
        maximum_elastic_worker_count = 1
        name                         = "plan-tfupgrade-australiasoutheast"
        os_type                      = "Linux"
        per_site_scaling_enabled     = false
        reserved                     = true
        resource_group_name          = "rg-tfupgrade-australiasoutheast"
        sku_name                     = "B1"
        tags                         = {}
        worker_count                 = 1
        zone_balancing_enabled       = false
    }

Plan: 2 to import, 0 to add, 0 to change, 0 to destroy.
In the next post, I’ll cover a few things to watch out for, and some post-migration clean up steps.
-
Terraform command 'init' failed with exit code '1'
I’m setting up a new GitHub repo to demonstrate using Terraform with Azure Pipelines via the CLI and I hit a weird error right at the start. I was using Jason Johnson’s Azure Pipelines Terraform Tasks extension like this:
- task: TerraformCLI@2
  inputs:
    command: init
    workingDirectory: "$(System.DefaultWorkingDirectory)/v2"
    backendType: selfConfigured
    commandOptions: -no-color -input=false
    allowTelemetryCollection: false
and it kept failing with the error:
/opt/hostedtoolcache/terraform/1.6.4/x64/terraform version
Terraform v1.6.4
on linux_amd64
+ provider registry.terraform.io/hashicorp/azurerm v2.99.0
+ provider registry.terraform.io/hashicorp/random v3.5.1
/opt/hostedtoolcache/terraform/1.6.4/x64/terraform init --input=false --no-color
Usage: terraform [global options] init [options]
...
Terraform command 'init' failed with exit code '1'.
I tried all sorts of things. It looked identical to other pipelines I had working (and ones I’d seen online). Was there a weird invisible character being passed on the command line? Out of desperation I copied the
commandOptionsline from another pipeline (which looked identical except that the arguments were in a different order).But when I looked at the diff, not only were the arguments different, I realised that the dashes were different too! Terraform CLI arguments use a single dash, not a double dash. So the correct line is
commandOptions: -no-color -input=falseIn hindsight, I realised that this is the first pipeline I’ve written on GitHub using the Terraform CLI (e.g. not in a work context) and so I did it manually, rather than copy/pasting from an existing (working) pipeline. A pity Terraform doesn’t support double dashes, but there you go.
-
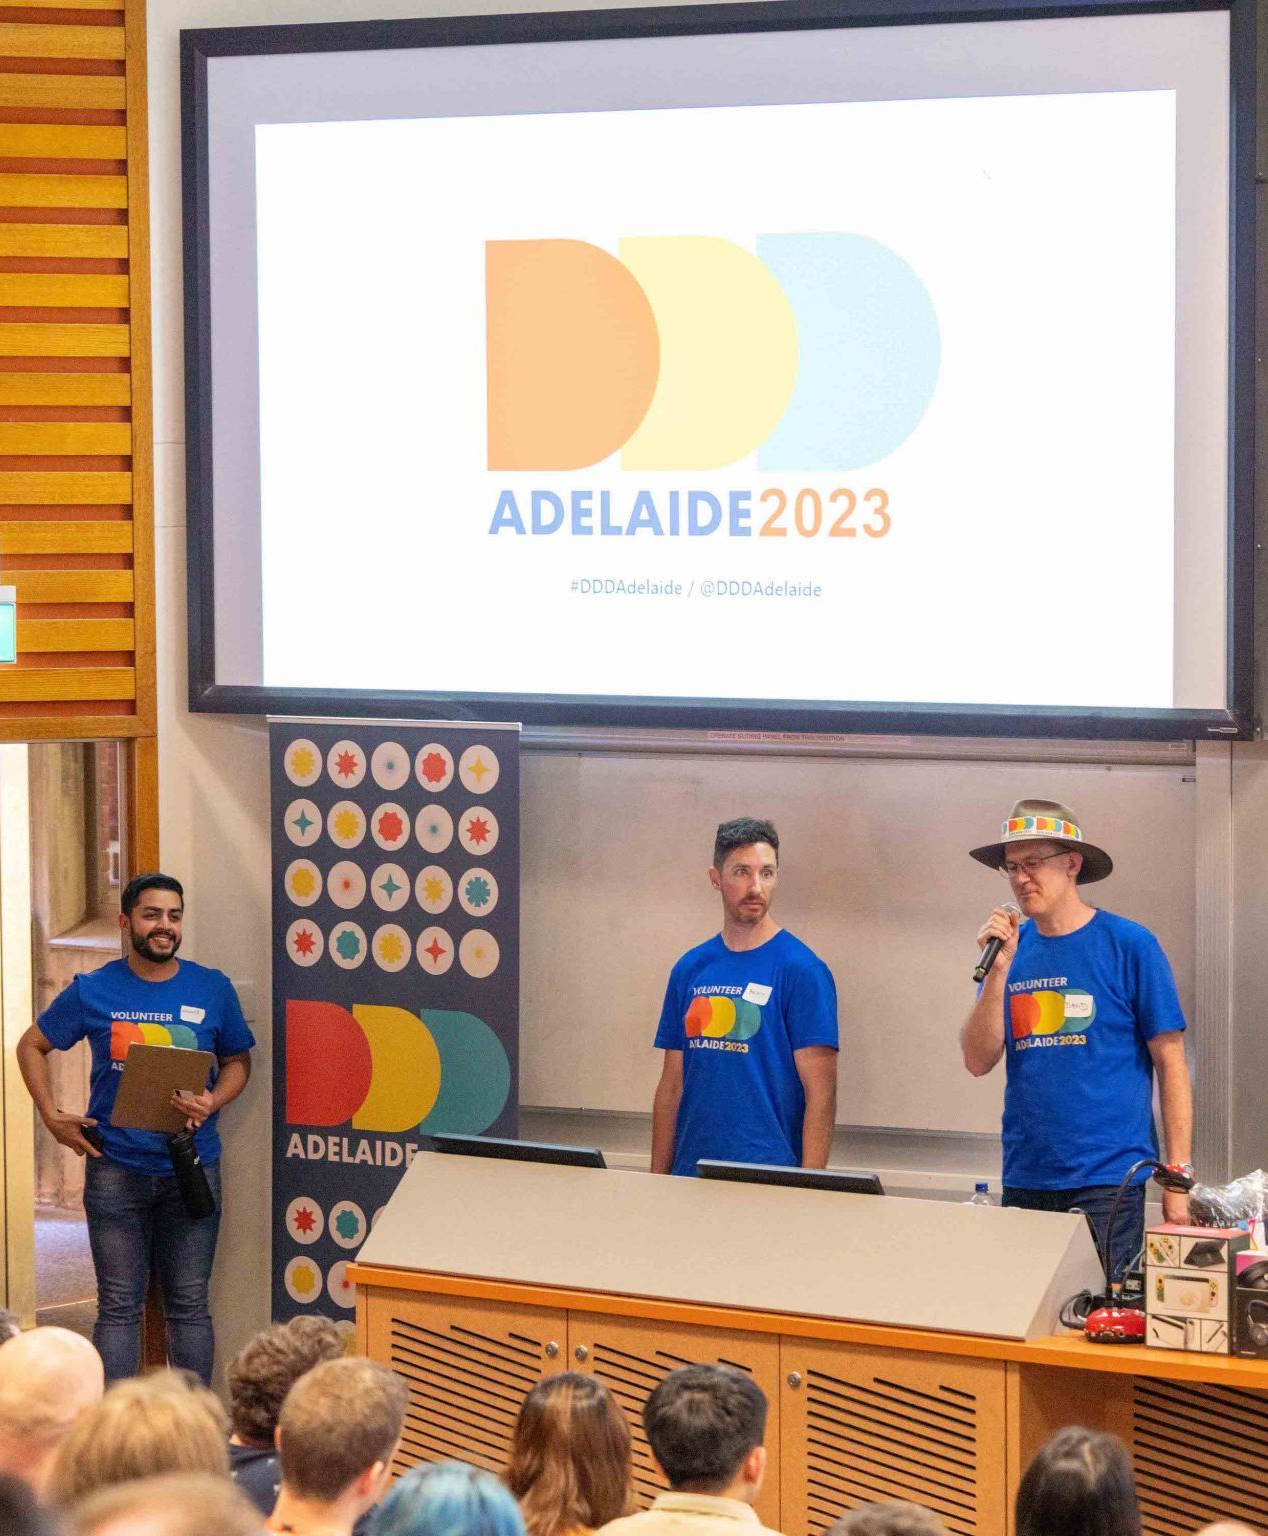
DDD Adelaide 2023 done
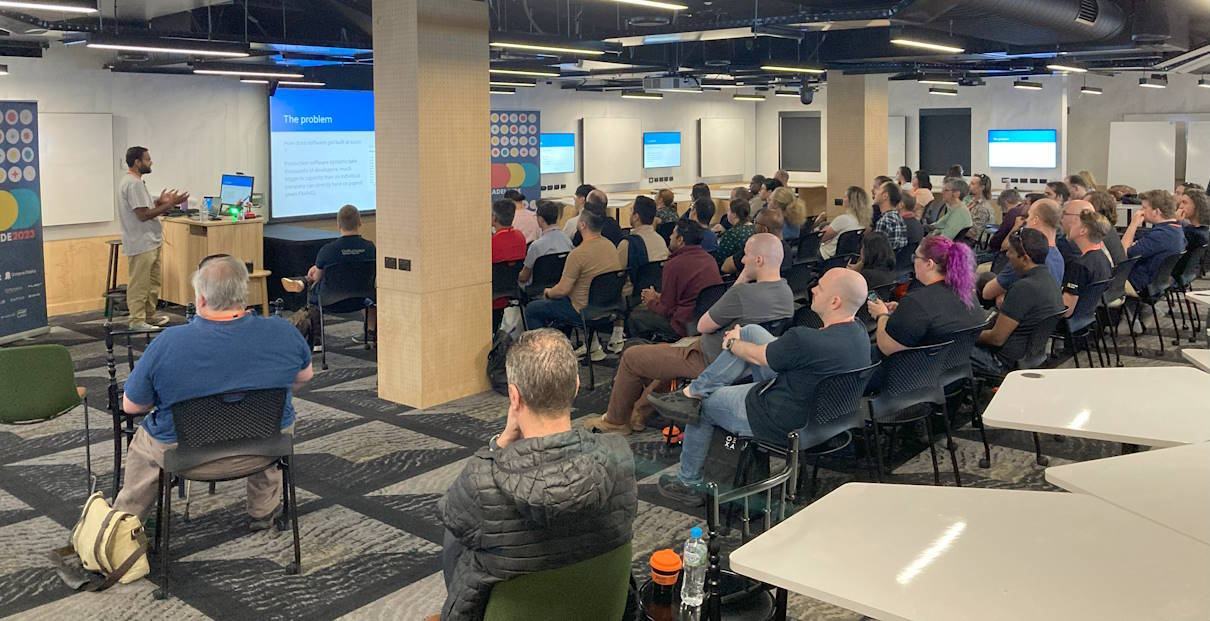
On Saturday we ran DDD Adelaide 2023 - a community-run conference for the software developer community. The preparations and planning for this had begun much earlier in the year, and now everyone could enjoy the fruits of all our work. It was a very early start (7am), arriving at the University of Adelaide to set up with my fellow organising team and volunteers (including my wife and my two daughters). Doors opened at 8am (and continued to be re-opened all day due to the uni’s weekend security policy!) and people started rolling in.
Cargo Catering and B3 Coffee did such a great job in 2019, so it was great to have them back again. One significant change was to move to a larger venue, so we could increase the number of tickets (about 100 more than 2019).

The vibe was really positive all throughout the day, and the weather didn’t disappoint either. Aaron Powell’s keynote of how getting involved with DDD conferences impacted his career kicked it all off. Then the 3 tracks of speakers ran for the rest of the day, with breaks for morning tea, lunch and afternoon tea.

A short wrap up at the end of the day provided the perfect opportunity to thank everyone involved, draw prizes and then some attendees continued the conversations and socialising at a nearby pub.
Of course my Akubra hat made a return too, adorned with DDD stickers 😊.
I’m particularly grateful for all the volunteers (and especially my family) for working tirelessly all day to make sure everything ran smoothly. Also, it was so nice to have some of my SixPivot colleagues (from Adelaide and interstate) attend and present.

It’s a good chance for the organising team to take a short break before we start planning for next year. If you can’t wait until then, do check out DDD Brisbane (coming up on 2nd December) and DDD Melbourne (16th March 2024).

A blog of software development, .NET and other interesting things