-
In the garden - May 2020
We had a long dry summer, but autumn has arrived, with what feels like a sneak peek of winter with some really good soaking rains in the last few weeks.
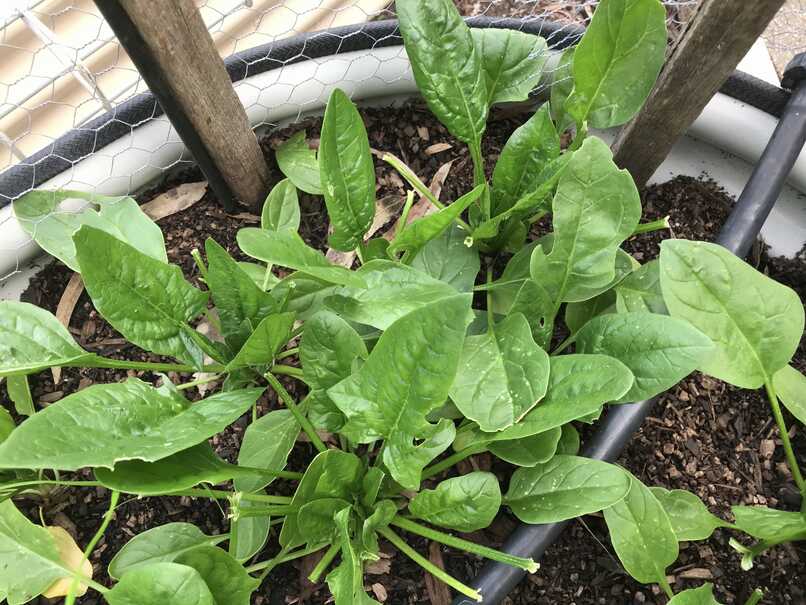
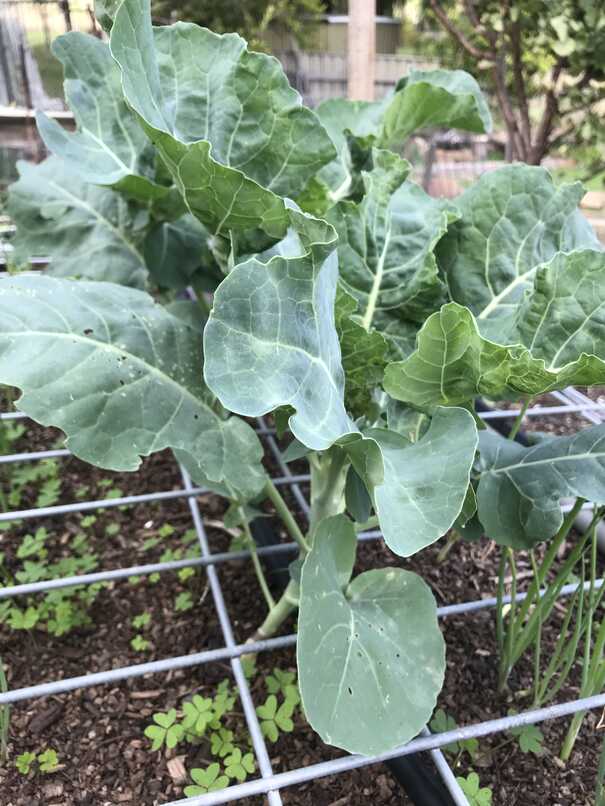
I was early to buy some vegetable seedlings to plant ahead for winter. English spinach, rainbow chard (silverbeet), spring onions, broccoli and bok choy. The spinach and bok choy have grown quickly and we’ve enjoyed them in a few stir fries already. I’m hoping the broccoli flowers soon.

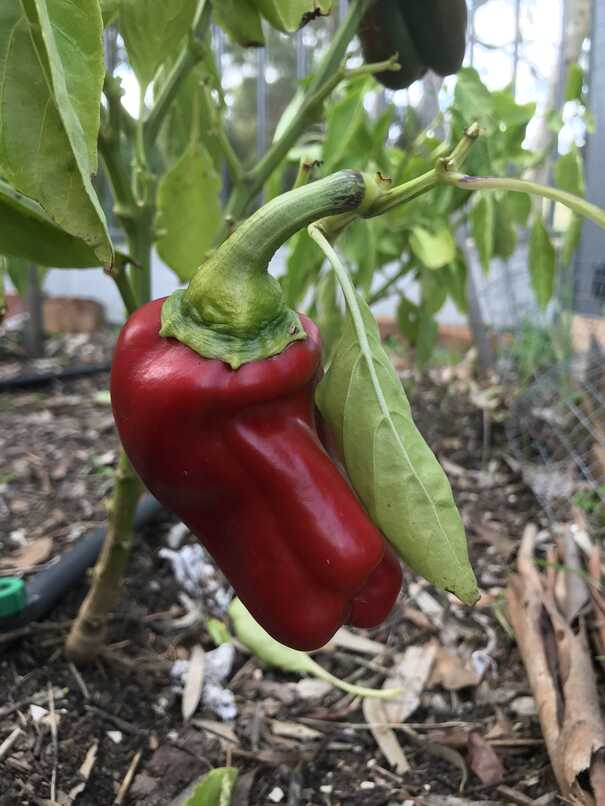
I planted the capsicums way back at the start of summer and they’ve taken ages to mature. Other years, the fruit are just starting to appear when winter appears and the plants give up. This time I’ve had success. (Also a feature of the stir-fries)
The fruit trees are doing well. We’ve finished the gala apples, and the ‘pink lady’ are just coming into season now. They are deceptive as they’ve pinked up beautifully on the side that gets sun, but on the shady side they’re still quite green.

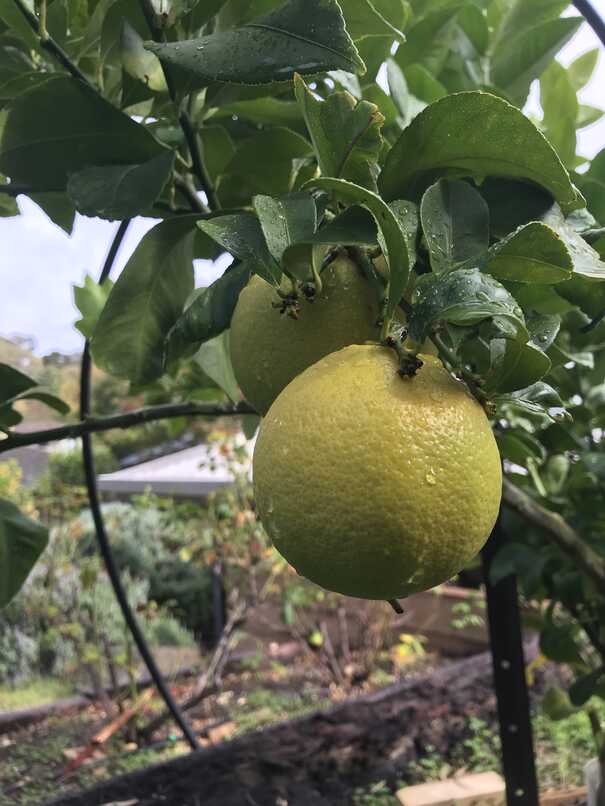
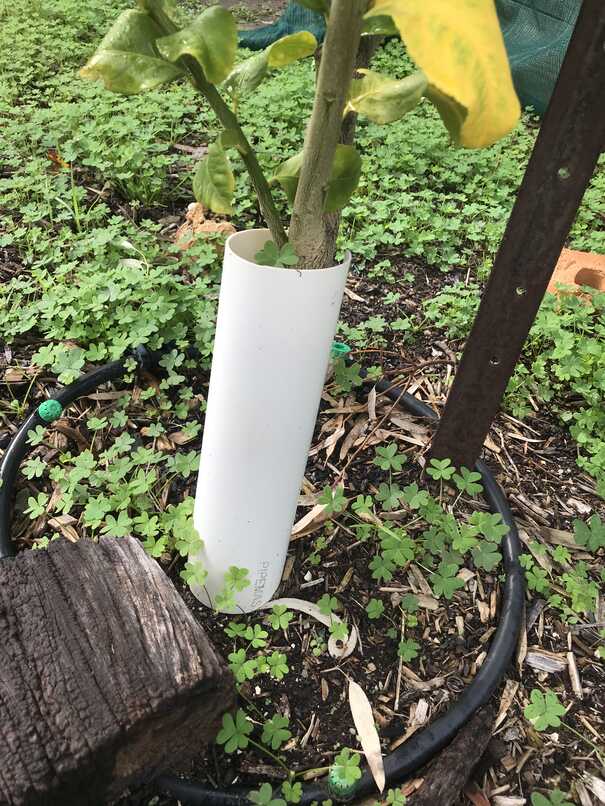
The lemon tree has been struggling for a number of years. It would flower and tiny fruit would set, but then it would all fall off over summer. A couple of years ago we had a professional fruit tree pruner come in and give us some advice. He suggested giving the tree some protection around the base as it might have been getting too much direct sun. That seems to have done the trick as this year the fruit stayed on the tree and as you can see the fruit is getting close to ripe!
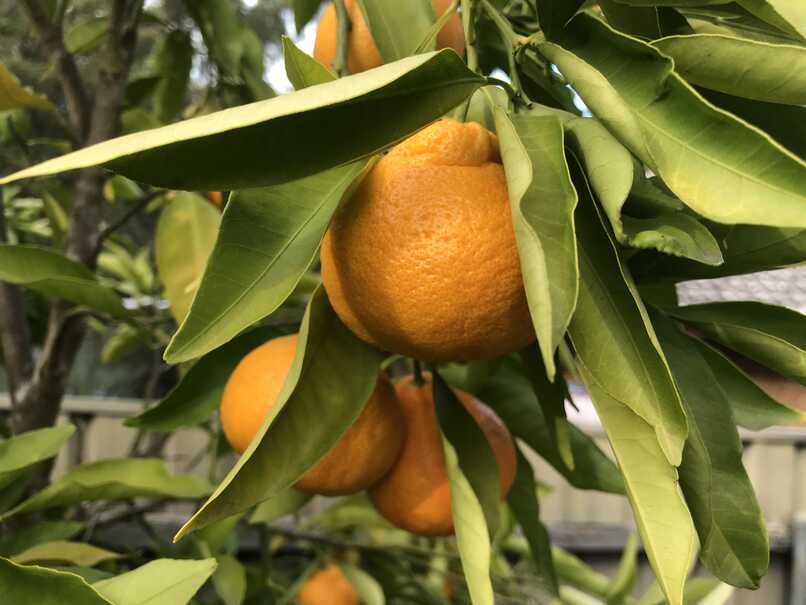
The mandarin is heavy with fruit and it’s just coming into season. I love the flavour of our fruit - so much tastier than the shop varieties.
My dad has an impressive strawberry patch. He gave me some runners a few weeks ago and I’m pleased that most of them look like they’ve taken. These ones are in the area that our chooks scratch, so I provided the plants with some ‘chicken protection’ until they’re established.

-
Azure Pipelines useful conditions
For my own reference as much as anything, here’s a few Azure Pipelines conditions I’ve found useful:

Only run this task when building master
condition: and(succeeded(), eq(variables['Build.SourceBranch'], 'refs/heads/master'))Only run this task when building a pull request branch
condition: contains(variables['Build.SourceBranch'], 'refs/pull/')Only run this task when System.Debug variable has been set
condition: eq(variables['System.Debug'], 'true')If I come across others, I’ll update this post with them.
-
Publishing future blog posts with GitHub Pages and GitHub Actions
I switched to using GitHub Pages and Jekyll for my blog a while ago. There was one deficiency I noticed - the lack of being able to publish future blog posts. Because the site is static, the Jekyll processing is only performed when a new commit is pushed, and it only publishes content ‘in the past’. The problem is a future post has already been committed to Git, but there’s no subsequent commit to republish the site once the publish date comes around.
There’s been various hacks around (usually involving an scheduled commit followed by a revert), but after listening to a recent podcast from Scott Hanselman talking to Edward Thomson about GitHub Actions, I wondered if they might offer a way to automate refreshing the site on a daily schedule.
I started by adding a GitHub Action workflow to the website and took a look at some of the existing actions others had already written, figuring someone might have solved this problem already. I discovered that GitHub Pages treats ‘user’ sites like mine differently to ‘product’ sites. The actions I found seemed suited more to the ‘product’ kind (as they wanted to commit the static content to the master branch).
I then resorted to Twitter..
You can use the api to trigger a rebuild, doesn’t that work?https://t.co/2gaaIIMfWB
— Rob Bos (@RobBos81) May 1, 2020
Rob (who I know through the Global DevOps Bootcamp) gave a good suggestion - using the Request a page build REST API. It took a few goes to get the API call working with octokit/request-action, but a test post later and I confirmed it worked!
Here’s the current version:
name: Build GitHub Pages

on:
  schedule:
    - cron:  '0 */12 * * *' # Rebuild twice a day (every twelve hours on the hour).

jobs:
  logLatestRelease:
    runs-on: ubuntu-latest
    steps:
      - uses: octokit/[email protected]
        id: post_build
        with:
          route: POST /repos/flcdrg/flcdrg.github.io/pages/builds
        env:
          GITHUB_TOKEN: ${{ secrets.GH_PAGES_TOKEN }}
Nice, now I can schedule blog posts in the future, and know that they’ll be published as intended.

A blog of software development, .NET and other interesting things