Home Assistant
Getting started with Home Assistant, installing and configuring the Home Assistant Community Store, and then installing an integration for GloBird Energy to track electricity (and later gas) usage.
My first exposure to Home Assistant (or ‘HA’ for short) was as an option for triggering a hallway light from a motion sensor for people who might want to go to the bathroom in the middle of the night. I know you can get self-contained sensor lights that do all that, but while I was researching those I found a few references to HA and I was intrigued.
I spun up a container on our Synology and had a play. Then I discovered that we already had a few devices in our house that it could talk to, like our UniFi network gear, the Synology itself and even our solar inverter!
I was curious about what else it could work with. I noticed that there were lots of integrations you could search for, including some power companies. But not the one I was using at the time - GloBird Energy. I did a general web search and discovered someone had built a custom integration for GloBird with HA - https://github.com/bolagnaise/globird-ha using something called “HACS”. It turns out that HACS is the Home Assistant Community Store. Once you add HACS to your HA, you can add a whole bunch of additional 3rd-party integrations, plugins, themes and scripts. Lots of these are listed in the HACS store, but you can also add custom repositories that point to a Git repo (eg on GitHub) too.
Adding HACS to Home Assistant
After confirming I was running a recent version of Home Assistant, I followed the HACS instructions for installing into a Container.
As my container is running on my Synology NAS server, I needed to ssh to the Synology, then I could use the docker command to manage the container
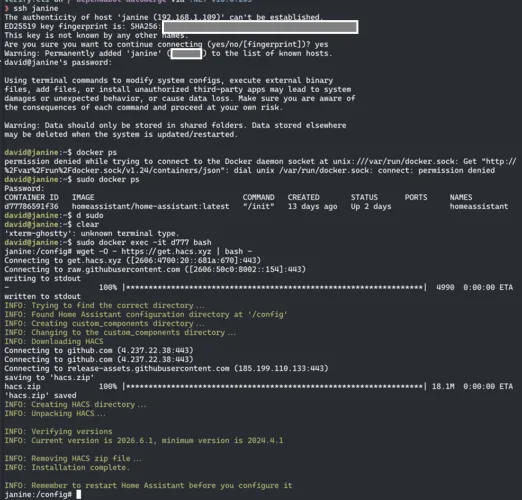
Once you’ve done that then you can return to HA and proceed to setup HACS from within the UI.
Now you can search for HACS as a new integration
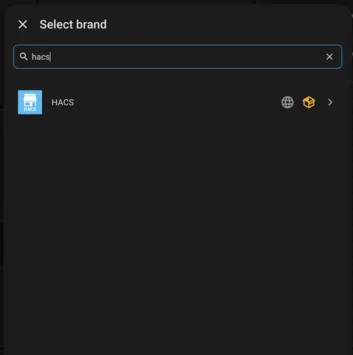
There’s a few conditions to confirm before proceeding
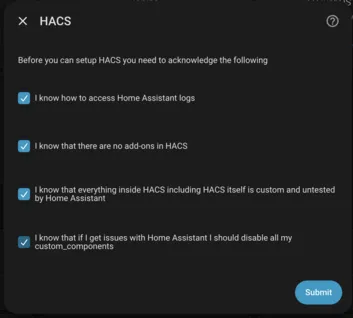
Then a short wait for HACS to activate
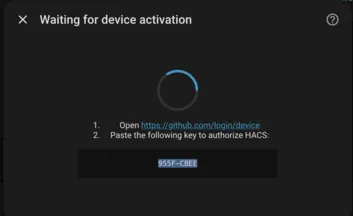
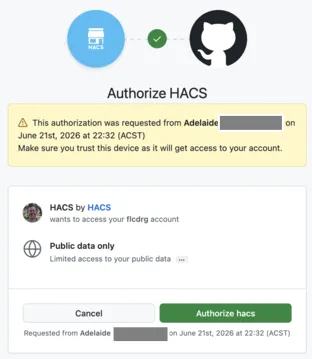
And then you need to authorise HACS with GitHub
Give HACS a name (or accept the default)
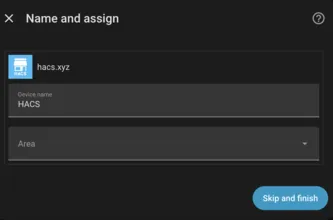
And you’re done
Adding GloBird integration from HACS to Home Assistant
Now that HACS is installed, there’s a whole new list of integrations to choose from. But at the time GloBird wasn’t in that list. That’s ok. We can add a custom repository to let HACS know about it. Use the context menu.
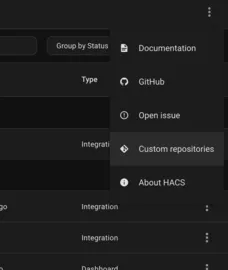
Then enter the Git repository URL and select ‘Integration’ from the Type list.
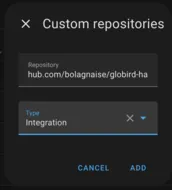
Now that HACS is aware of the new repository, you can search the HACS store and GloBird will appear in the list.
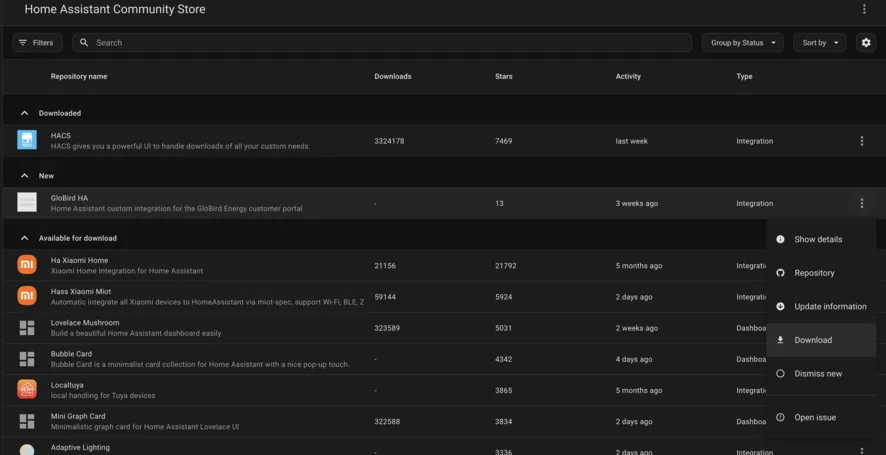
Click on the context menu and choose Download
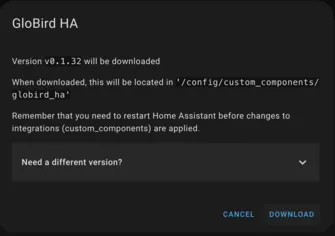
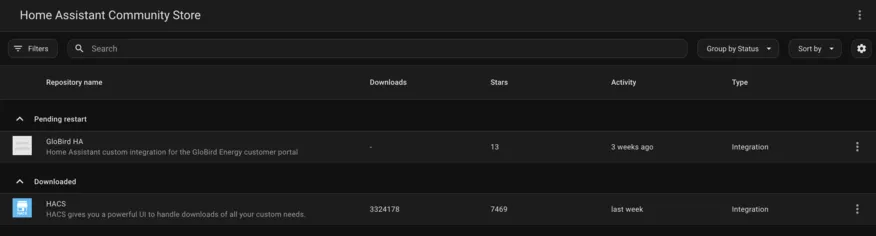
Once it is downloaded, HA lets you know that it needs to be restarted.
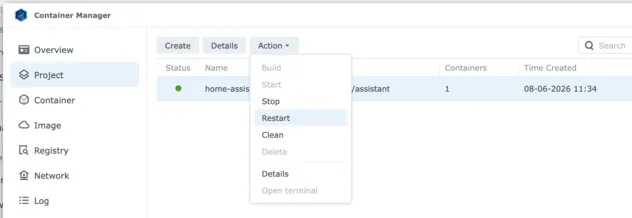
The first time I saw this, I switched back to the Synology Container Manager to restart the container. (I later realised that HA can actually restart itself through the UI and using Container Manager wasn’t necessary!)
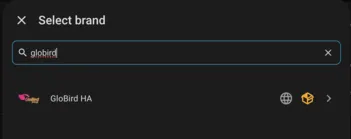
Now that the GloBird integration is installed, you can click on the Plus icon, and choose Add device
Then enter ‘GloBird’ and click on the matching item.
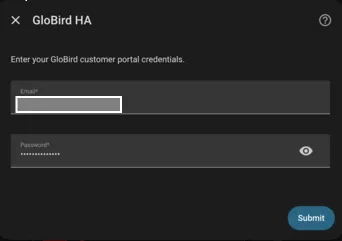
You’ll be prompted to enter your credentials. For GloBird this is your account email and password.
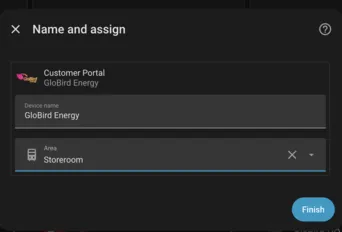
You can accept the default device name or change it, and optionally assign the device to a ‘room’. That makes more sense for physical devices in or around your house, but you can still do the same for ‘utility’ devices like an electricity provider.
And with that, the integration should be installed and configured. You can now see a page that shows all the current sensors and information from the device.
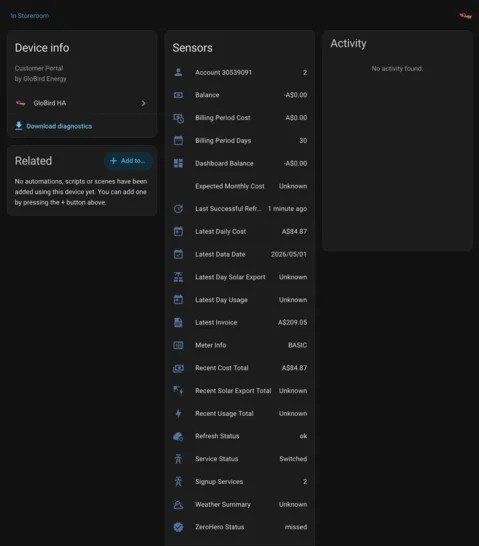
You might choose to add this to one or more dashboards, and also given in this case it relates to electricity, you could also add it to the Energy page.
Interestingly, when I first added the GloBird integration it provided information about our electricity account and usage, but GloBird also provide gas too (and we are using them as our gas provider). I contributed an update to the GloBird integration so that if you have a gas service with them, then you can also get that information as well.
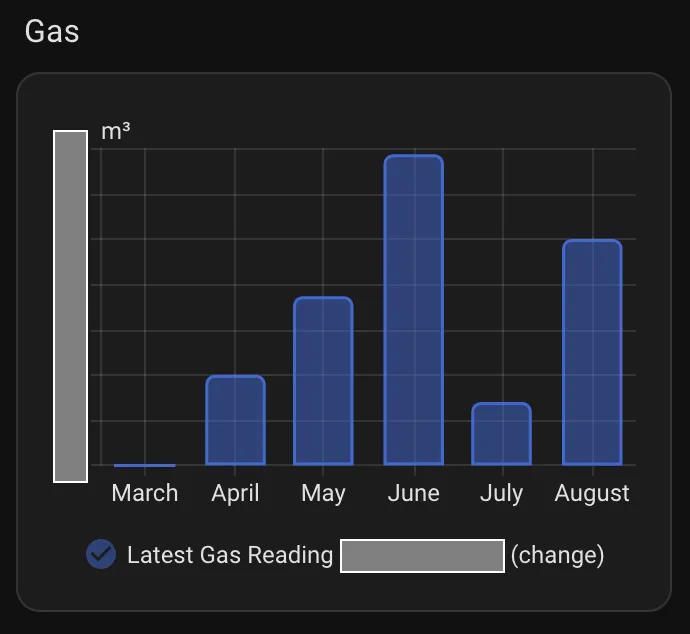
Unlike electricity, gas requires a manual measurement - either by an official meter checker, or by me taking a photo of the meter and submitting it to GloBird. So the measurements are not “live” like a lot of HA devices, but always in the past. Because of that, the implementation I contributed sends the readings directly to HA’s “recorder”. They show up in HA as ‘statistics’, and you can visualise them.
Here’s our recent monthly gas usage in HA.
I’ve since switched to a different electricity provider but I’m still using GloBird for gas. I’ll be keeping an eye on their plans and there’s always a chance I switch back.
Feel free to use this referral link if you want to check out GloBird for electricity or gas in Australia. You and I both get $50 credit (conditions apply)